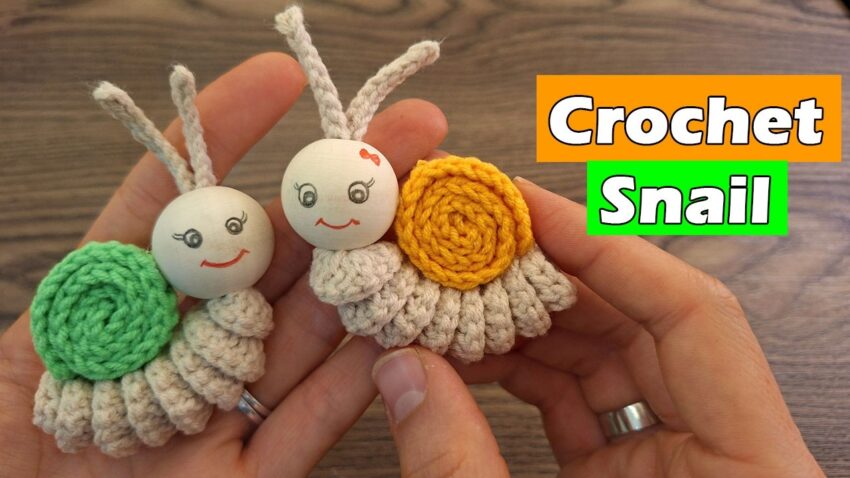
That’s such a cute crochet snail 🐌! Let’s go step-by-step so you can make one just like in the picture.
🧶 Crochet Snail Tutorial (Detailed Step-by-Step)
✨ Materials
- Yarn (2 colors)
- Color A (beige or light brown): for the body
- Color B (any bright color): for the shell (green, yellow, pink, etc.)
- Crochet hook: 2.5 mm or 3 mm
- Wooden bead (about 2–2.5 cm diameter) for the head
- Yarn needle
- Scissors
- Glue (fabric or hot glue)
- Markers or embroidery thread (to draw or stitch the face)

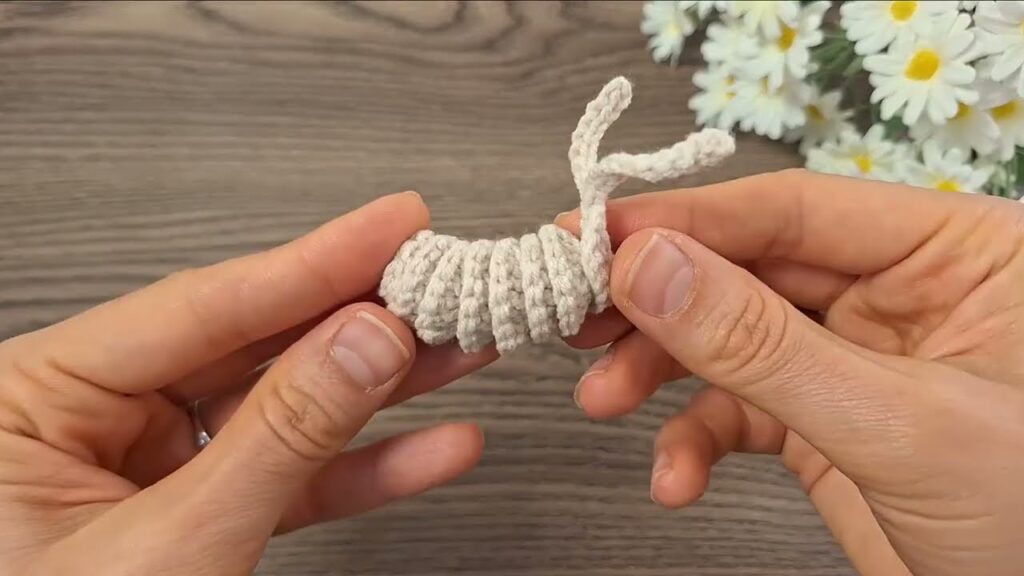
🪡 Step 1: Crochet the Body
Body pattern:
- Start with Color A (beige).
- Chain 21 stitches (ch 21).
- Starting in 2nd chain from hook, work 2 single crochets (sc) into each chain.
- You’ll have 40 stitches at the end.
- The strip will begin curling naturally.
- Fasten off and leave a long tail (about 15 cm) for sewing.
👉 Tip: If you want the body to be longer, chain 25 instead of 21.
The double scs make the body curl in a cute spiral pattern.
🐚 Step 2: Crochet the Shell
Shell pattern:
- Use Color B (green, yellow, etc.).
- Chain 26 (ch 26).
- In the 2nd chain from hook, work 2 half double crochets (hdc) into each chain across.
- This gives a thick and curled strip.
- Fasten off, leaving a long tail for sewing.
To shape the shell:
- Roll the strip tightly into a spiral.
- Sew through the layers with the yarn needle so it holds its round shape.
- Don’t flatten it — let it stay a bit 3D.
🧷 Step 3: Assemble the Snail
- Take your curly body piece and flatten it slightly (so the curves face upward).
- Position the shell spiral on the middle or upper back part of the body.
- Use the tail from the shell to sew it securely onto the body.
- Tie off and hide the yarn ends neatly.
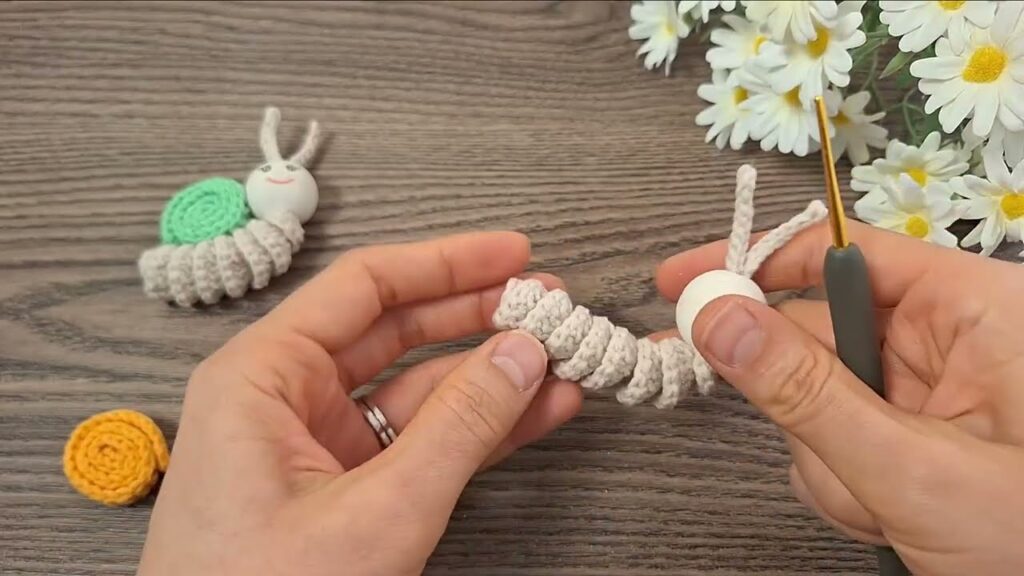
🪄 Step 4: Add the Head
- Take the wooden bead (head).
- Insert or glue the end of the snail’s body into the bead’s hole.
- If the hole is small, use a bit of glue to attach it firmly.
- Make sure the face area faces front.
🧵 Step 5: Make the Antennae
- Cut two 8–10 cm strands of Color A yarn.
- Fold each in half and twist them slightly to form an antenna shape.
- Glue or sew both onto the top of the bead (head).
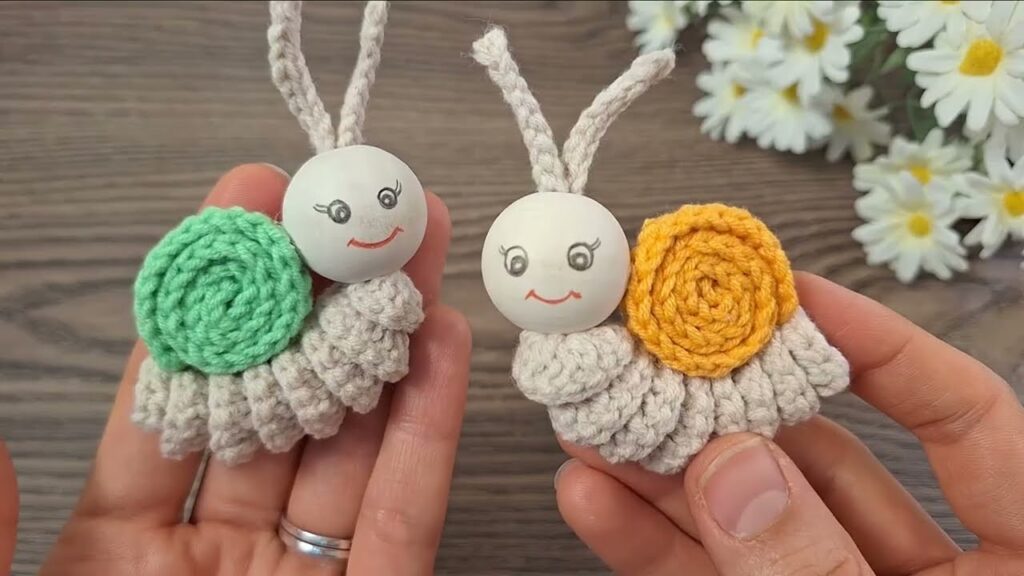
🎨 Step 6: Add the Face
You can draw the face on the wooden bead or embroider it:
- Eyes: Two circles or ovals with black or gray marker
- Mouth: Small red curve
- Extras: Add eyelashes, a small bow, or blush for cuteness
🌟 Optional Finishing Touches
- Add a keyring or safety pin to turn it into a charm or brooch.
- Make several snails in different colors for decoration or gifts.
- You can also crochet a small leaf or flower for them to sit on.