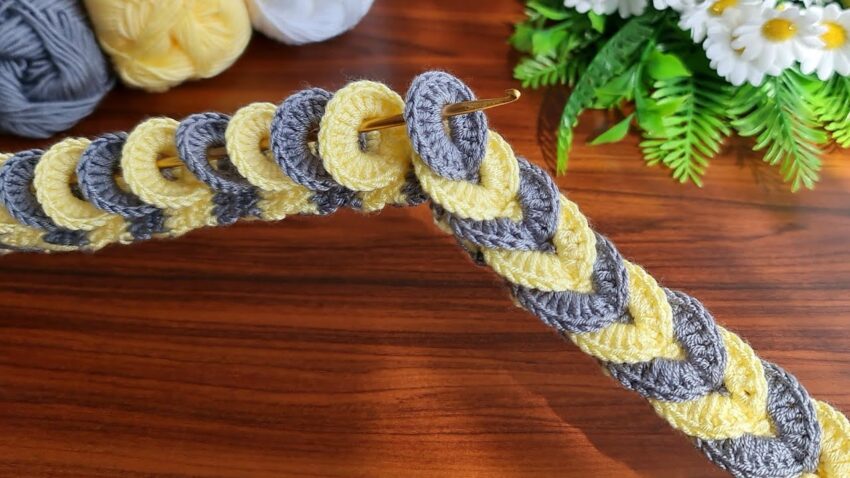
That’s a crochet interlocking ring braid pattern — it looks beautiful and quite unique! Here’s how you can make it step-by-step 👇
🧶 What You Need
- 2 colors of yarn (for example: Color A – yellow, Color B – gray)
- Crochet hook that matches your yarn weight (for most medium yarns, 3.5 mm–4 mm works well)
- Scissors and tapestry needle for finishing

🌼 Step-by-Step Crochet Instructions
🔹 Step 1: Make the First Ring (Base Loop)
- With Color A (yellow):
- Make a slip knot on your hook.
- Chain 15 (you can adjust for larger or smaller rings).
- Join the first and last chain with a slip stitch to form a ring.
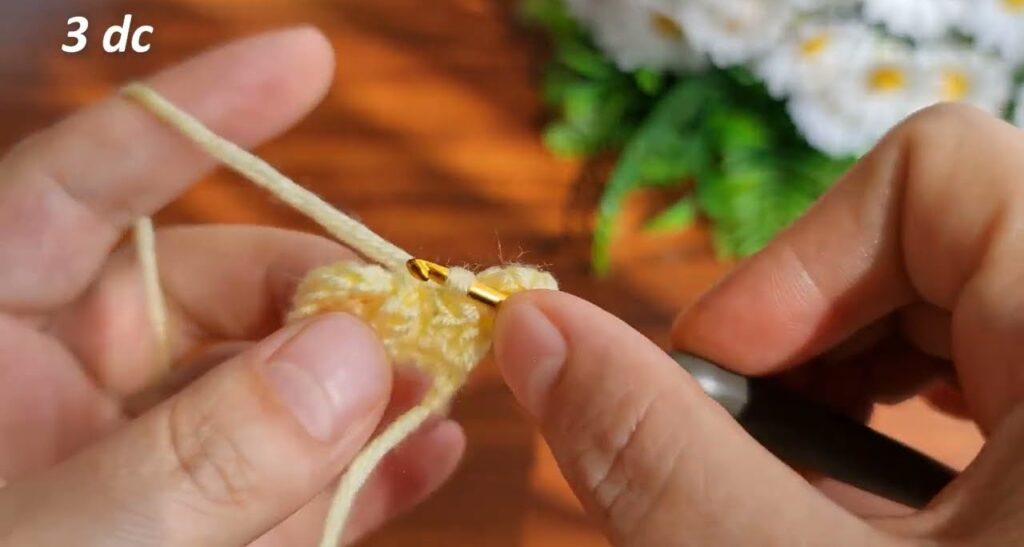
- Chain 1, then work 25–30 single crochets (sc) into the ring.
- This fills the ring evenly.
- The more stitches, the fuller the ring.
- Join with a slip stitch to the first sc.
- Fasten off and cut the yarn, leaving a 3–4 inch tail.
🔹 Step 2: Make the Second Ring (Interlocking)
- With Color B (gray):
- Chain 15 and join into a ring with a slip stitch (same as before).
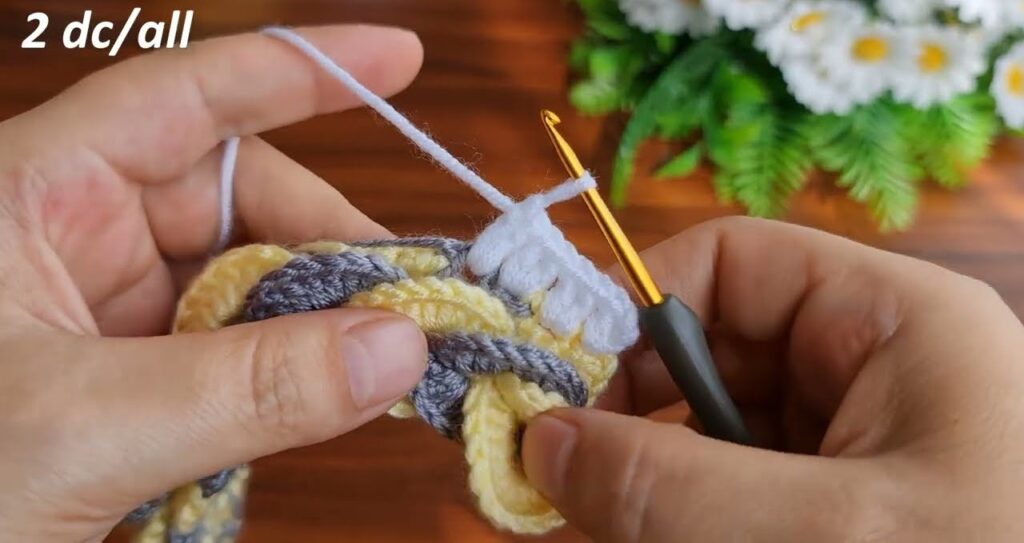
- Important: Before you crochet around this ring, insert it through the first ring — this is what makes them interlock.
- Now chain 1 and make 25–30 sc around the new ring.
- Join with a slip stitch and fasten off.
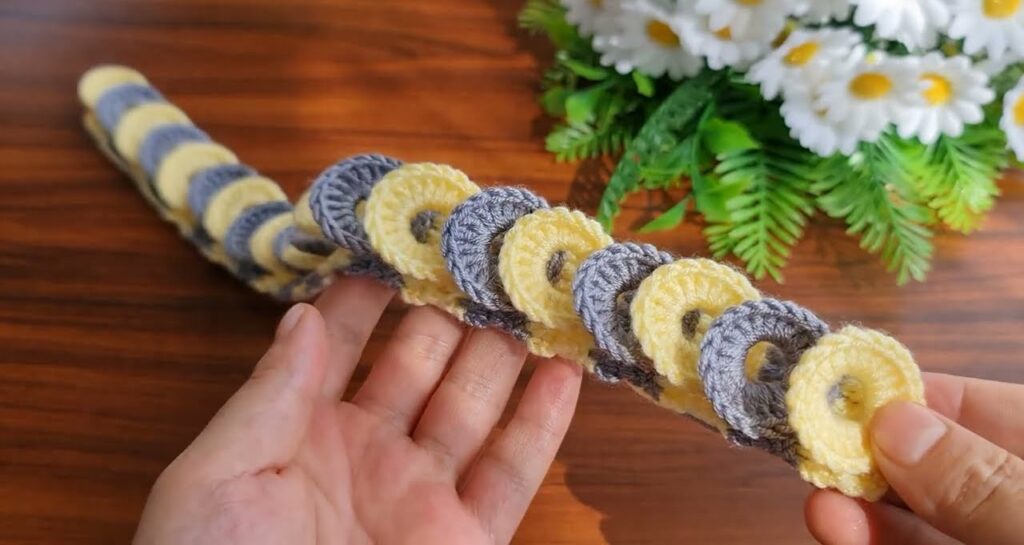
Now you have 2 interlocked rings — one yellow and one gray.
🔹 Step 3: Continue the Pattern
- Switch back to Color A (yellow).
- Chain 15 and join to form a ring.
- Before crocheting, pass the new (yellow) ring through the previous gray ring.
- Then crochet 25–30 sc around the new yellow ring, join, and fasten off.
- Keep repeating:
- Every new ring passes through the last one.
- Alternate colors for a braid effect.
You’ll see the pattern forming a braided chain of circles.
🔹 Step 4: Adjusting the Size
- If you want smaller loops, chain 10 instead of 15.
- For larger loops, chain 20–25.
- Always make sure you fill each ring evenly (same number of stitches each time).
🔹 Step 5: Finishing Touches
- When your braid reaches the desired length:
- Weave in all yarn tails securely on the inside of the loops.
- You can block it (lightly steam or dampen and lay flat) so the rings sit nicely.
- Optional: Add a border or sew it onto blankets, scarves, or pillow edges.
🌈 Tips for Perfect Results
- Keep tension even — not too tight, so loops stay round.
- You can use 3 colors for a more decorative chain.
- Works great with cotton yarn (keeps ring shape) or acrylic yarn (soft and flexible).