
Sure 😊 Here is a step-by-step explanation so you can make exactly the same yarn weaving with cotton swabs as in the picture.
Materials (important details)
- Cotton swabs (Q-tips)
→ You need 2 swabs for 1 piece - Medium or thick yarn (acrylic or cotton works best)
- Scissors
👉 Thick yarn gives the full, chunky look like the photo.
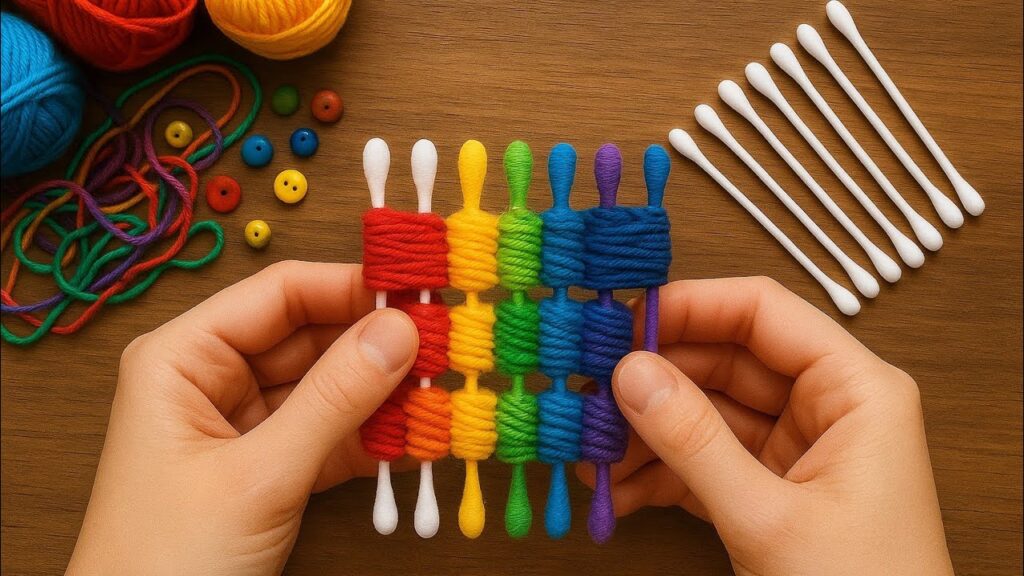
Step 1: Make the weaving frame
- Take 2 cotton swabs
- Place them side by side, about 2–3 cm apart
- Make sure:
- White cotton tips are facing up and down
- The sticks are parallel
This is your loom (frame).
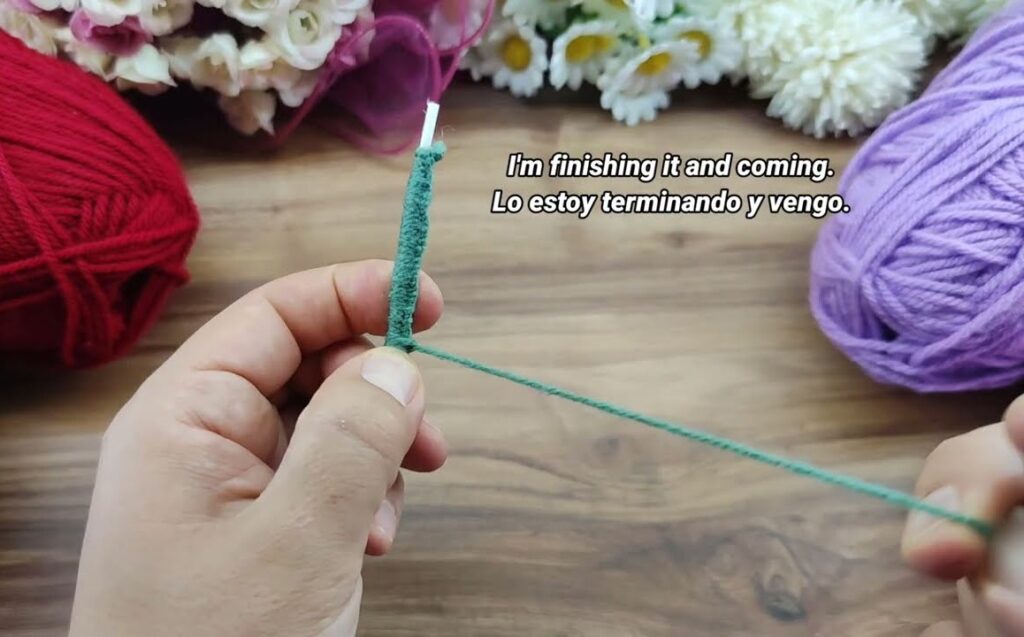
Step 2: Create the base strings (warp)
This step is very important.
- Cut a long yarn piece (about 60–80 cm)
- Tie it tightly around the bottom tip of the LEFT swab
- Pull the yarn straight across to the bottom tip of the RIGHT swab
- Wrap once
- Go back to the LEFT swab
You now have 1 horizontal strand
For thicker weaving (like the photo):
Repeat this 2–3 times, moving slightly upward
➡️ You should see 2 or 3 horizontal yarn lines
Step 3: Start weaving (this makes the pattern)
- Cut a new yarn piece (30–40 cm)
- Insert it from the left side
- Go:
- OVER the first horizontal strand
- UNDER the next strand
- OVER the next
Pull the yarn through slowly.
Step 4: Second row (important!)
This is what creates the woven look.
- If Row 1 was over–under–over
- Then Row 2 must be under–over–under
👉 Always alternate every row.
After pulling the yarn:
- Use fingers to push it down gently
- Keep rows tight and close
Step 5: Change colors (like rainbow)
To change color:
- Stop weaving
- Cut yarn, leave a 2–3 cm tail
- Start new color from the side
- Continue the over–under pattern
👉 You can hide tails by pushing them inside with your fingers.
Step 6: Fill the space
- Continue weaving until you reach the top cotton tips
- Press rows together tightly
- The weaving should look solid and square
Step 7: Secure the weaving
- Tie the last yarn at the back
- Cut excess yarn neatly
- Make sure nothing is loose
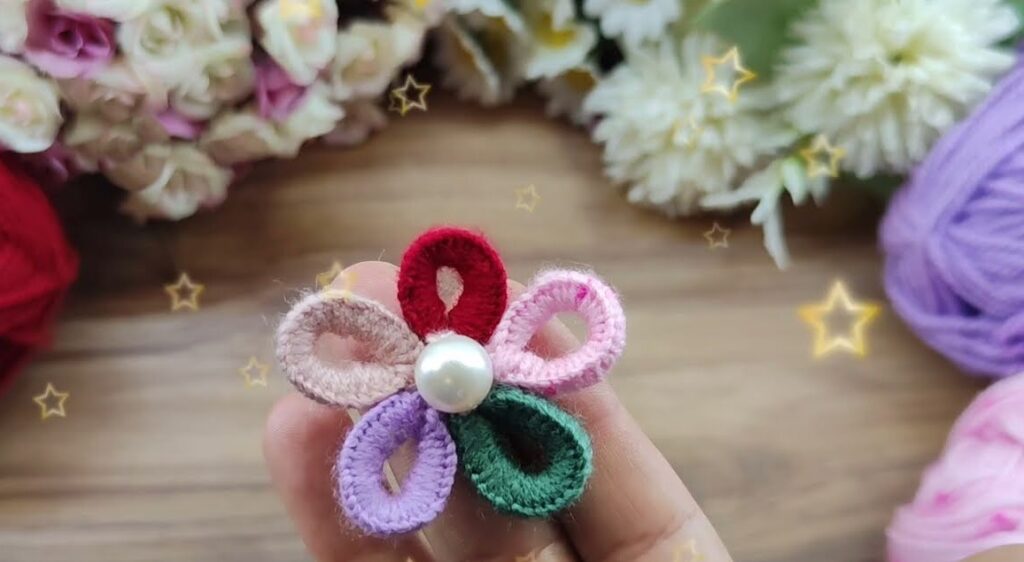
Step 8: Make multiple pieces (like photo)
- Repeat the same steps
- Use different colors
- Place finished pieces side-by-side
You can:
- Glue them together
- Stitch them
- Tie them with yarn
Pro tips 🌟
- Thick yarn = fuller look
- Tight weaving = cleaner pattern
- Bright colors = best visual result
- Push rows down after every row
What you can make with it
- Kids learning craft
- Mini wall hanging
- Bracelet base
- Keychain charm
- Decorative strip