
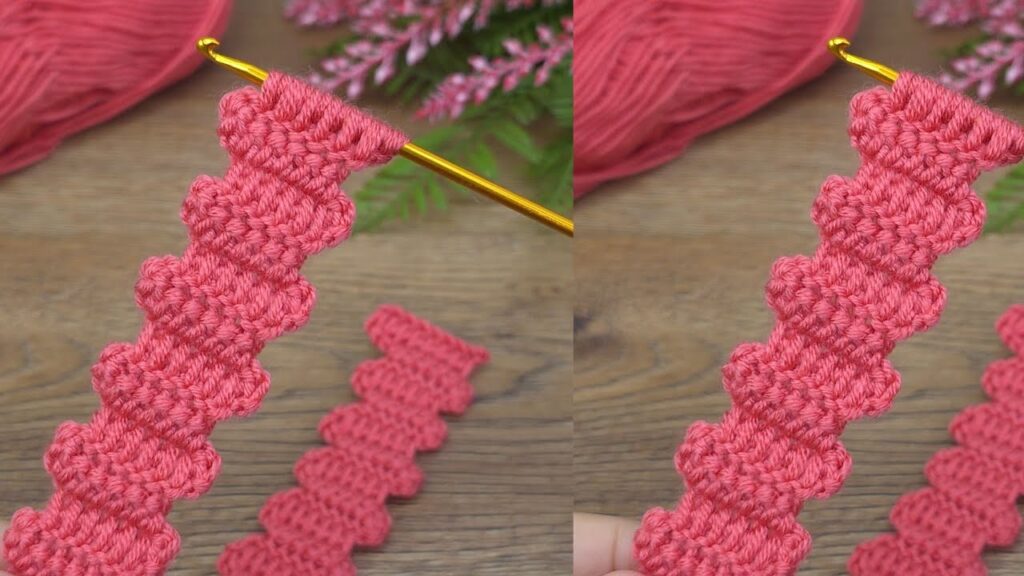
That crochet pattern in your image is called a crochet scallop (or wave) strip — it creates a wavy, bumpy edge often used for decorations, edgings, headbands, or scarves. Here’s how to make it step-by-step:
🧶 Crochet Scallop Wave Strip Tutorial (Step-by-Step)
✨ What You Need
- Yarn: Medium-weight (size 3 or 4) cotton or acrylic
- Hook: 3.5 mm to 4 mm (match to yarn thickness)
- Scissors
- Tapestry needle for weaving in ends
🌼 Step 1: Foundation Chain
- Chain 17 stitches (or any multiple of 6 + 5, depending on desired width).
- Example pattern repeat:
(6 × number of waves) + 5 - 17 chains = 2 full waves + 1 half wave.
- Example pattern repeat:
🌸 Step 2: Row 1 — The Base
- Start in the 4th chain from the hook.
- Make 1 double crochet (dc) in that stitch.
- Continue making 1 dc in each chain all the way across.
- You should have 15 dc total (including the first chain 3 as one dc).
- Turn your work.
🪄 This row forms the base foundation for your scallops.
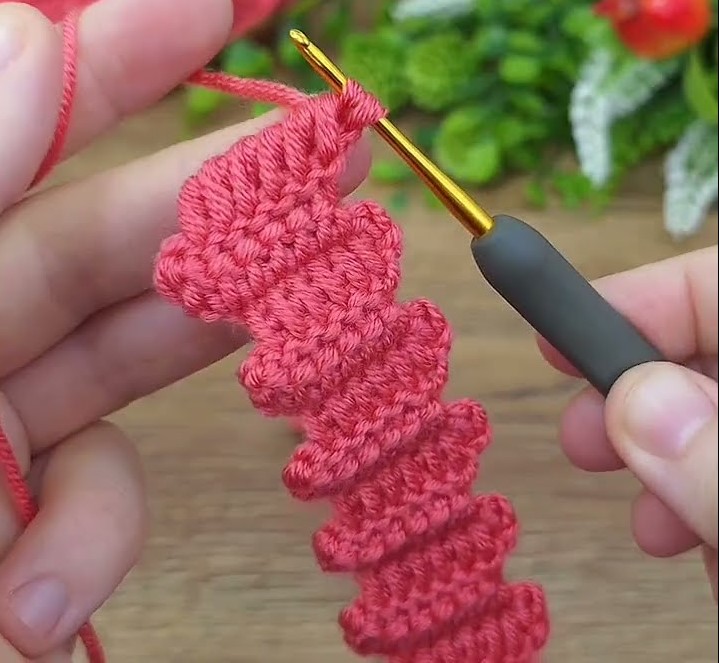
🌺 Step 3: Row 2 — Forming the Scallops
- Chain 1 (turning chain).
- Skip 2 stitches, then make 5 dc in the next stitch → this creates the first scallop “bump”.
- Skip 2 stitches, then 1 single crochet (sc) in the next stitch → this anchors the scallop.
- Repeat steps 2–3 all the way across:
- Skip 2, 5 dc in next, skip 2, sc in next.
- End with 1 sc in the last stitch.
- Turn your work.
🧵 Now you’ll see a wavy line forming!
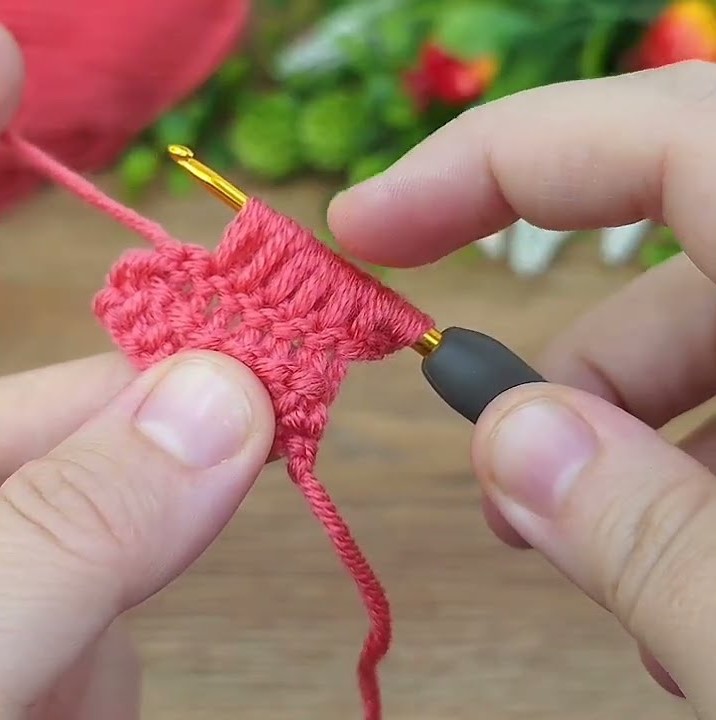
🌷 Step 4: Row 3 — Offset Scallops
This row fills in the gaps to create alternating waves.
- Chain 3 (counts as 1 dc).
- Make 2 more dc in the same stitch → this forms half of a scallop at the start.
- Skip 2 stitches, 1 sc in next, skip 2, 5 dc in next stitch.
- Repeat from * to * across.
- At the end of the row, instead of 5 dc, make 3 dc in the last stitch (to finish the half scallop).
- Turn your work.
🪄 You now have a perfect offset scallop pattern — just like the picture!
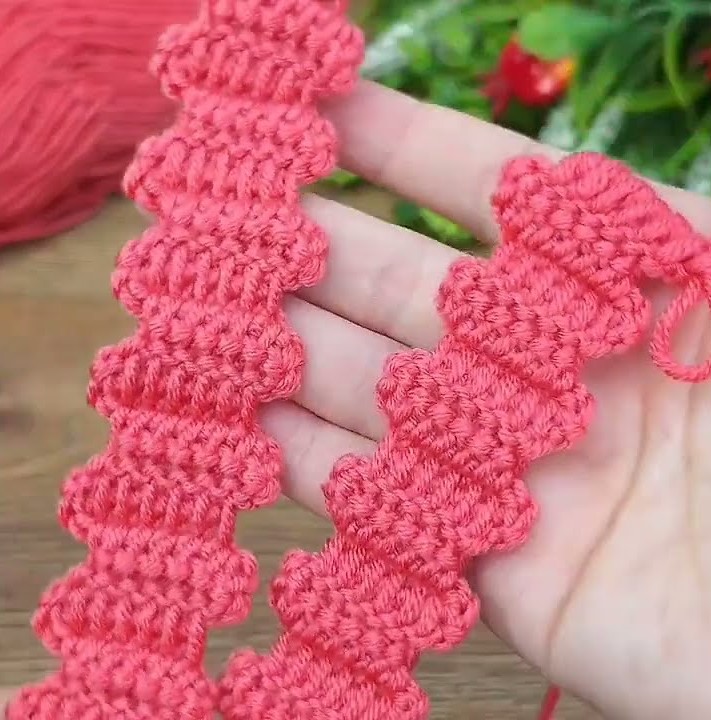
🌻 Step 5: Repeat for Length
- Repeat Row 2 and Row 3 alternately until the strip reaches your desired length.
- Keep your edges neat by always chaining 1 or 3 correctly when turning.
🌼 Optional Finishing (Headband or Edging)
- For a headband, stop when your piece is about 45–50 cm (for adult size).
- Join ends with slip stitch or sew together using a tapestry needle.
- You can also make two strips and sew them side by side for a thicker headband.
💡 Tips
- Tighter tension makes crisper waves.
- Lighter yarn gives a more delicate, lace-like look.
- Heavier yarn gives a thicker, puffier design.
- Try using two colors alternating every 2 rows for a striped scallop look!