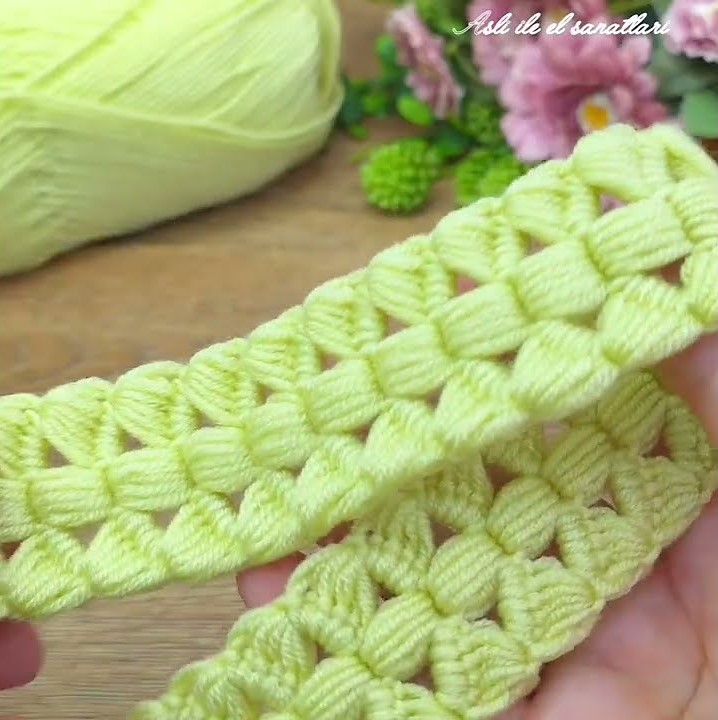
specifically a puff stitch crochet design (sometimes called the “broomstick lace” or “puff rib” pattern depending on the variation). It creates a textured, raised look with rows of puffy clusters.
Here’s how you can make it:
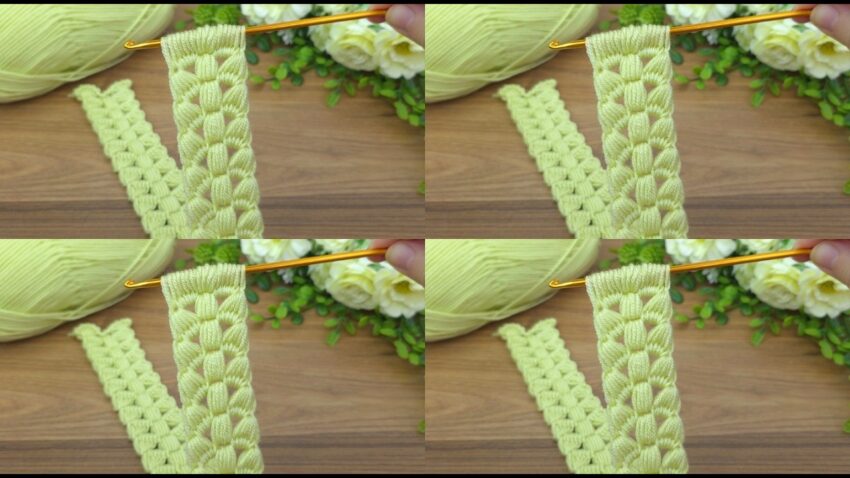
🧵 Crochet Puff Stitch Ribbon / Band Pattern (like in your image)
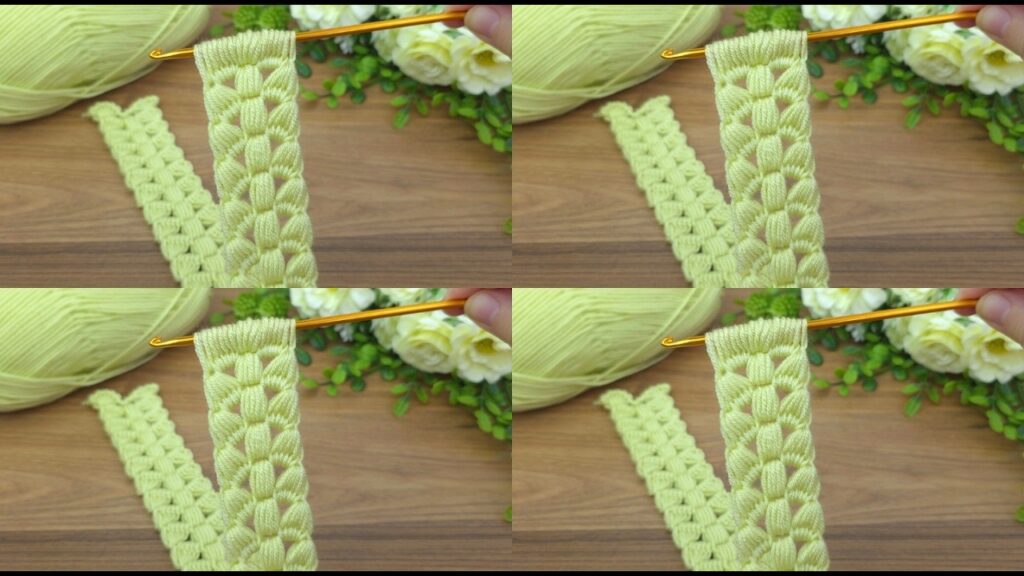
This pattern creates a raised, vertical puff texture — great for borders, straps, scarves, or decorative bands.
🧶 Materials You’ll Need
- Yarn: Medium (DK / light worsted) yarn — acrylic or cotton both work.
(The image shows a soft, light-yellow yarn.) - Hook: About 3.5mm – 4.5mm (check your yarn label for the right size)
- Scissors
- Yarn needle (for weaving ends)
🪡 Step-by-Step Instructions
Step 1: Make the Foundation Chain
- Chain a multiple of 2 + 1.
→ Example: Chain 15 (14 for pattern + 1 turning chain). - This gives you the base for your first row of puffs.
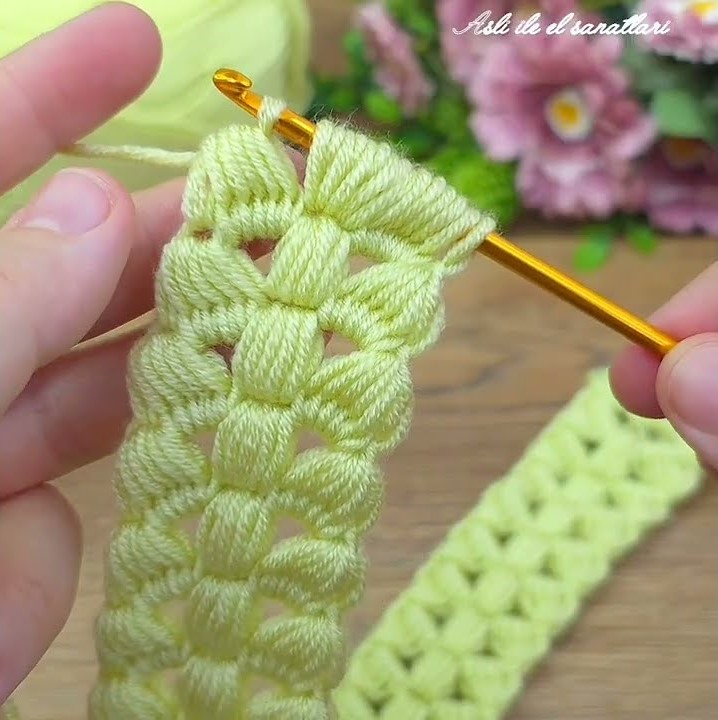
Step 2: First Row — Puff Stitch Row
Here’s how to make one puff stitch (the basic building block):
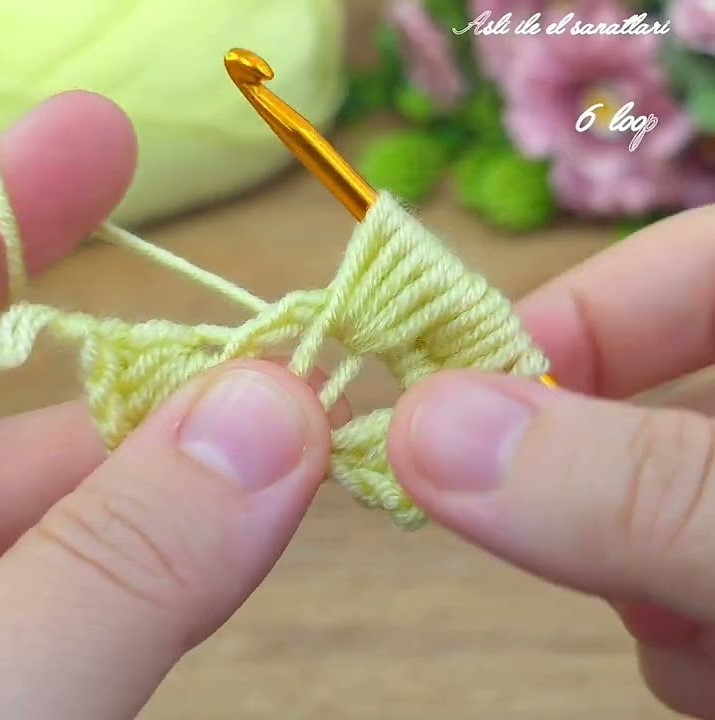
Puff Stitch (PS):
- Yarn over (YO), insert hook into the chain, and pull up a loop — 3 loops on hook.
- YO, insert into the same stitch, pull up a loop — 5 loops on hook.
- YO, insert again, pull up another loop — 7 loops on hook.
- YO and pull through all 7 loops on the hook.
- Chain 1 to close the puff.
Now, make the row:
- Skip 1 chain after the turning chain.
- Make 1 Puff Stitch (PS) in the next chain.
- Skip the next chain, make another PS in the next.
- Continue across the row.
- Turn your work at the end.
Step 3: Second Row
Now you’ll build puffs on top of the spaces from the previous row.
- Chain 2 (this acts as your turning and spacing chain).
- YO, insert hook into the space between 2 puff stitches from the row below.
- Make 1 puff stitch (same as before).
- Chain 1 to close.
- Continue making puff stitches in each space between puffs across the row.
- Turn your work.
Step 4: Repeat for Length
Keep repeating Step 3 until your piece reaches the desired length.
You’ll start to see that lovely honeycomb / puff ladder texture forming, like in your image.
🧩 Optional Finishing Touches
- For a straighter edge, you can single crochet (sc) along both sides when done.
- To make it wider, add more chains at the start (must still be even + 1).
- To make it softer or more open, use a slightly larger hook.
🧶 Helpful Notes
- Keep tension even when pulling up loops for each puff — don’t pull too tight.
- You can adjust puff height by changing the number of yarn overs (try 4–5 loops instead of 3 for fluffier puffs).
- This pattern looks beautiful in pastel or gradient yarns.