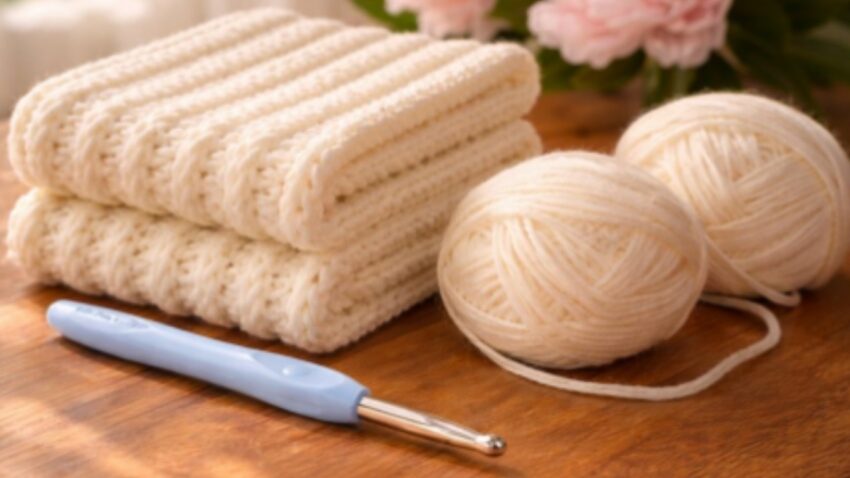
This looks like a ribbed crochet dishcloth / small towel made with simple stitches worked in rows. I’ll explain it clearly step by step so you can recreate it 👍
🧶 Project: Ribbed Crochet Dishcloth / Towel
📏 Finished Size
- Approx: 20–25 cm wide × 20–30 cm long
- You can easily adjust size
🧵 Yarn & Hook Details
- Yarn: 100% cotton (important for structure + absorbency)
- Weight: Medium / worsted
- Hook: 5.0 mm (H-8) → gives soft but defined ribs
👉 If you want tighter ribs: use 4.5 mm
👉 Looser / softer: use 5.5 mm
🔑 Understanding the Ribbing (VERY IMPORTANT)
Each stitch has:
- front loop
- back loop
👉 Normally: you insert hook through BOTH loops
👉 Here: you insert hook into BACK LOOP ONLY (blo)
This creates:
✔ raised vertical lines
✔ stretchy rib texture (like knit)
🧵 Step-by-Step Pattern
🔹 Step 1: Foundation Chain
- Chain 36
👉 Why 36?
- Gives medium width
- You can adjust:
- smaller → 30
- bigger → 40+
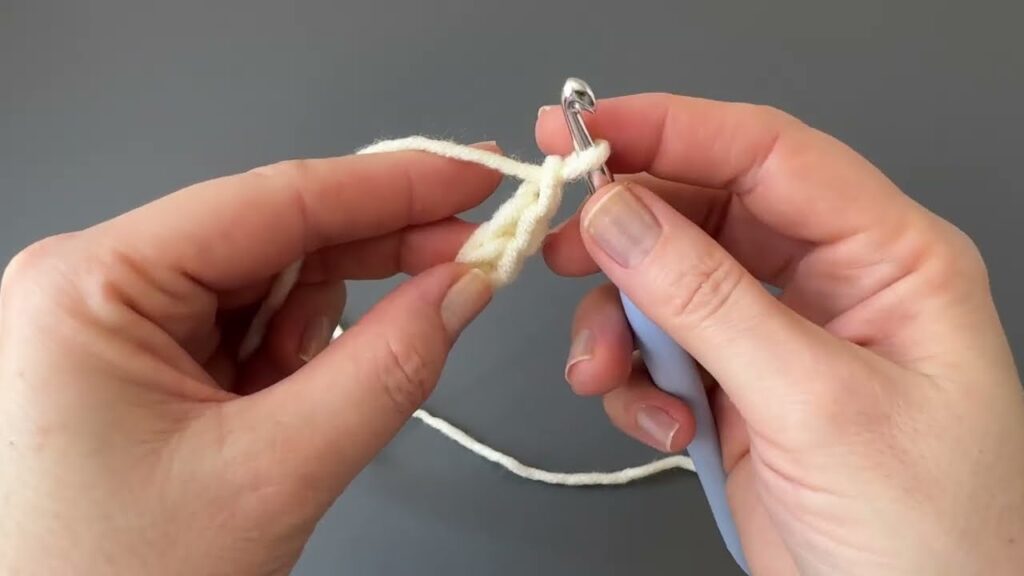
🔹 Step 2: Row 1 (Base Row)
- Insert hook into 2nd chain from hook
- Make 1 hdc in each chain across
- Total stitches: 35 hdc
- Turn
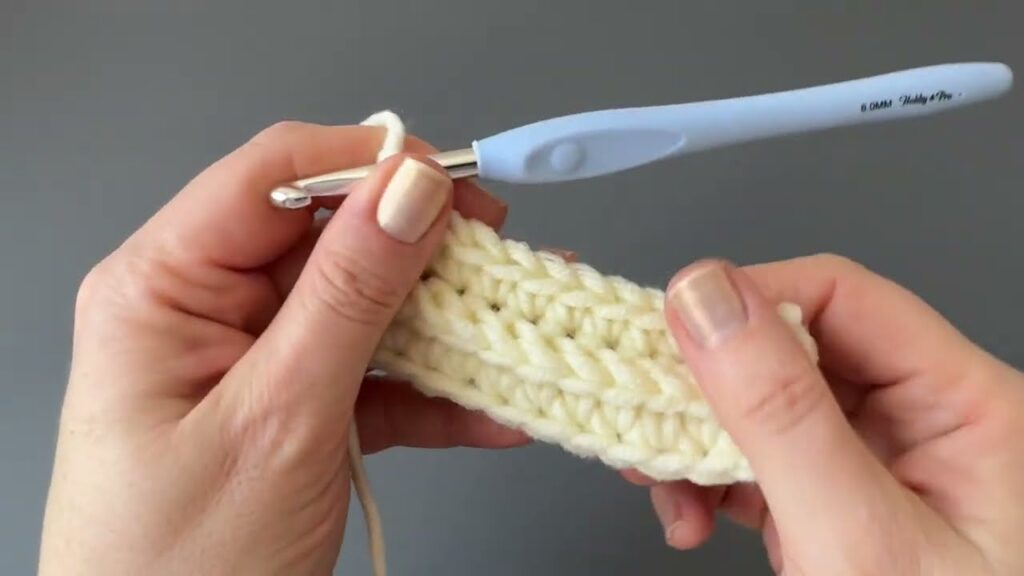
🔹 Step 3: Row 2 (Start Ribbing)
- ch 1 (does NOT count as stitch)
- Turn your work
- Work hdc in BLO across entire row
👉 How to do BLO:
- Look at the stitch → see 2 loops
- Insert hook ONLY into the back loop
- Complete normal hdc
- At end → turn
🔁 Step 4: Repeat Rows
Repeat this row:
- ch 1
- hdc in BLO across
- turn
Do this for:
- 28–35 rows (depending on length you want)
🧠 How to Check You’re Doing It Right
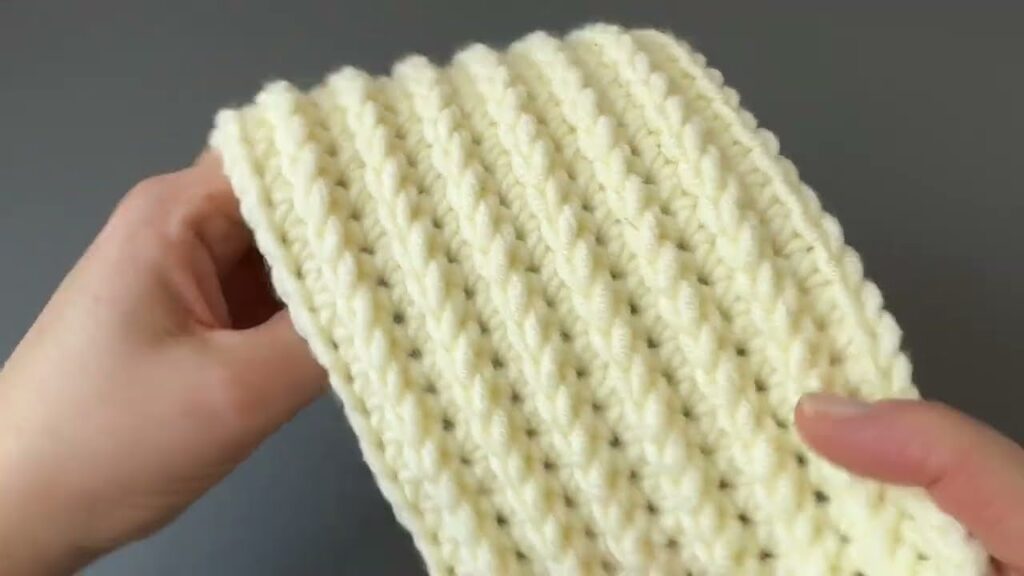
✔ You will see vertical ridges forming
✔ Fabric stretches slightly side-to-side
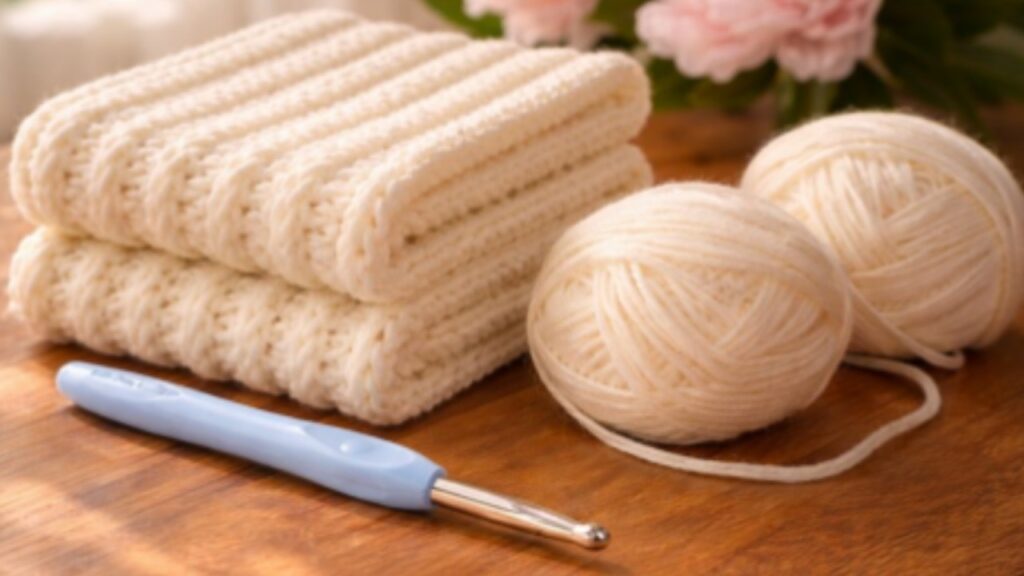
✔ Looks like “lines” (same as your picture)
If it looks flat → you are using BOTH loops (fix that)
🔹 Step 5: Last Row
- Finish a row normally
- Do NOT cut yet if adding border
🧶 Optional Border (Highly Recommended)
This makes it neat like in the photo.
Round 1:
- ch 1
- Work sc evenly around all sides
Important:
- On sides → place 1 sc per row
- On corners → place 2–3 sc in same stitch
- Slip stitch to first stitch
🔹 Step 6: Fasten Off
- Cut yarn (leave 10–15 cm tail)
- Pull through
- Use yarn needle to weave ends
🪝 Optional: Add Hanging Loop
Before fastening off:
- ch 10–15
- slip stitch into same corner
- fasten off
✔ Now you can hang it
💡 Pro Tips (Very Helpful)
1. Straight Edges Trick
Always:
- Count stitches → should stay 35 every row
- First stitch goes into first stitch, not chain
2. Cleaner Look
Turn your work same direction every time
3. Softer Fabric
After finishing:
- Wash + dry → becomes softer and fluffier
4. Thicker Version
Use:
- sc blo instead of hdc → denser
- or double yarn strands
🔄 Custom Variations
✨ Thicker Spa Cloth
- Use hdc blo + bigger hook
✨ Mini Towel
- chain 45–50
- make 40–50 rows
✨ Blanket Style
- same pattern, just larger foundation chain