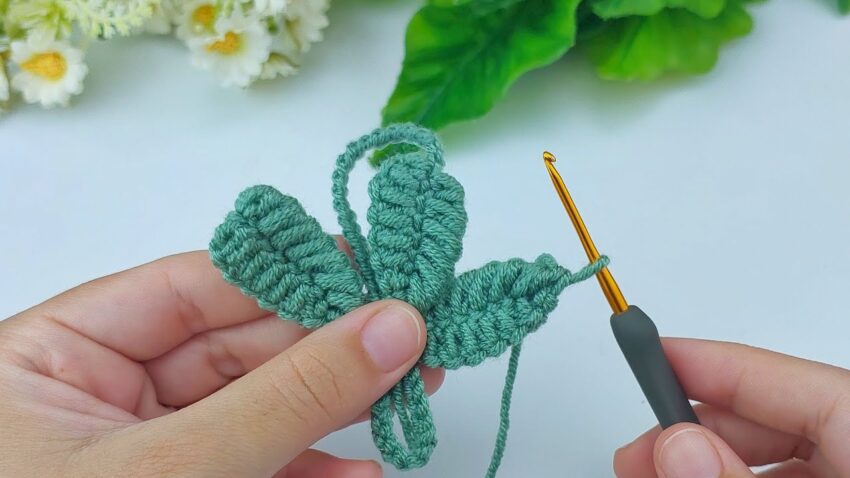
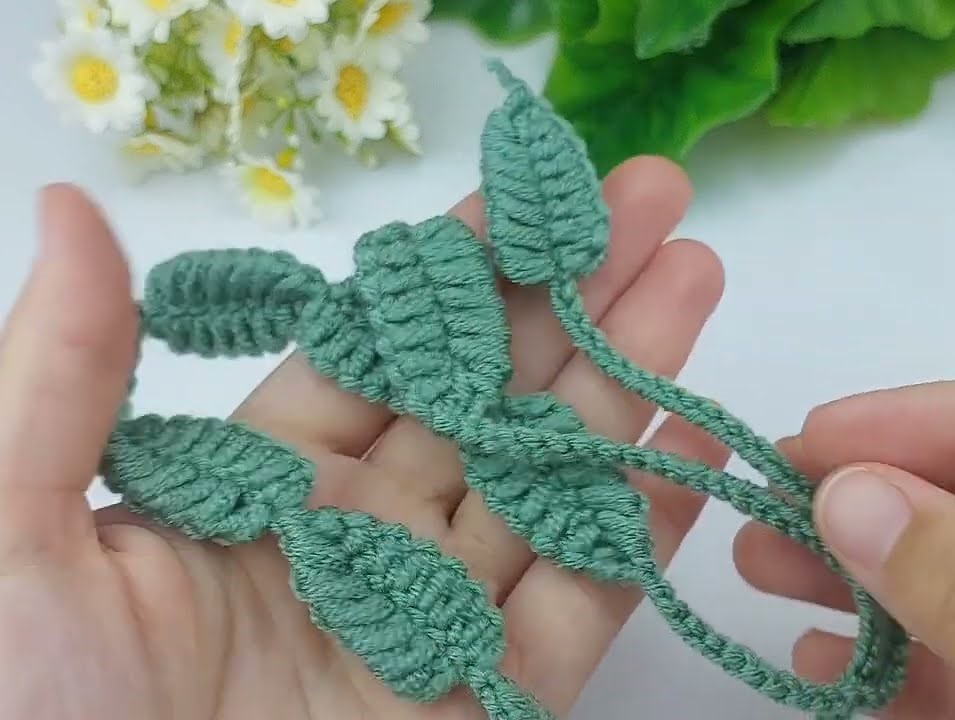
This is a crochet leaf (3D puff/relief leaf) 🌿
I’ll explain it step by step so you can make the same one.
WHAT THIS IS
This leaf is made by:
- 1 long stem
- Several leaves crocheted one by one from the same base
- Each leaf is worked around a chain, not in rounds
MATERIALS
- Yarn: medium (cotton is best for clear texture)
- Hook: 3.0–4.0 mm
- Scissors
CROCHET TERMS (US)
- ch = chain
- sl st = slip stitch
- sc = single crochet
- hdc = half double crochet
- dc = double crochet
- tr = treble crochet
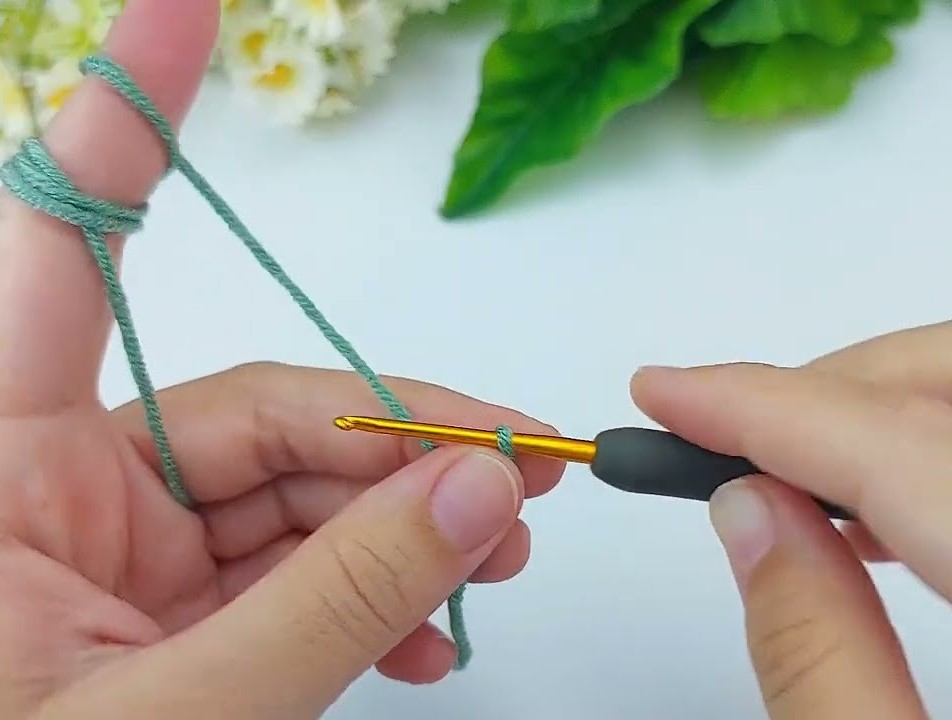
STEP 1: MAKE THE STEM (VERY IMPORTANT)
- Make a slip knot
- Put hook in loop
- Chain 10
ch 10
👉 This long chain is the stem
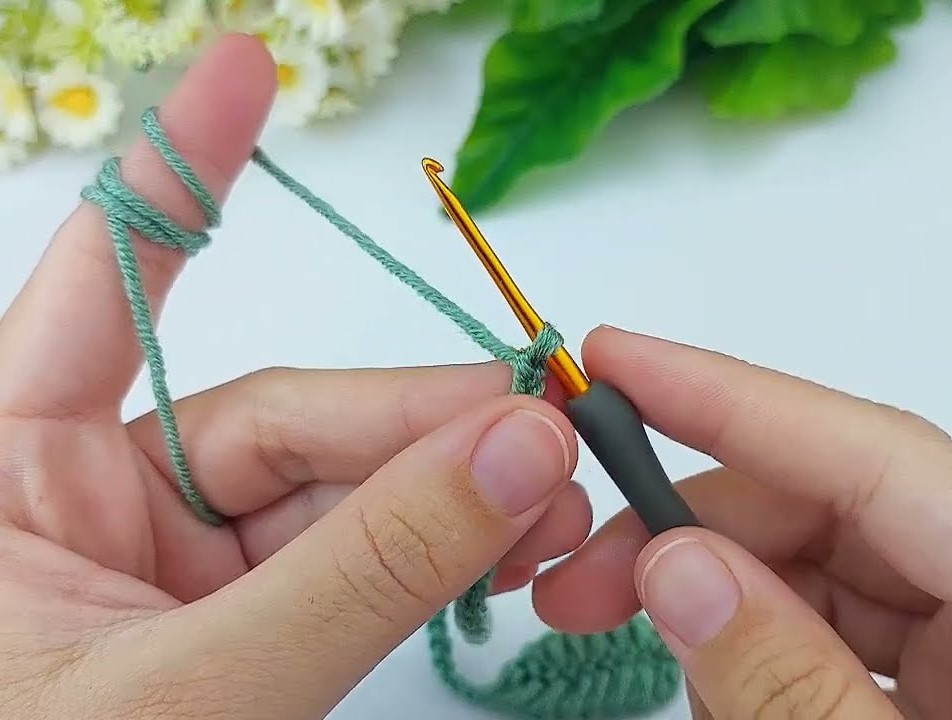
- Now crochet slip stitches back down the chain:
- Insert hook into 2nd chain from hook
- Yarn over, pull through both loops
- Repeat in every chain
You now have a flat stem
❗ Do NOT cut the yarn
STEP 2: START THE FIRST LEAF (CENTER VEIN)
- From the stem base, chain 8
ch 8
👉 This chain is the middle line of the leaf
STEP 3: CROCHET ONE SIDE OF THE LEAF
Work into the back bumps or normal loops of the chain.
Into the chain, make stitches increasing in height:
- Into 2nd chain from hook → 1 sc
- Next chain → 1 hdc
- Next chain → 2 dc
- Next chain → 1 tr
- Next chain → 2 dc
- Next chain → 1 hdc
- Last chain → 1 sc
Your leaf is now getting wider and textured.
STEP 4: MAKE THE LEAF TIP (POINT)
In the last chain space, make:
2 sc
👉 This forms the pointed tip of the leaf
STEP 5: SECOND SIDE OF THE LEAF
Now turn your work slightly and crochet down the other side of the same chain
Repeat the same stitches:
- 1 sc
- 1 hdc
- 2 dc
- 1 tr
- 2 dc
- 1 hdc
- 1 sc
Now the leaf looks full and symmetrical
STEP 6: CLOSE THE LEAF
- Slip stitch into the base of the leaf (where the chain started)
- DO NOT cut yarn
✅ One leaf finished!
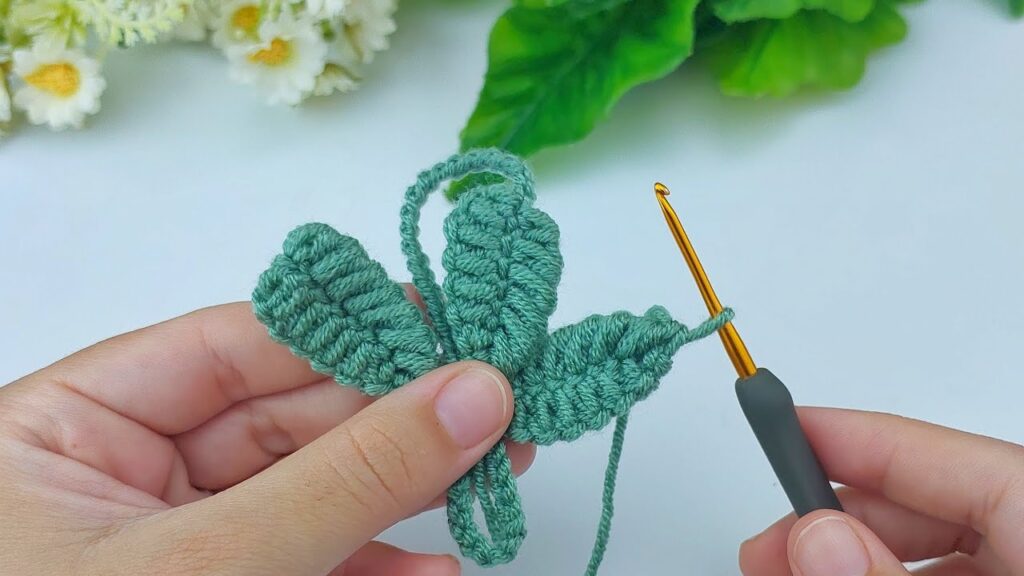
STEP 7: MAKE MORE LEAVES (LIKE THE PHOTO)
Repeat Steps 2–6:
- Chain 7–8
- Crochet another leaf
- Attach it to the same base
👉 Make 3 or 4 leaves
👉 Slightly rotate your work each time so leaves spread naturally
STEP 8: FINISH OFF
- After last leaf, sl st to secure
- Cut yarn
- Pull through to fasten
- Shape leaves gently with fingers
WHY THIS LEAF LOOKS PUFFY
- Tall stitches (dc + tr) create thickness
- Working around the chain makes it 3D
- Tight tension gives strong texture
OPTIONAL IMPROVEMENTS 🌿
- Use front-post dc for deeper veins
- Insert thin wire into stem
- Add sl st edging for sharper shape