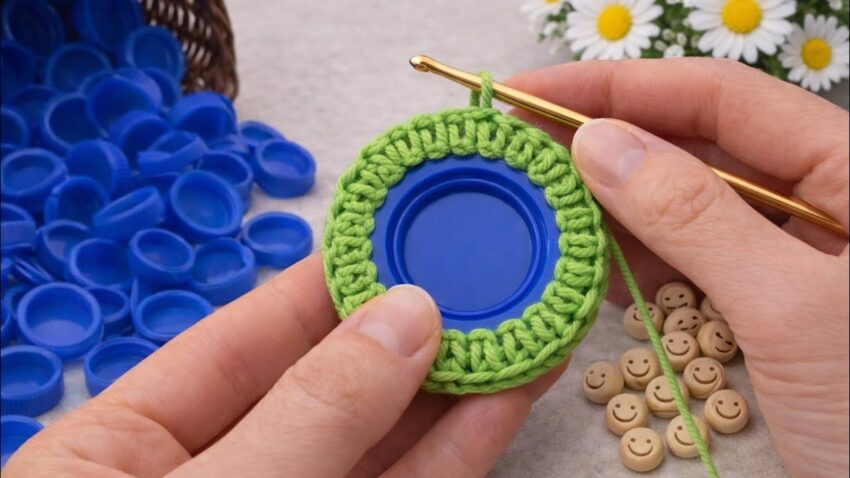
this is a crochet-covered plastic bottle cap 🌱♻️ — super popular for eco crafts, buttons, keychains, coasters, or kids’ toys. I’ll break it down step by step, nice and clear.
MATERIAL DETAILS (IMPORTANT)
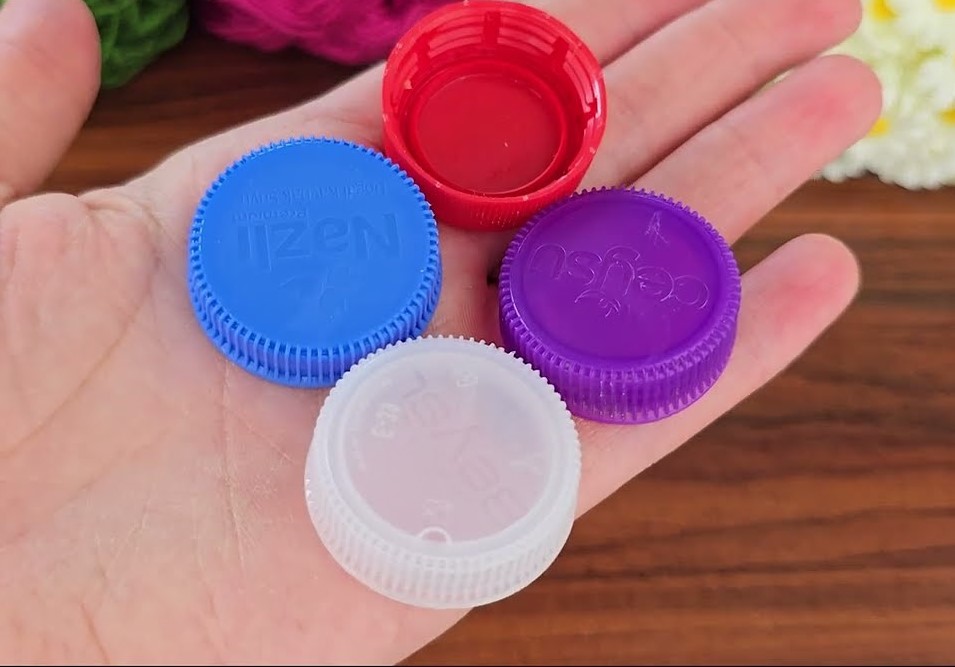
- Bottle cap: Standard water bottle cap (about 2.8–3 cm diameter)
- Yarn: Medium / worsted weight (not fluffy)
- Hook: 2.5 mm – 3.0 mm
👉 Smaller hook = tighter, cleaner edge like the photo

HOW IT WORKS (CONCEPT)
You are not crocheting into holes.
You are crocheting around the plastic rim of the cap, trapping it inside the stitches.
STEP-BY-STEP (VERY DETAILED)
STEP 1: Slip Knot
- Make a slip knot.
- Place loop on hook.
- Pull gently until snug (not tight).
STEP 2: Attach Yarn to the Cap
- Hold the bottle cap flat, top facing you.
- Insert hook under the outer rim of the cap.
- Yarn over (wrap yarn from back to front).
- Pull yarn up over the rim → 1 loop on hook.
- Chain 1 to lock it.
📌 This chain does NOT count as a stitch.
STEP 3: First Single Crochet (VERY IMPORTANT)
- Insert hook under the rim again, next to the first stitch.
- Yarn over.
- Pull up a loop (you now have 2 loops on hook).
- Yarn over.
- Pull through both loops → 1 single crochet completed.
👉 Push the stitch tight against the cap with your thumb.
STEP 4: Continue Around the Cap
Repeat the same steps:
- Insert hook under rim
- Yarn over
- Pull up loop
- Yarn over
- Pull through both loops
HOW MANY STITCHES?
- Usually 30–36 single crochets
- Stitches should:
- Sit upright
- Be touching each other
- Completely hide the plastic edge
💡 If stitches twist → yarn too loose
💡 If hook won’t fit → yarn too tight
STEP 5: Join the Round
- When you reach the first stitch:
- Insert hook into the top of the first sc
- Slip stitch
- Chain 1
STEP 6: Second Round (Creates Thick Border Like Photo)
This is what makes it look neat and professional.
- Insert hook into first stitch.
- Single crochet normally into stitches, not the plastic.
- Work 1 sc in every stitch around.
- Keep tension even.
📌 This round locks the plastic firmly inside.
STEP 7: Finish
- Slip stitch into first stitch.
- Cut yarn (leave 8–10 cm tail).
- Pull through loop.
- Use needle or hook to hide yarn inside stitches.
COMMON PROBLEMS & FIXES
Plastic still visible?
➡ Add more stitches in round 1
Edge curls?
➡ Stitches too tight → loosen tension
Yarn sliding off cap?
➡ First round stitches too loose → pull tighter
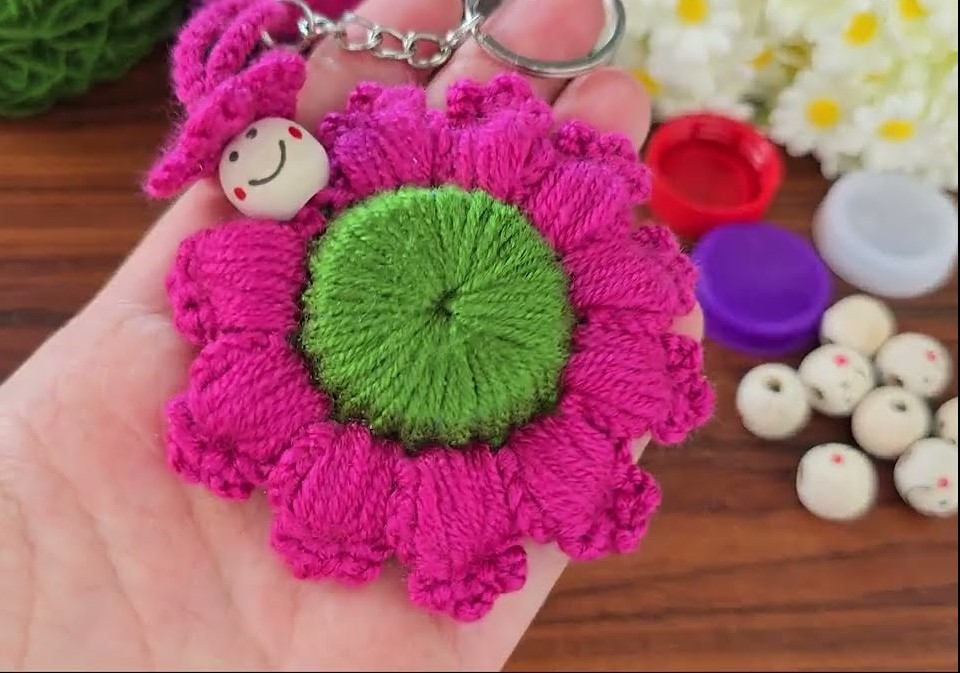
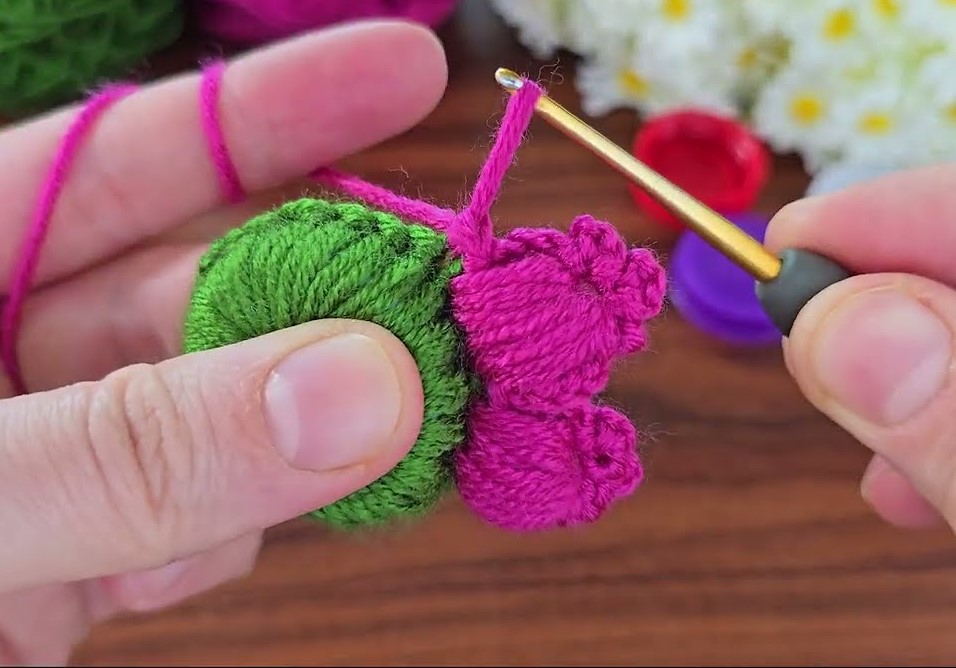
OPTIONAL VARIATIONS
🔘 Button
- Stop after Round 1
🌼 Flower Base
- Round 2: (sc, ch 3) repeat
🔑 Keychain
- Add chain 6–8 before fastening off