This looks like a crochet circle worked in double crochet (DC) rounds, and the photo shows joining a new color (green) with a slip stitch at the top of the round. I’ll explain how to make this piece from the start and what the step in the photo is.
FULL STEP-BY-STEP TUTORIAL (Beginner Friendly)
Materials
- Yarn:
- Main color (pink/white)
- Contrast color (green)
- Crochet hook: 4.0 mm (or match your yarn)
- Scissors

Crochet Terms (US)
- ch = chain
- sl st = slip stitch
- dc = double crochet
- st = stitch
STEP 1: Make a Magic Ring (very important)
- Wrap yarn around your fingers to form a loop
- Insert hook into the loop
- Yarn over, pull up a loop
- Ch 1 to secure
👉 You now have a magic ring
(Alternative: ch 4 and sl st into first ch to form a ring)

STEP 2: Round 1 – Create the center
- Ch 3 (this counts as your first dc)
- Work 11 dc into the magic ring
- Yarn over
- Insert hook into ring
- Yarn over, pull up loop (3 loops on hook)
- Yarn over, pull through 2 loops
- Yarn over, pull through last 2 loops
- Pull the magic ring tight
- Sl st into the top of ch-3
✔️ You now have 12 dc
STEP 3: Round 2 – Increase (makes it flat)
- Ch 3
- Dc in the same stitch
- Work 2 dc in every stitch around
- Sl st into top of ch-3
✔️ You now have 24 dc
📌 This round makes the circle grow evenly.
STEP 4: Round 3 – Even round (smooth shape)
- Ch 3
- Dc 1 stitch in each stitch around
- Sl st into top of ch-3
- DO NOT cut yarn yet (unless changing color)
✔️ Circle is complete and flat like the photo.
STEP 5: Prepare for color change (very important)
- After your final sl st, pull the loop slightly longer
- Cut the pink yarn, leaving a 5–6 cm tail
- Remove hook from loop
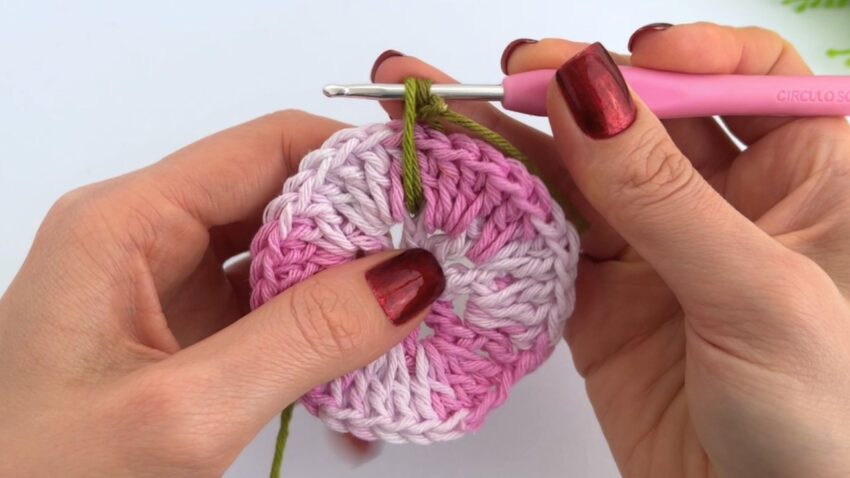
STEP 6: Join the green yarn (THIS IS THE PHOTO STEP)
This is exactly what you see in the image.
How to join cleanly (no knot):
- Insert hook into the same stitch where the round joined
- Place green yarn over the hook
- Pull up a loop of green yarn
- Yarn over with green
- Pull through the loop → slip stitch made
✔️ The green yarn is now attached smoothly
✔️ No knot, no bump
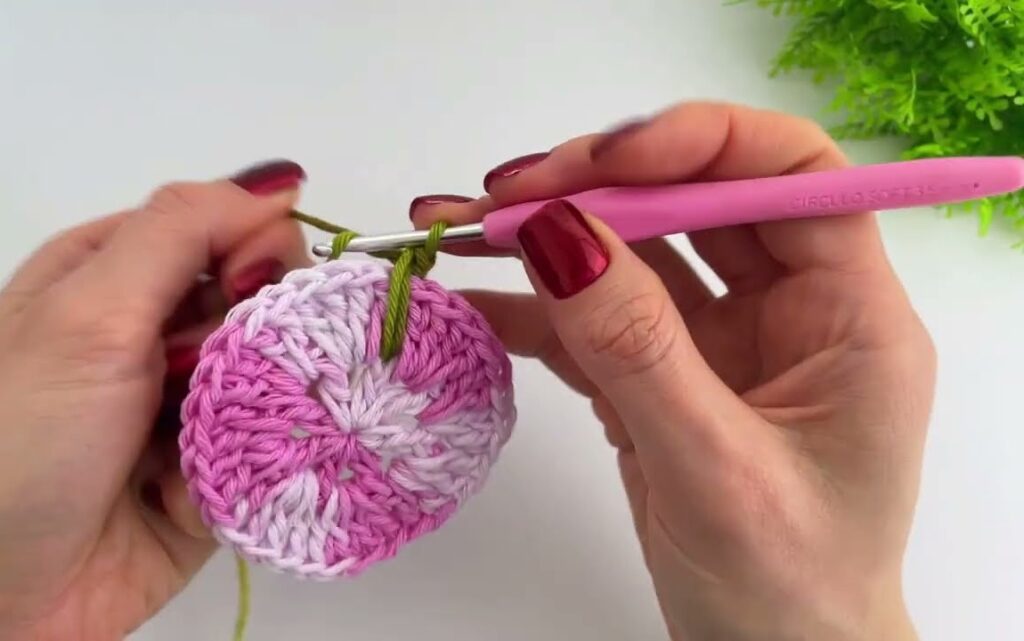
STEP 7: Tighten correctly (important detail)
- Hold the green yarn tail
- Gently pull until the stitch sits flat
- Do NOT pull too tight (circle should stay flat)
STEP 8: What you can do next with green yarn
Depending on the pattern, you can:
Option A: Decorative edge
- Ch 1
- Sl st around the circle
Option B: Petals / leaves
- Ch 3–5
- Dc / tr / sl st into next stitches
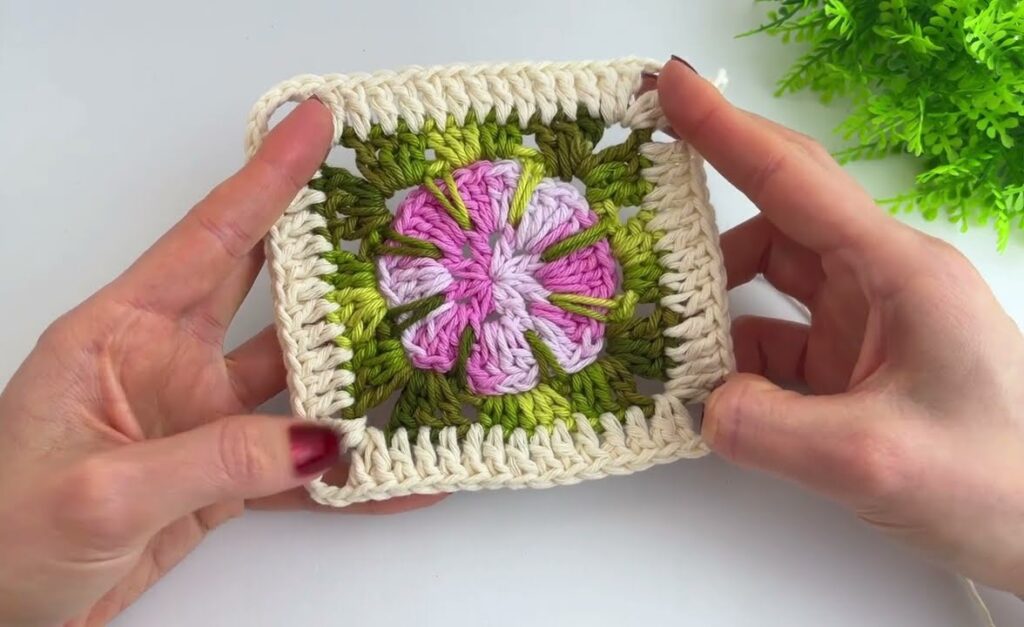
Option C: Granny-style round
- Ch 3
- Dc clusters with ch spaces
STEP 9: Weave in ends (don’t skip this)
- Thread yarn tail onto a needle
- Hide yarn through back loops of stitches
- Cut excess yarn
COMMON MISTAKES (and fixes)
❌ Circle curls → too few stitches
✔️ Add more dc in next round
❌ Wavy edge → too many stitches
✔️ Skip increases
❌ Color join looks messy
✔️ Always join with sl st, not knot