
Perfect 🌸 — let’s go step-by-step so you can follow easily, even if you’re a beginner.
We’ll make exactly what’s in your photo: a two-color granny square, starting with white in the center and adding a green border.
🧶 What You’ll Need:
- Yarn: White and green (medium-weight recommended)
- Hook: 4mm (or size that fits your yarn)
- Scissors
- Yarn needle for weaving ends
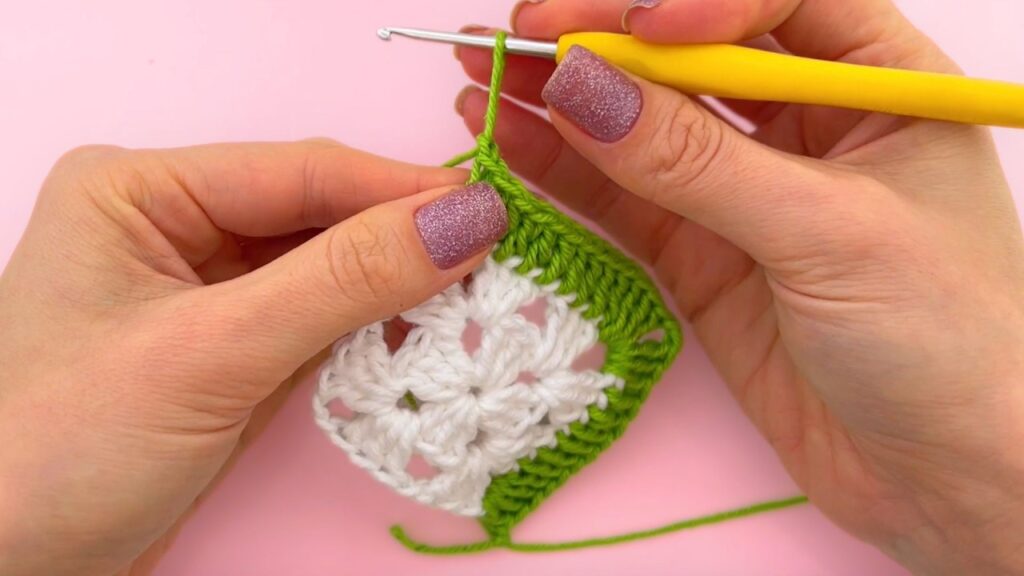
🪄 Step 1: Crochet the White Center
1️⃣ Make the starting ring
You have two options:
- Magic ring method: Wrap yarn around two fingers, insert hook into the loop, pull yarn through, and chain 3.
- Chain method: Chain 4, then join with a slip stitch into the first chain to make a small ring.
2️⃣ Create the first corner
- Chain 3 (this counts as your first double crochet (dc)).
- Then make 2 dc into the ring.
→ This group of 3 dc is your first cluster.
3️⃣ Make the next corners
- Chain 2 (this creates a space for the corner).
- Make 3 dc into the ring again → second cluster.
- Chain 2, then 3 dc → third cluster.
- Chain 2, then 3 dc → fourth cluster.
You should now have 4 clusters of 3 dc each, separated by chain-2 spaces.
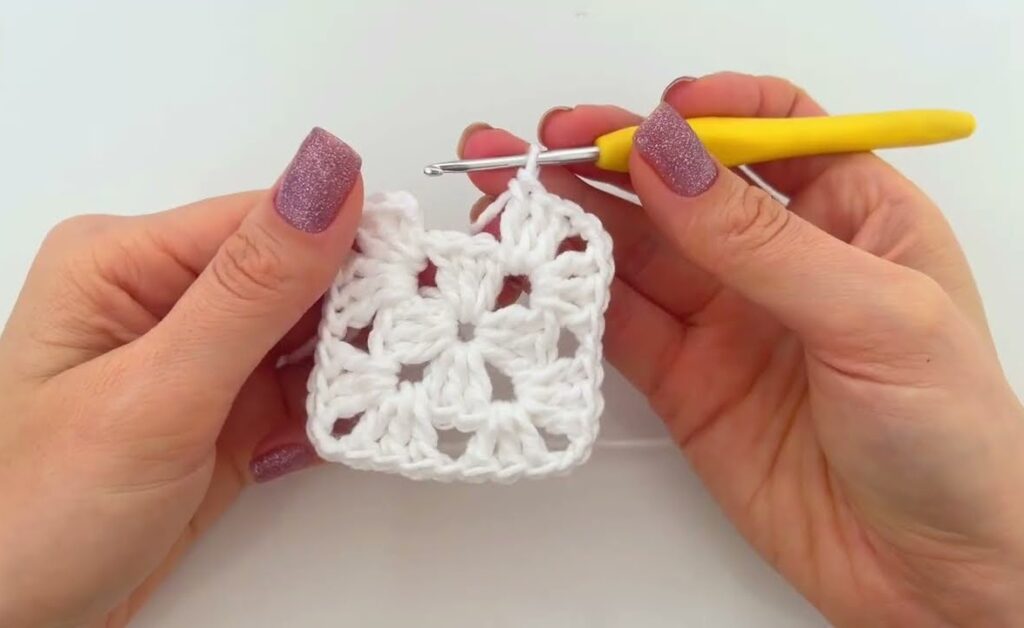
4️⃣ Close the round
- Chain 2 one more time, then join with a slip stitch to the top of your beginning chain-3.
- Cut yarn and pull through to secure.
- Weave in the end if you like neat work.
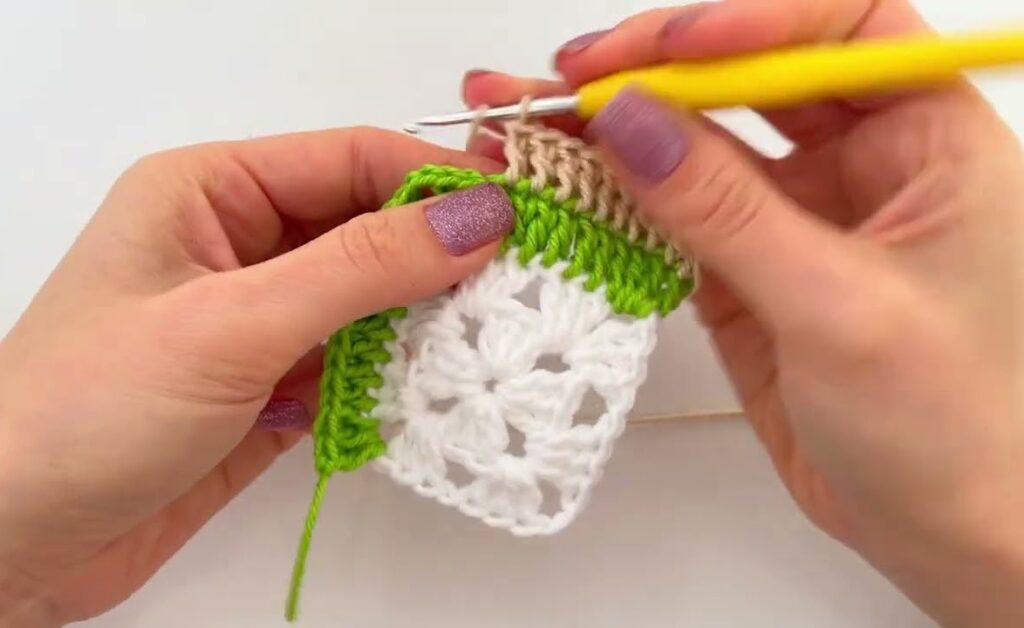
🌿 Step 2: Add the Green Border
1️⃣ Attach new color
- Insert your hook into any chain-2 corner space of the white square.
- Pull up a loop of green yarn.
- Chain 3 (counts as your first dc).
2️⃣ Crochet the first corner
In the same corner space:
- 2 dc (so now you have 3 dc total)
- Chain 2 (corner space)
- 3 dc again in the same space
→ You’ve made your first corner cluster.
3️⃣ Work along the sides
- Chain 1 to create a small space between clusters.
- In the next chain-2 corner space (of the white round):
- Make (3 dc, chain 2, 3 dc) all in the same space → that’s the next corner.
- Continue this pattern:
- Between corners, chain 1
- In corners, always make (3 dc, ch 2, 3 dc)
4️⃣ Finish the round
- After your last corner, chain 1
- Join with a slip stitch to the top of your first chain-3.
- Cut yarn, pull through, and weave in ends.
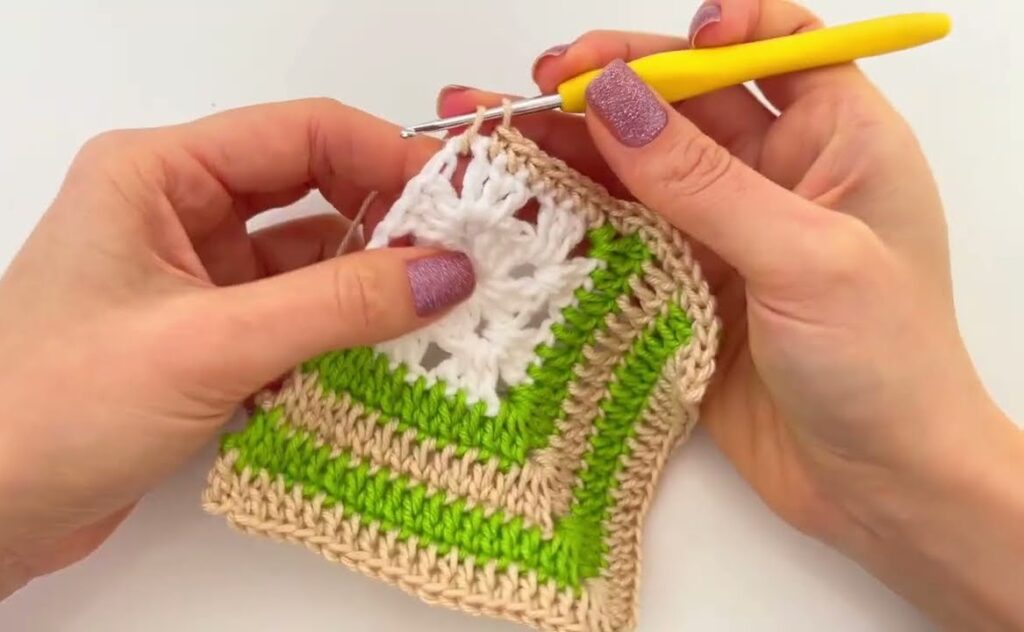
🌼 Step 3: Optional Next Round (if you want to make it bigger)
Start in any corner space with your next color:
- Corners: (3 dc, ch 2, 3 dc)
- Sides: (3 dc, ch 1) in each space between clusters.
You can repeat this pattern for as many rounds (and colors) as you like!
🧩 Stitch Key (U.S. Terms)
- ch = chain
- dc = double crochet
- sl st = slip stitch