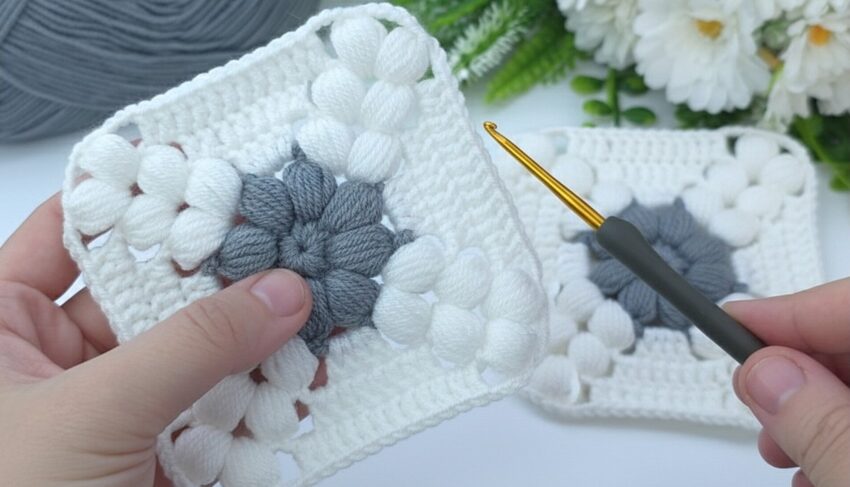
That’s a beautiful crochet puff flower granny square! 🌸
Here’s how you can make it step-by-step — it looks like a puff stitch flower square with a grey center and white petals/border.
🌸 Crochet Puff Flower Granny Square (Detailed Tutorial)
🧶 Materials:
- Yarn: 2 colors (e.g. gray for flower center, white for petals & border)
- Hook: 3.0–4.0 mm (depending on yarn thickness)
- Tools: Scissors, yarn needle

🧩 Step 1 – Make the Center Flower (Gray Yarn)
- Magic ring (or chain 4 and slip stitch to form a ring).
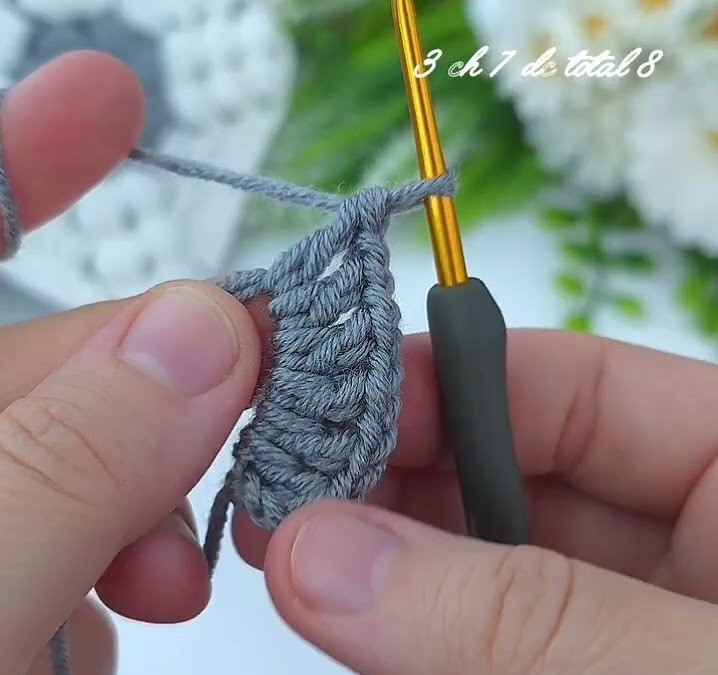
- Chain 2 – this counts as the first part of your puff stitch.
- Puff Stitch:
- Yarn over, insert hook into the ring, yarn over and pull up a loop (3 loops on hook).
- Repeat yarn over, insert, pull up 3 more times (9 loops total).
- Yarn over and pull through all 9 loops.
- Chain 1 to close the puff.
- Make 8 puff stitches total in the ring.
- Chain 1 between each puff stitch.
- Pull the magic ring tight.
- Join with a slip stitch to the top of the first puff.
- Fasten off and cut the gray yarn.
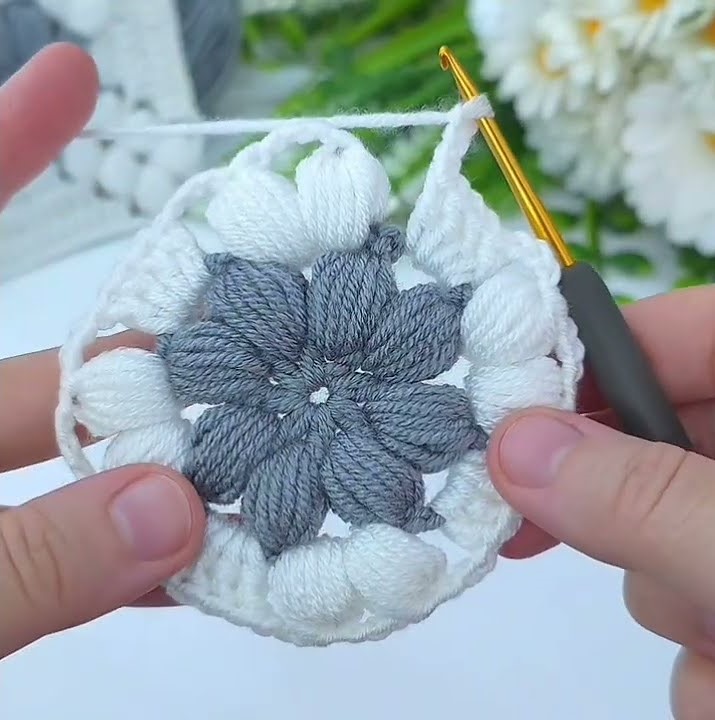
🪻 You now have a small 8-petal puff flower.
🧩 Step 2 – Make the Petal Frame (White Yarn)
- Attach white yarn in any chain-1 space between gray puffs.
- Round 2 pattern:
- Chain 2 (not counting as stitch).
- Make 1 puff stitch in same space, chain 2.
- Puff stitch in next space, chain 2.
- Continue this pattern: (puff, ch 2) around.
- Join with a slip stitch to the top of the first puff.
✨ You’ll have 8 white puffs around the flower.
🧩 Step 3 – Start Forming the Square Shape
Now we’ll start turning the circular puff flower into a square.
- Slip stitch into the next chain-2 space.
- Chain 3 (counts as first double crochet).
- In the same space: 2 double crochet (dc), chain 2, 3 dc → this makes the first corner.
- In the next chain-2 space: 3 dc (this is a side group).
- Next chain-2 space: (3 dc, ch 2, 3 dc) → this is another corner.
- Continue this pattern:
- Corners: (3 dc, ch 2, 3 dc)
- Sides: (3 dc)
- You should have 4 corners and 4 sides when done.
- Join with a slip stitch to the top of the starting chain 3.
🧩 Step 4 – Add the Outer Border
- Chain 3 (counts as dc).
- Work dc in each stitch across each side.
- At each corner (ch-2 space), do: (2 dc, ch 2, 2 dc).
- Continue all around the square.
- Join with slip stitch to finish.
- Fasten off and weave in all ends.

🧷 Optional – Finishing Touches
- Blocking: Lightly wet and pin your square to make it perfectly flat.
- Joining Squares: You can use slip stitch join, whip stitch, or continuous join-as-you-go method to connect multiple squares.
💬 Stitch Abbreviations:
| Abbreviation | Meaning |
|---|---|
| ch | chain |
| sl st | slip stitch |
| dc | double crochet |
| puff | puff stitch (yo, insert hook, pull up loop ×4, yo pull through all, ch 1 to close) |
🧶 Suggested Color Combos
| Flower | Petal | Border |
|---|---|---|
| Gray | White | White |
| Pink | Cream | Beige |
| Yellow | White | Green |
| Blue | White | Navy |