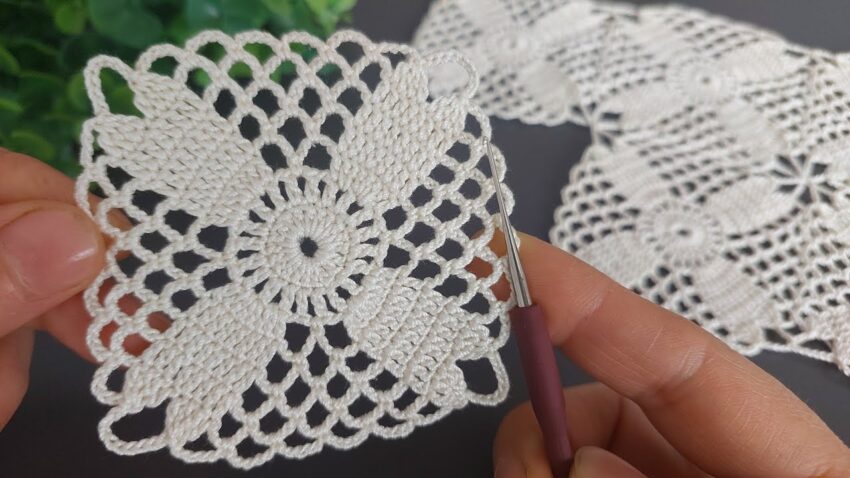
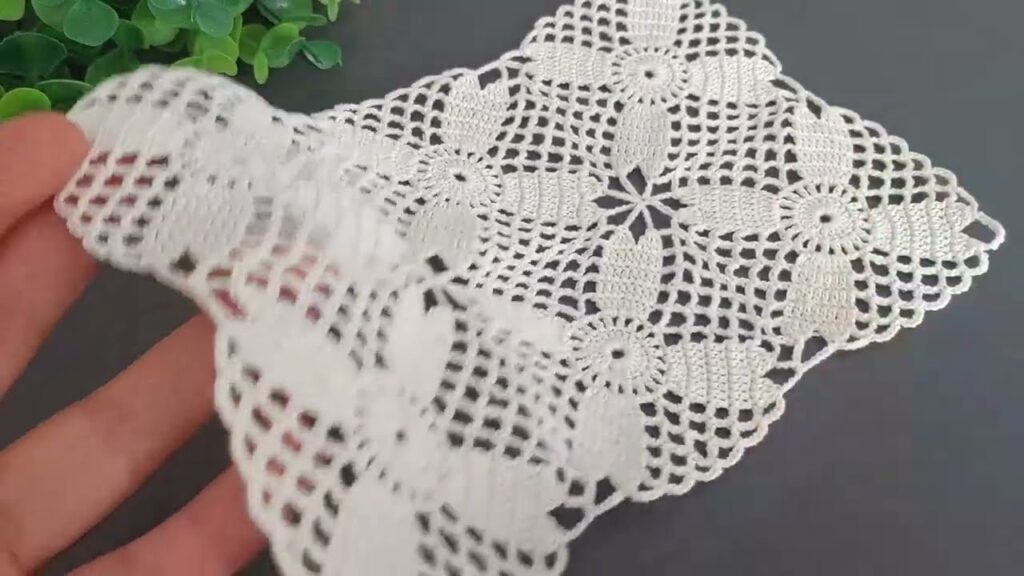
Here is a step-by-step tutorial to make the crochet lace square shown in your image. This motif has a central circle, 4 petal-like solid sections, and an open lace mesh around them.
🧶 CROCHET LACE SQUARE — FULL DETAILED TUTORIAL
🔵 ROUND 1 — The Center Circle
Purpose: Create a tight, dense round circle.
- Make a magic ring
- Chain 3 (counts as first DC)
- Make 15 double crochets into the ring
→ Total stitches = 16 dc - Pull ring tight
- Slip stitch into top of chain-3
✔ After this, you have a flat circle with 16 stitches.
🔵 ROUND 2 — The Raised Texture Around the Center
This round uses front-post stitches to make the ring look embossed.
- Chain 1
- Work 1 front-post single crochet (FPsc) around each of the 16 dc
- Insert hook around the post, not the top loops
- Slip stitch to first FPsc
✔ You should have a neatly raised ring.
🔵 ROUND 3 — Base for the Petals (Mesh Round)
This creates spaces where we will crochet big petals.
- Chain 3 (counts as dc)
- Chain 1, skip next FPsc, dc in next FPsc
- Repeat around
→ You will have 16 dc and 16 chain-1 spaces - Slip stitch to top of chain-3
✔ The round will look like alternating dc and holes.
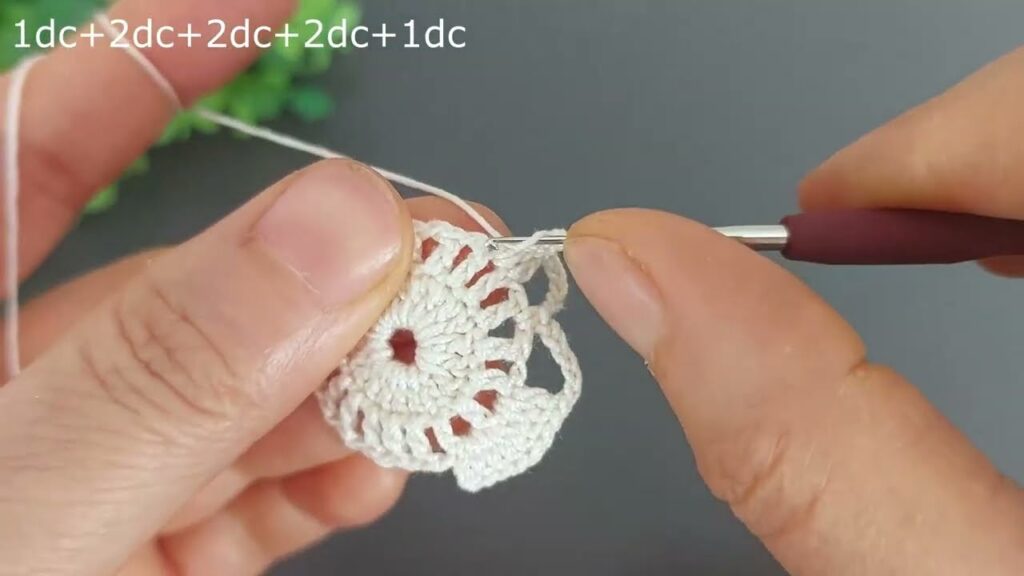
🔵 ROUND 4 — The 4 Large Petals
You will make a flower with 4 petals.
Each petal is worked inside every 4th chain space.
PETAL PATTERN (memorize this):
→ In the chosen ch-1 space, work:
- 1 sc
- 1 hdc
- 5 dc
- 1 hdc
- 1 sc
(This produces one long petal.)
Now work the round:
- Slip stitch to the FIRST ch-1 space
- Make 1 petal (sc, hdc, 5 dc, hdc, sc)
- Skip next 3 ch-1 spaces
- In the next ch-1 space, make another petal
- Repeat until you have 4 petals
- Slip stitch to finish
✔ Your motif now has exactly 4 identical long petals.
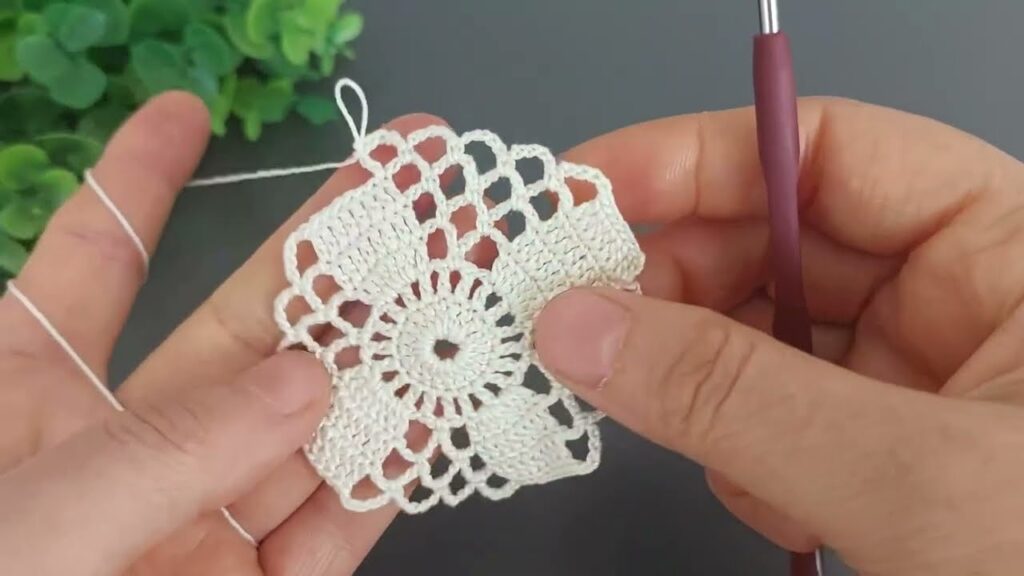
🔵 ROUND 5 — Mesh Around Petals
This begins the lacy net surrounding the petals.
- Chain 5 (dc + ch2)
- Make 1 dc at the top center of the petal
- Insert hook into the middle dc of the 5 dc you made earlier
- Chain 2
- Dc into the next available “top-of-petal” section
- Continue with:
→ (ch2, dc in next mesh point) all around - Slip stitch to join
✔ This round forms a ring of diamond-shaped holes.
🔵 ROUND 6 — Expanding the Lace
We will increase the mesh until it turns into a square.
Pattern:
- Chain 5
- Dc in next chain-2 space
- Ch 2, dc in next chain-2 space
- Continue around
No corners yet—just building height.
✔ After this round, the lace looks more open, and the petals are surrounded.
🔵 ROUND 7 — Shaping into a Square
This round creates corners.
- Chain 5
- Dc in next chain-2 space
- Work the corner like this:
→ In the same ch-2 space: (dc, ch2, dc) - Continue ch2, dc in next space until the next corner space
- Repeat corner pattern 4 times
- Slip stitch to finish
✔ Now your motif becomes a square instead of a circle.
🔵 ROUND 8 — Final Mesh Border
This round strengthens and defines the square shape.
Repeat the pattern:
- Dc in each ch-2 space
- Ch2 between each
- At corners: (dc, ch2, dc) in the corner space
Slip stitch to close.
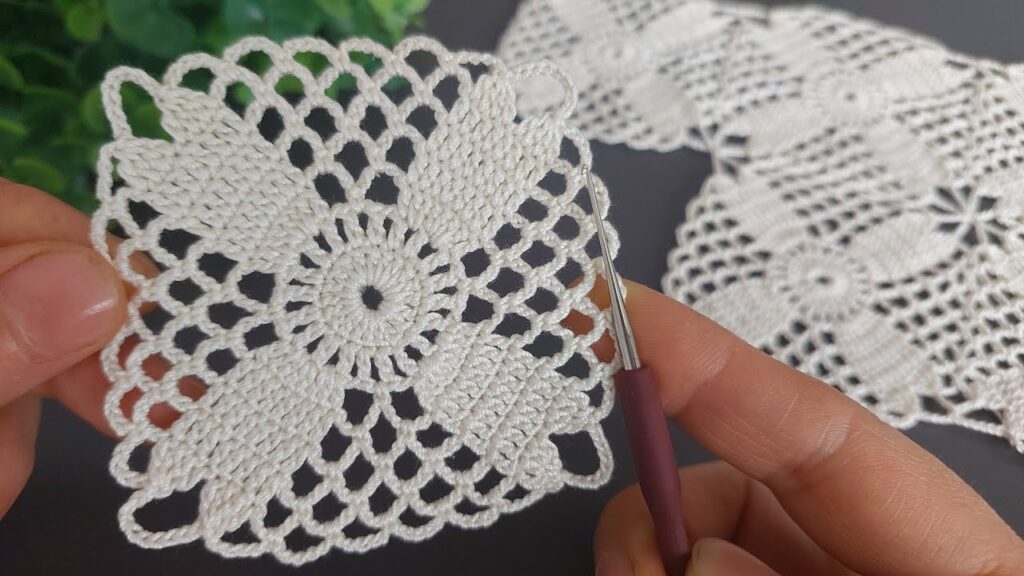
✔ The square should now match the photo almost exactly.
🧼 BLOCKING (Important for this lace)
To make it flat and crisp:
- Pin all corners and petal tips
- Spray with water or steam lightly
- Let dry fully
- Remove pins
🎉 DONE!
You now have the exact lace square shown in your image.