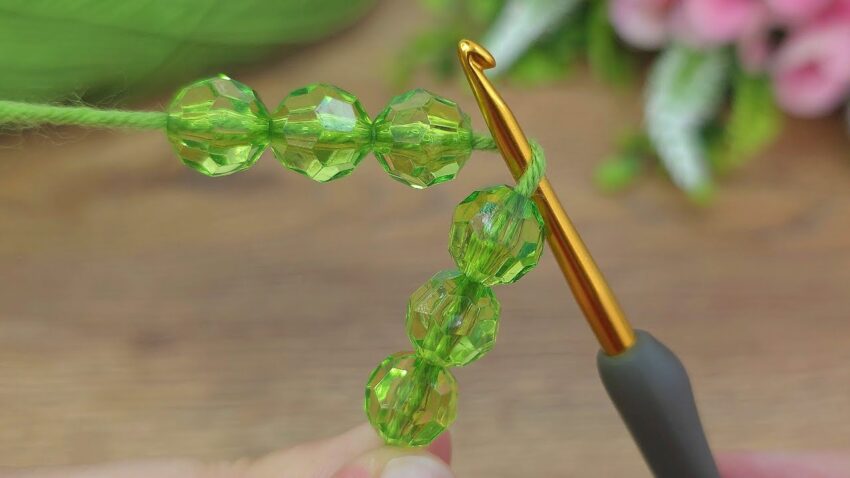
This photo shows a crochet cord with beads — sometimes called a beaded crochet rope or Romanian cord with beads. Here’s how to make it step-by-step:
🧶 DETAILED CROCHET BEADED CORD TUTORIAL
🔸 Materials Needed
- Yarn or thread:
- Use fine cotton thread or smooth yarn (no fuzzy fibers, so the beads slide easily).
- Example: size 10 crochet cotton.
- Beads:
- Choose beads with holes large enough for your thread.
- Glass, acrylic, or crystal beads work well.
- Crochet hook:
- Match the hook size to your thread (for size 10 cotton, use 1.25–1.5 mm hook).
- Needle (optional):
- A beading needle or thin sewing needle helps string beads onto the yarn.

🔸 Step 1: Thread the Beads
- Thread as many beads as you’ll need before you start crocheting.
Example: For a bracelet, 50–70 beads; for a cord, maybe 100–200 beads. - Slide them down the yarn away from your working end so they don’t get in the way yet.
💡 Tip: If the yarn is too thick for your needle, use a bit of fine thread or fishing line to pull the yarn through each bead.
🔸 Step 2: Make a Slip Knot
- Create a slip knot and place it on your crochet hook.
- Tighten just enough so it doesn’t slip off, but still moves smoothly.
🔸 Step 3: Chain the First Stitch
- Yarn over and pull through the loop (make one chain stitch).
- This chain is the base for your beads to rest on.

🔸 Step 4: Add the First Bead
- Slide one bead up close to your hook.
- Yarn over and pull through the loop with the bead held near the chain.
- The bead should now be caught in that chain stitch.
- Adjust it so the bead sits flat and faces the same direction.
🔸 Step 5: Continue the Pattern
- Slide the next bead toward the hook.
- Yarn over and pull through the loop to make another chain.
- Repeat this step for every bead:
- Push bead up
- Yarn over
- Pull through
- Adjust bead
👉 The beads will align along one side of the chain if your tension is even.

🔸 Step 6 (Optional): Make a Twisted or Thicker Cord
If you want a rope-style cord:
- After the beaded chain is as long as you want, turn your work.
- Insert your hook into the back loop of the second chain from hook.
- Yarn over and pull through both loops to make a slip stitch.
- Continue down the chain — this will create a Romanian twisted look.
- The beads will spiral beautifully along the edge.
🔸 Step 7: Finish Off
- Once you’ve added all beads, cut the yarn (leave a small tail).
- Pull the tail through the last loop and tighten.
- Weave in ends with a yarn needle.

🌟 Extra Tips
- Keep tension consistent so beads don’t move around.
- Always slide beads one by one — don’t push a bunch up at once.
- To make jewelry:
- Add a clasp or tie knots at the ends.
- You can even braid multiple bead cords together.
