
That’s a lovely yarn flower! 🌸
You can make it easily using crochet or a yarn wrapping technique. Here’s a step-by-step guide for the version in your photo (a loom-style yarn flower):
🧵 Materials
| Item | Details |
|---|---|
| Yarn (2 colors) | One for the petals (e.g., mint, pink, or purple) and one for the center (gray) |
| Yarn needle / tapestry needle | With a large eye for thick yarn |
| Scissors | To cut yarn |
| (Optional) | Fork, cardboard flower loom, or your fingers to hold loops evenly |
🌼 Step-by-Step Instructions
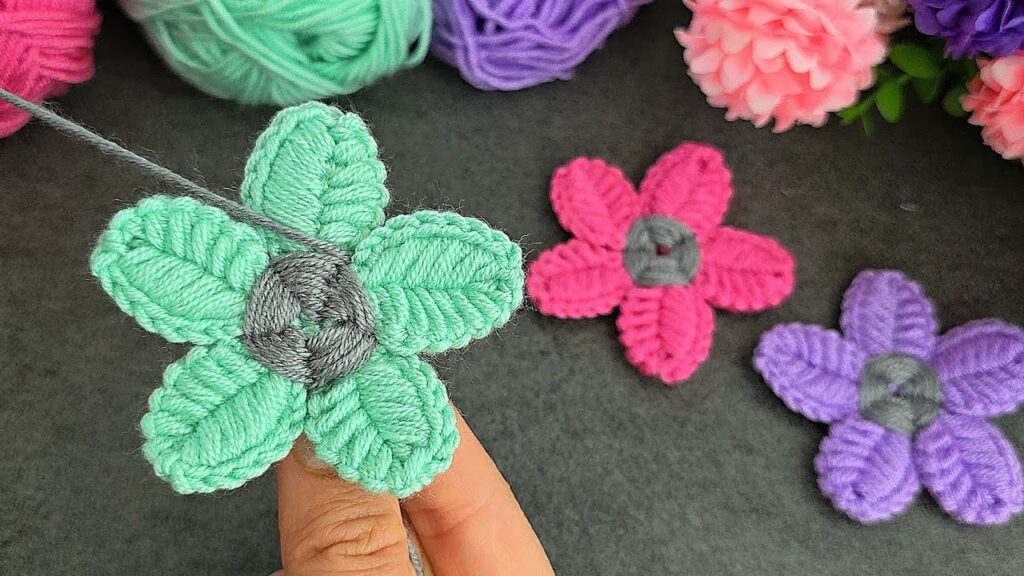
🔹 Step 1: Make the Center Ring
- Take the gray yarn (center color).
- Wrap it around two fingers about 5–6 times to create a small ring.
- Carefully slide the loops off your fingers but keep their shape.
- Thread one end of the yarn into your needle.
- Sew through the center several times, tightening slightly, so the loops stay together.
- When done, you should have a small, stable ring — this is the base where you’ll attach petals.
💡 Tip: You can also use a small metal or plastic ring instead of making one from yarn.
🔹 Step 2: Make the Petal Loops
- Take your petal color yarn (e.g., mint green).
- Insert the needle from the back side of the gray center ring and pull the yarn through, leaving a tail of about 10 cm to secure later.
- Pull out a long loop — this will be the first petal.
- You can make the petal about 3–4 cm long, depending on the flower size you want.
- Insert the needle back into the same hole in the center ring to anchor that petal loop.
- Pull through, and then make another loop on the opposite side for the second petal.
- Repeat until you have 5 loops evenly spaced around the ring (for a 5-petal flower).
💡 Tip: You can lightly mark 5 points on the ring with a pen or pin to help keep spacing even.
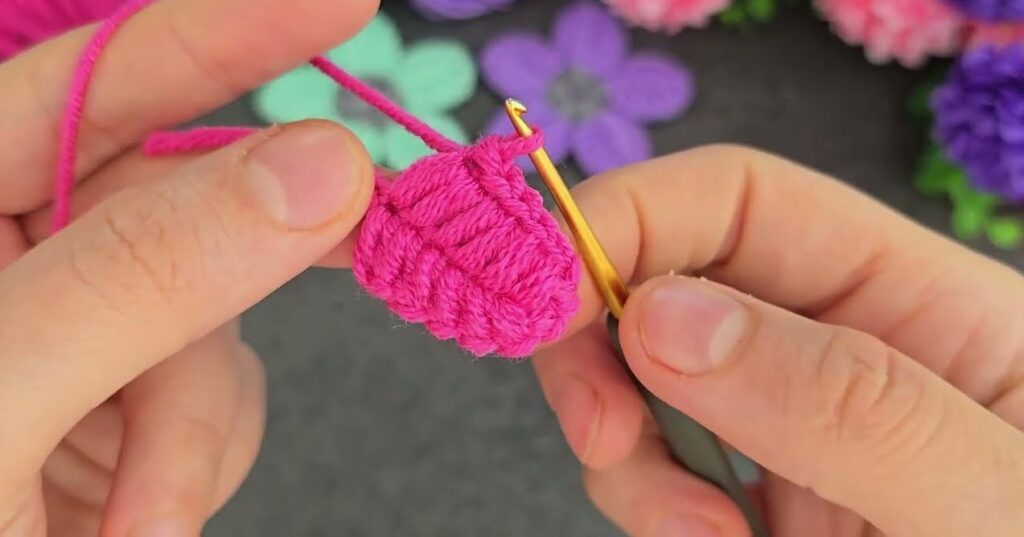
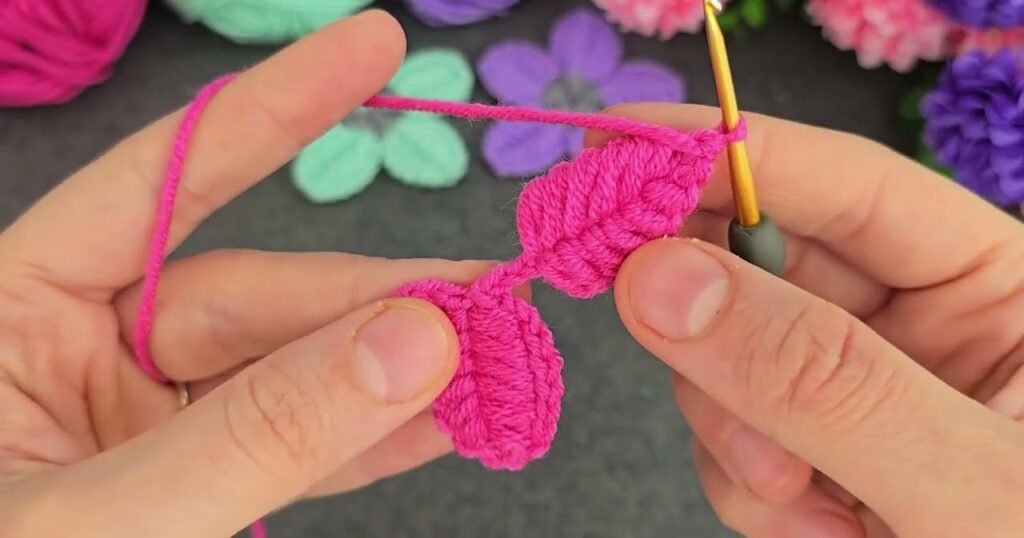
🔹 Step 3: Wrap the Petals (to make them thick)
- Once all loops are made, you’ll now wrap yarn around each loop to create the thick petal texture.
- Insert your needle near the base of one loop and bring it around the outer edge of the loop, then back through the center — this “wraps” the yarn around the petal.
- Keep wrapping evenly from base to tip, 8–12 wraps depending on yarn thickness.
- The goal is to cover the loop completely with yarn so it looks full and soft.
- When one petal is done, move to the next loop and repeat until all 5 petals are wrapped.
💡 Tip: Hold each petal loop slightly taut with your fingers so the wraps are tight and neat.
🔹 Step 4: Secure the Flower
- After wrapping the last petal, bring the yarn to the back side of the flower.
- Pass the needle under the stitches in the center a few times to secure it firmly.
- Cut off any extra yarn and tie the beginning and ending tails together to lock it in place.
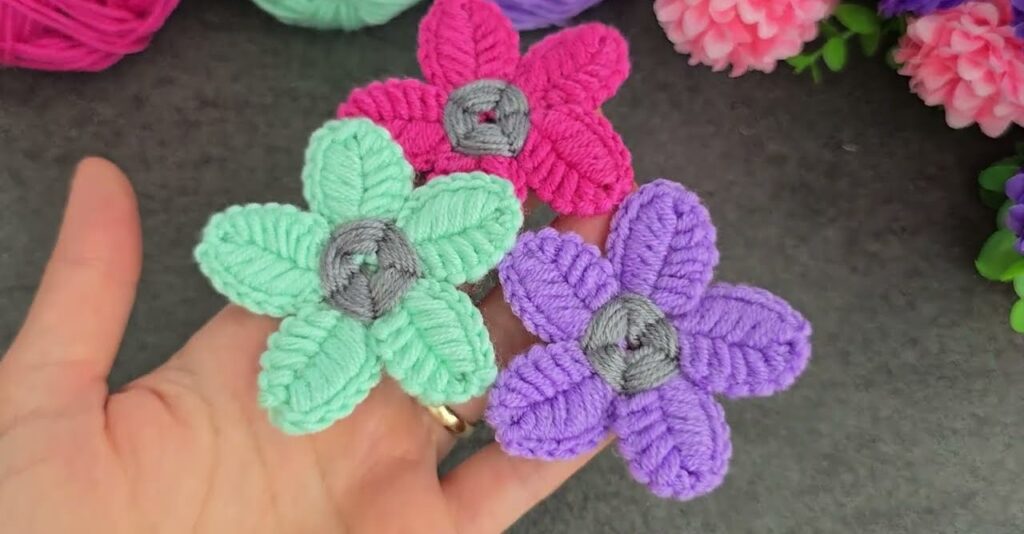
🔹 Step 5: Shape and Finish
- Gently arrange the petals with your fingers so they look even.
- You can use a tiny bead, button, or crochet circle to decorate the center if you like.
- Done! You now have a soft 3D yarn flower. 🌸
🪡 Optional Variations
- Two-tone petals: Use two colors of yarn when wrapping each petal (start with one color halfway, switch to another).
- Six petals: Just space 6 loops instead of 5 around the center.
- Crochet edge: Single crochet around the petal edges for a detailed outline.