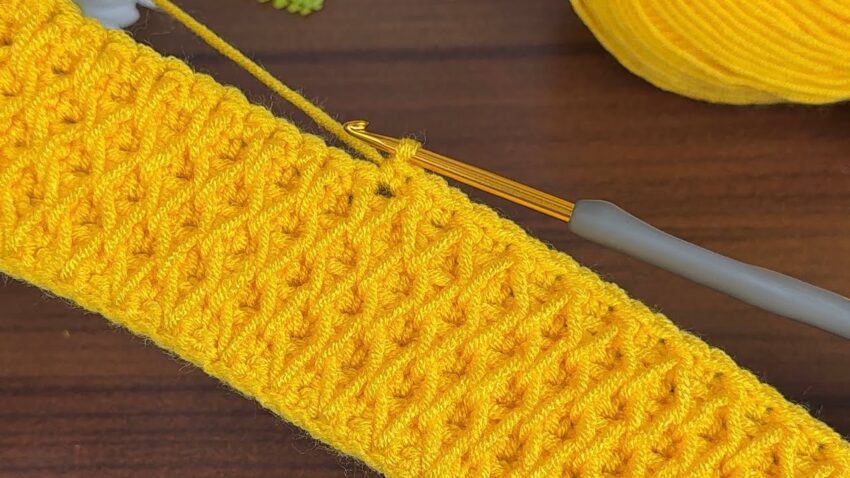
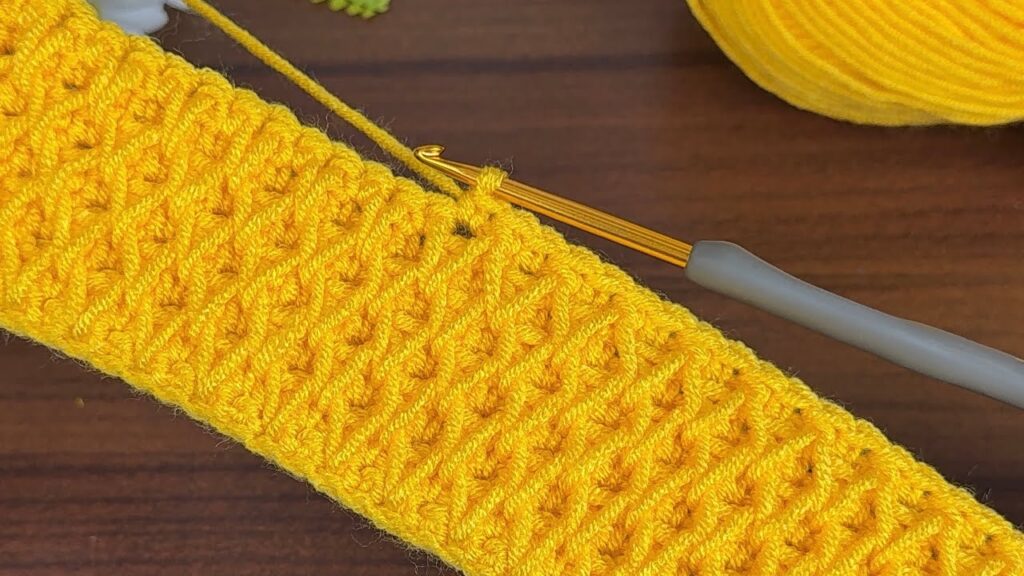
That’s a beautiful textured crochet stitch, often called the “Diagonal Rib Stitch” or sometimes the “Front Post Double Crochet Diagonal Stitch.”
It creates a raised diagonal texture — great for scarves, blankets, and sweaters.
Here’s how to make it step-by-step 👇
🧵 Crochet Diagonal Rib Stitch — Full Tutorial
🪡 What You’ll Need:
- Yarn: Medium-weight (category 4) yarn — acrylic or cotton works great.
- Hook: Use the size recommended for your yarn (e.g., 4mm–5mm).
- Scissors & yarn needle (for finishing).
✨ Abbreviations (US Terms)
| Abbreviation | Meaning |
|---|---|
| ch | chain |
| dc | double crochet |
| fpdc | front post double crochet |
| st | stitch |
| yo | yarn over |
💡 Front Post Double Crochet (fpdc) means you insert your hook around the post (vertical part) of the stitch from the previous row, instead of into the top loops.
🧶 Step-by-Step Instructions
🧩 Step 1: Foundation Chain
- Chain a multiple of 2 + 2 (example: ch 22).
- The +2 chains are for turning and the pattern alignment.
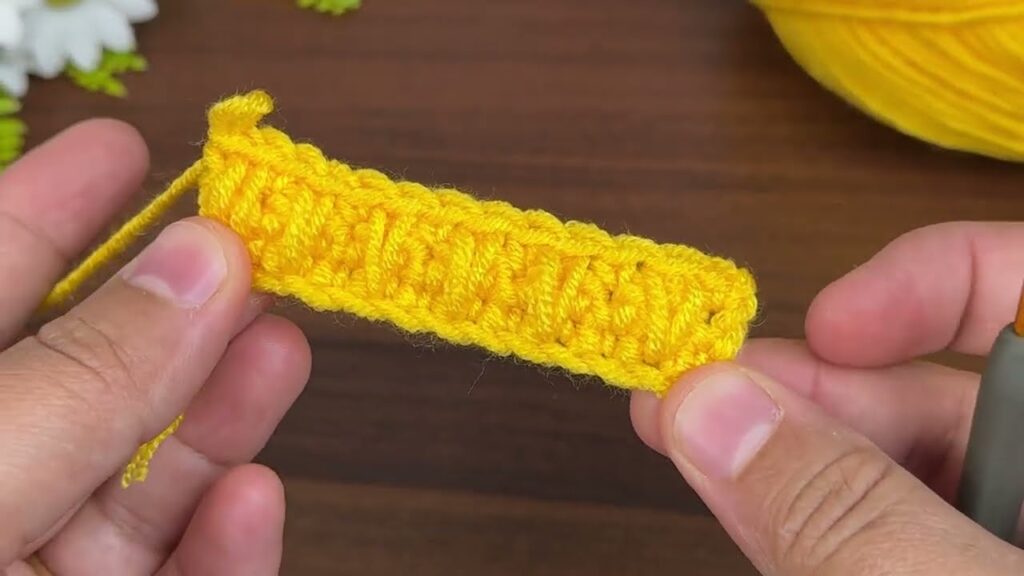
🧩 Step 2: Row 1 — Base Row
- In the 3rd chain from hook, make 1 dc.
- Continue making 1 dc in each chain across the row.
- Ch 2 and turn.
- The chain 2 counts as your first dc for the next row.
✅ You now have a simple row of double crochets as your base.
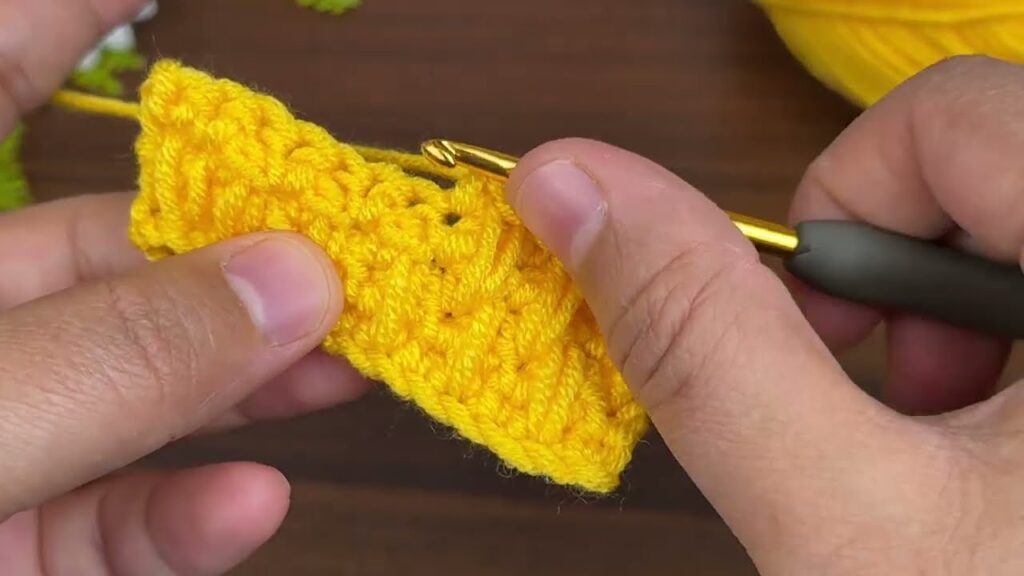
🧩 Step 3: Row 2 — Start the Diagonal Texture
Here’s where the texture begins:
- Skip the first dc (the one under your ch-2).
- Work 1 fpdc around the next dc post (insert hook from front to back, then back to front around the post, yo, pull up a loop, yo, pull through 2, yo, pull through last 2).
- Now go back to the skipped dc — make 1 dc into its top loops.
- This crosses the stitches and forms a small diagonal “V” shape.
- Repeat this sequence:
- Skip next dc, fpdc around next dc post, dc in skipped dc — all the way across.
- End the row with 1 dc in the last stitch.
- Ch 2 and turn.
✅ You’ll see the diagonals start to form.
🧩 Step 4: Row 3 — Continue the Pattern
- Skip the first dc.
- Fpdc around the next dc post from the previous row.
- Dc into the skipped dc (behind the fpdc).
- Repeat this pattern across the row.
- Dc in the last stitch, ch 2, turn.
🧩 Step 5: Repeat Rows
- Continue repeating Row 3 for the desired length.
- The crossed fpdc stitches will build a beautiful ribbed diagonal texture like in your photo.

🌼 Helpful Tips
- Keep your tension even — fpdc can pull the yarn tighter, so relax your grip.
- For more stretch, use a larger hook.
- To make it thicker and softer, use chunky yarn.
- Works well for: scarves, blankets, sweaters, and cushion covers.
💡 Optional Border (for neat edges)
Once finished:
- Work one round of single crochet evenly around all edges.
- This gives a clean, polished border.