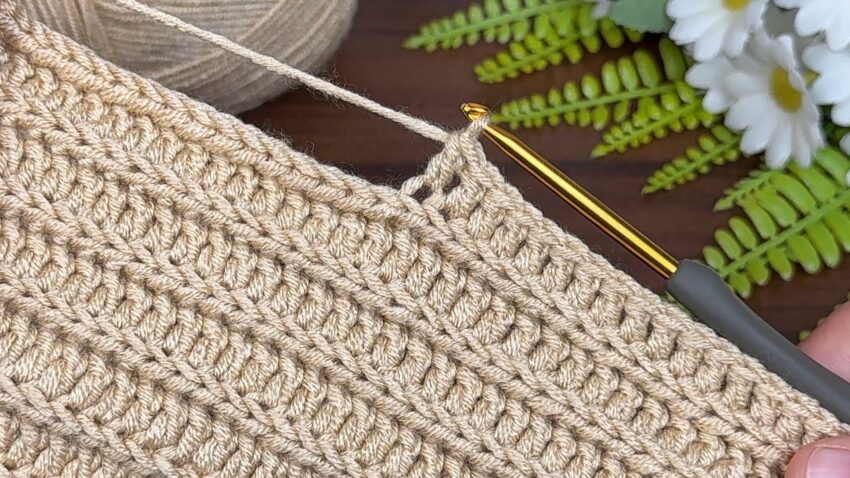
It looks like you uploaded an image of a crochet project — that’s a ribbed crochet texture, often made using front post double crochet (FPDC) and back post double crochet (BPDC) stitches.
Here’s how you can make this pattern step-by-step:
🧶 Crochet Ribbed Stitch (Front & Back Post Double Crochet)
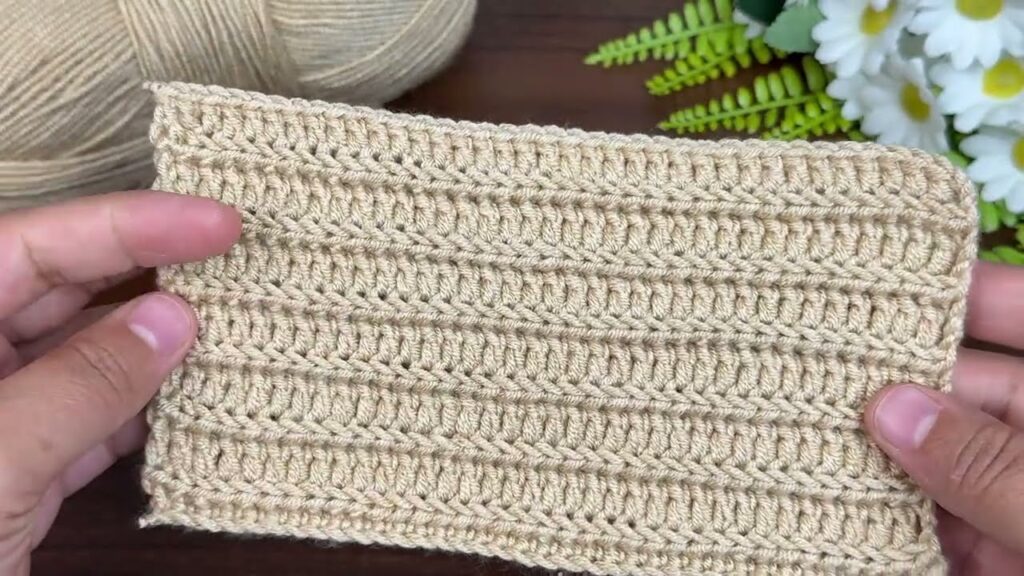
This pattern creates that 3D ribbed texture you see in the image — neat vertical lines that look like knit ribs.
🪡 MATERIALS:
- Yarn: Medium weight (#4) acrylic or cotton yarn
- Hook: 4.0 mm – 5.0 mm (use what’s recommended on the yarn label)
- Scissors & yarn needle for finishing

🪴 STEP-BY-STEP INSTRUCTIONS
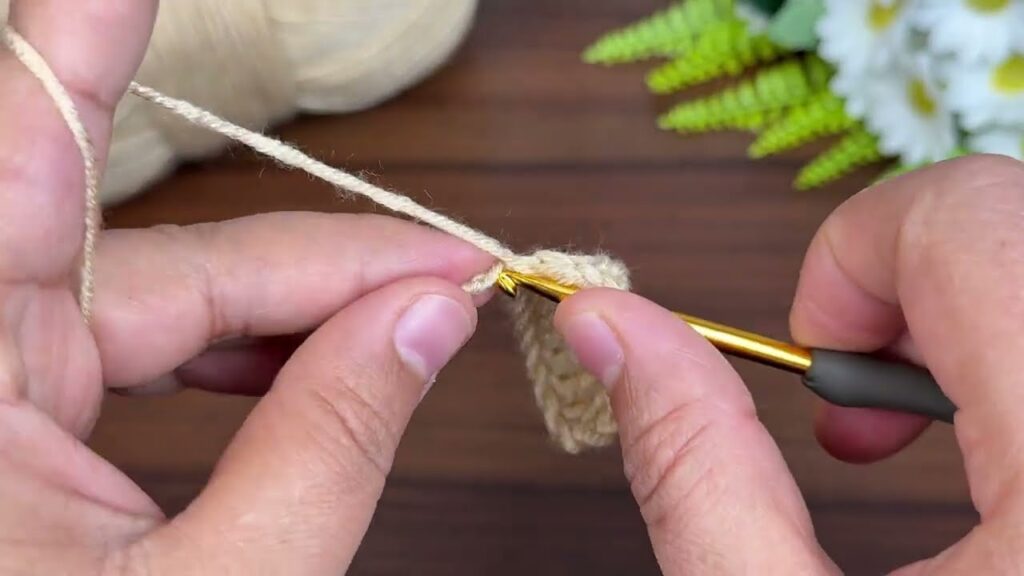
Step 1: Make the foundation chain
- Chain any even number of stitches (plus 2 for the turning chain).
👉 Example: Chain 32 + 2 = 34 chains total.
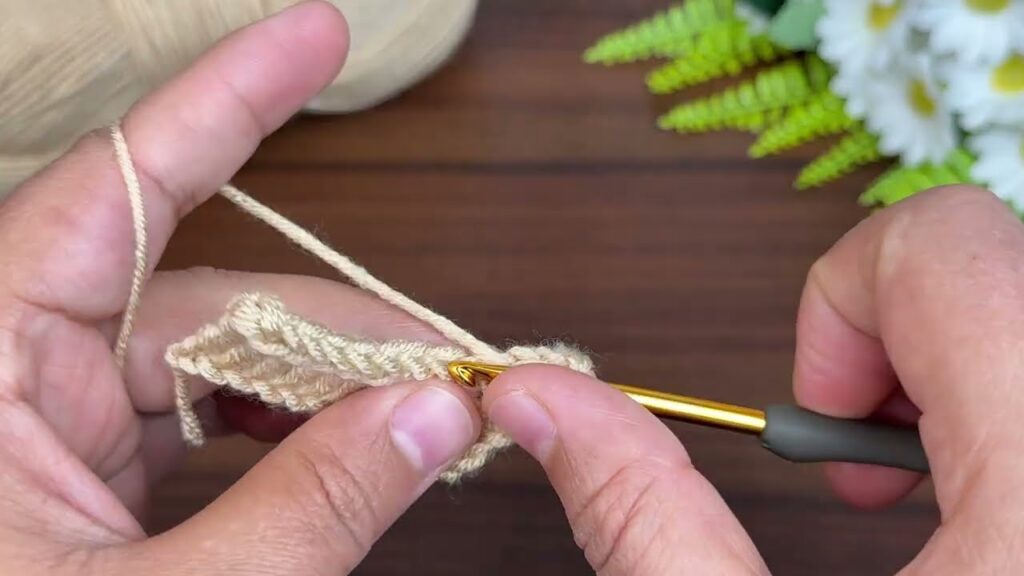
Step 2: Double crochet base row
- Yarn over, insert hook into the 3rd chain from the hook.
- Yarn over, pull through (you have 3 loops on your hook).
- Yarn over, pull through 2 loops.
- Yarn over again, pull through remaining 2 loops.
→ You made 1 double crochet (dc). - Continue making 1 dc in each chain across the row.
- Turn your work.
(Now you have a flat row of double crochet stitches.)
Step 3: Start the rib pattern (Row 2)
- Chain 2 (this counts as your first dc).
- Yarn over, prepare to make a Front Post Double Crochet (FPDC):
- Insert hook from front to back to front around the post of the next dc (the vertical part under the top loops).
- Yarn over, pull through (3 loops on hook).
- Yarn over, pull through 2 loops.
- Yarn over, pull through last 2 loops.
✅ That’s one FPDC — it pops outward toward you.
- For the next stitch, make a Back Post Double Crochet (BPDC):
- Yarn over, insert hook from back to front to back around the post of the next dc.
- Yarn over, pull through (3 loops on hook).
- Yarn over, pull through 2 loops.
- Yarn over, pull through last 2 loops.
✅ This one sits behind the fabric.
- Repeat this alternating FPDC, BPDC pattern across the row.
- End with a normal dc on the top of the turning chain.
- Turn your work.
Step 4: Continue the pattern (Row 3 and beyond)
- Chain 2.
- Work a FPDC around each FPDC from the previous row.
- Work a BPDC around each BPDC from the previous row.
- Continue this across.
- End with a normal dc at the edge.
Repeat this row for the rest of your project.
🧵 TEXTURE TIP:
If you want thicker ribs, you can do:
- 2 FPDC, then 2 BPDC instead of alternating every stitch.
- Or use half double crochet (hdc) for a softer texture.
🌟 Example pattern (written in US terms):
Ch 34
Row 1: Dc in 3rd ch from hook and in each ch across. Turn.
Row 2: Ch 2, *FPDC around next dc, BPDC around next dc*; repeat * to * across, dc in top of turning ch, turn.
Row 3: Ch 2, *FPDC around FPDC, BPDC around BPDC*; repeat across, dc in top of turning ch, turn.
Repeat Row 3 for pattern.