
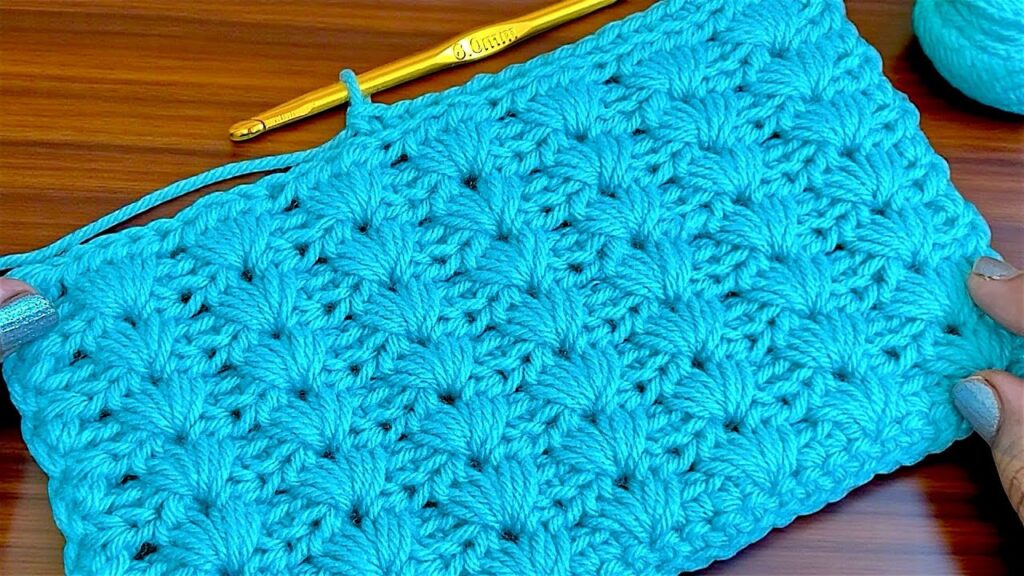
That crochet pattern in the picture is called the Suzette Stitch — it’s a beautiful textured stitch made with single crochet and double crochet in the same stitch. Here’s how you can make it step-by-step 👇
🧶 MATERIALS NEEDED:
- Yarn: Any medium-weight yarn (size 4).
- Crochet hook: 6.0 mm (as shown in your photo).
- Extras: Scissors + yarn needle (for weaving ends).
🌼 STITCHES YOU NEED TO KNOW:
- Chain (ch)
- Single Crochet (sc)
- Double Crochet (dc)
- Skip stitch (sk st)
If you’re a beginner, I’ll explain each one briefly below.
🔹 Step 1: Make a Foundation Chain
- Start with a slip knot on your hook.
- Chain an even number of stitches — for example ch 26.
(You can make it longer or shorter depending on your project width.)

🔹 Step 2: First Row (Create the texture base)
- Insert your hook into the 2nd chain from the hook.
- Make 1 single crochet (sc).
- In the same chain, make 1 double crochet (dc).
➤ You now have your first “Suzette stitch pair.” - Skip 1 chain.
- In the next chain, again make (1 sc + 1 dc) into that same chain.
- Repeat steps 4–5 all the way to the end.
- When you have one chain left, make 1 single crochet (sc) in the last chain.
- Turn your work.
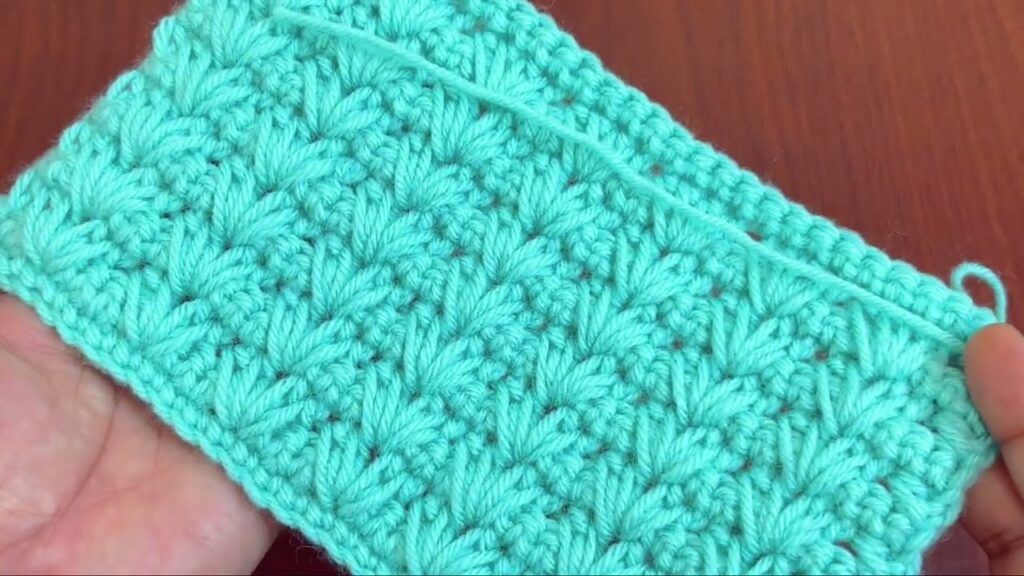
✅ You should now see small “V”-like clusters starting to form.
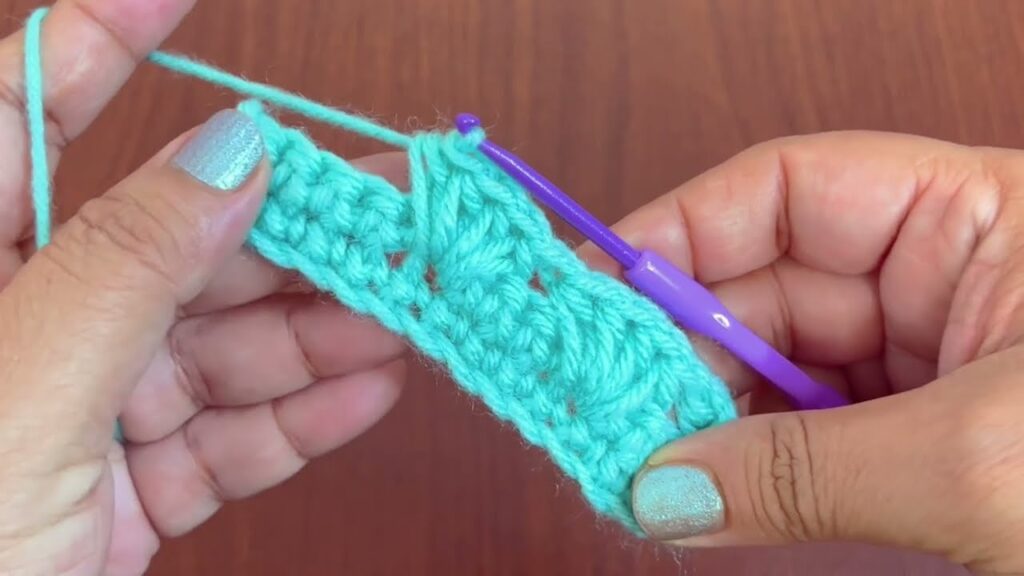
🔹 Step 3: Second Row (Build texture)
- Chain 1 (this is your turning chain — does NOT count as a stitch).
- Make (1 sc + 1 dc) in the first stitch.
➤ This means: insert your hook into the first stitch, make a single crochet, then a double crochet in the same place. - Skip 1 stitch.
- In the next stitch, again make (1 sc + 1 dc) in the same stitch.
- Repeat this pattern (skip 1, (sc + dc) in next) all across the row.
- End the row with 1 single crochet (sc) in the last stitch.
- Turn your work.
🔹 Step 4: Continue Rows
Repeat Row 2 over and over until your piece reaches the length you want.
🌸 NOTES & TIPS:
- Always start each row with ch 1 and end with 1 sc in the last stitch.
- The texture looks best when your tension is consistent — not too tight.
- The Suzette Stitch is reversible — both sides look the same, so it’s perfect for blankets and scarves.
- To change color: end your last stitch before finishing the row, pull the new color through the last two loops on the hook, then continue as normal.
💡 EXAMPLE PROJECT IDEAS:
- Baby blanket
- Cushion cover
- Bag panel
- Washcloth or dishcloth
- Cozy scarf