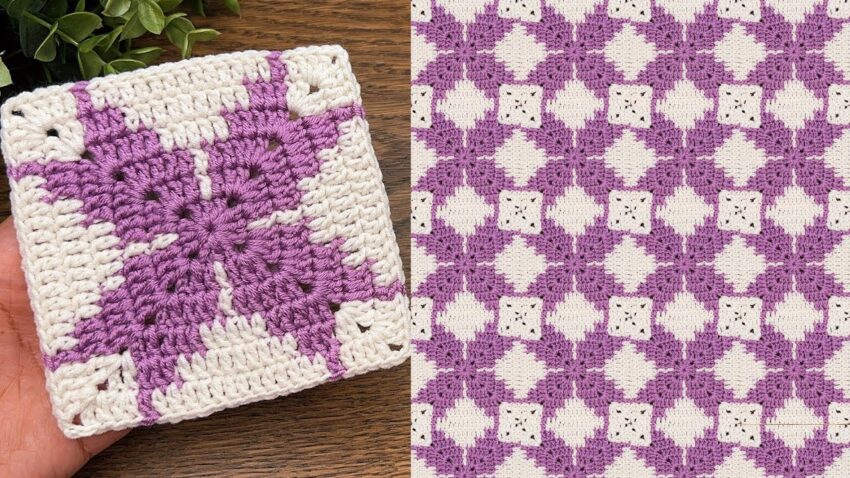
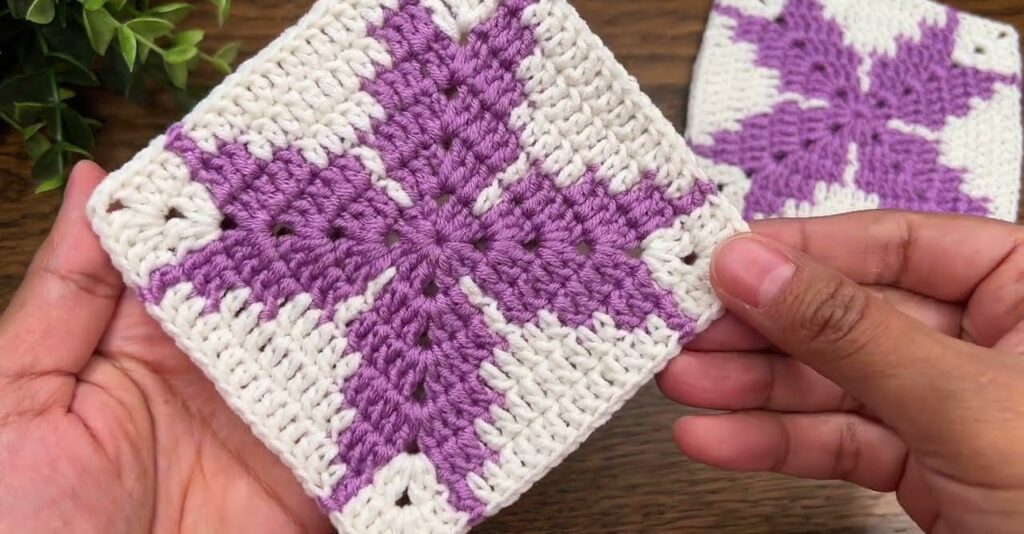
That’s a beautiful two-color crochet square pattern, often called a mosaic or cross illusion granny square. I’ll show you how to make it step by step.
🧶 TWO-COLOR GEOMETRIC GRANNY SQUARE
(White + Purple version shown)
🌟 MATERIALS
- Yarn: 2 contrasting colors (Color A = cream/white, Color B = purple)
- Hook: 4 mm or size to match yarn
- Extras: Scissors, tapestry needle, stitch markers (optional)

🪡 ABBREVIATIONS (US Crochet Terms)
| Abbrev | Meaning |
|---|---|
| ch | chain |
| sl st | slip stitch |
| sc | single crochet |
| dc | double crochet |
| sp | space |
| st | stitch |
| ch-sp | chain space |
🧩 PATTERN IN DETAIL
Round 1 – Center (Color B)
- Make a magic ring (or ch 4, sl st to form ring).
- Ch 3 (counts as 1st dc).
- In ring: 2 dc, ch 2, (3 dc, ch 2) × 3 times.
- Join with sl st in top of ch 3.
- You now have 4 groups of 3 dc, separated by ch-2 corners.
🟣 You’ll see a small purple square center.
Round 2 – Expand Center (Color B)
- Sl st across next 2 dc and into the corner ch-2 sp.
- Ch 3, 2 dc, ch 2, 3 dc in same sp (corner made).
- Ch 1, 3 dc in next ch-1 sp (between 3-dc groups), ch 1, (3 dc, ch 2, 3 dc) in next corner.
- Repeat around until you have 4 corners.
- Join with sl st to top of ch 3.
- Fasten off Color B.
👉 The square now measures about 3 inches across and has a clear purple base.
Round 3 – Add Cream/White Layer (Color A)
- Join Color A in any corner ch-2 sp.
- Ch 3, 2 dc, ch 2, 3 dc in same corner.
- In next ch-1 sp → 3 dc; in next corner → (3 dc, ch 2, 3 dc).
- Continue around.
- Join and fasten off.
🤍 The cream color now forms a frame around the purple square.
Round 4 – Petal Effect (Color B)
This round forms the purple cross shape.
- Join Color B in the middle side space (between two 3-dc groups).
- Ch 3, 2 dc in same space.
- Skip 3 dc, 3 dc in next ch-1 space, skip next 3 dc.
- In corner → (3 dc, ch 2, 3 dc).
- Continue around, repeating sides and corners.
- Join with sl st.
- Do not fasten off if you’ll continue with same color (optional).
🟣 You’ll now see purple points extending outwards — forming the start of the “star” or “cross” shape.
Round 5 – Border (Color A)
- Join Color A in any corner.
- Ch 3, 2 dc, ch 2, 3 dc in same corner.
- 3 dc in each space between purple clusters along sides.
- In each corner: (3 dc, ch 2, 3 dc).
- Continue around, join with sl st, and fasten off.
- Weave in ends neatly.
🤍 The square will now measure around 4.5″ to 5″ depending on yarn/hook size.
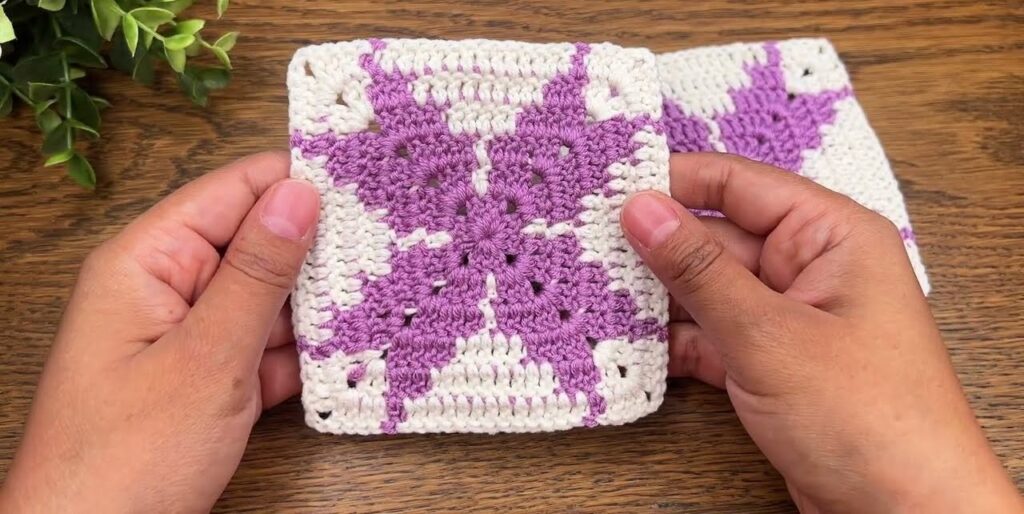
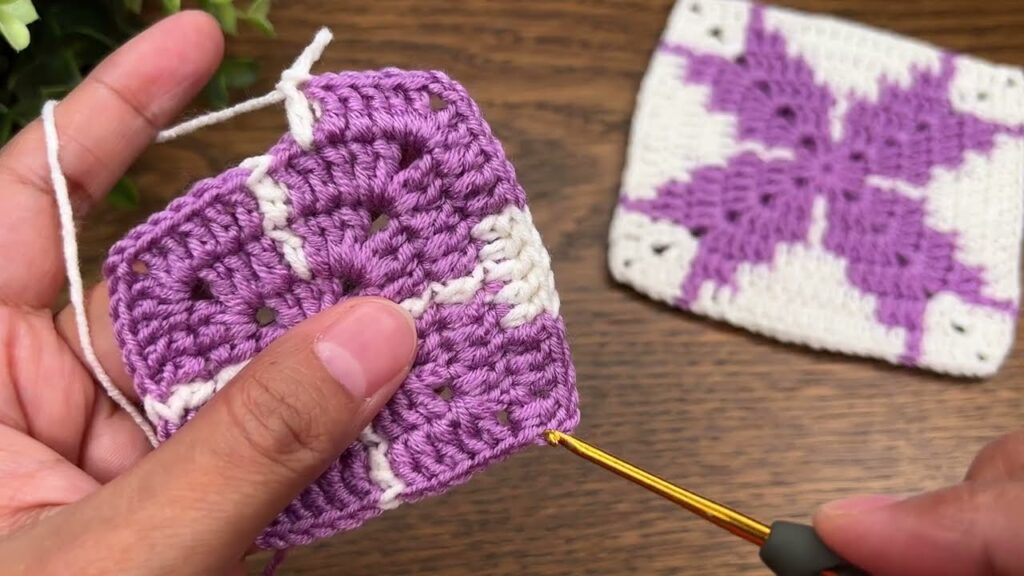
🧵 JOINING SQUARES (for the large blanket)
To achieve the diamond lattice look shown on the right side of the image:
- Alternate colors of squares: some start with purple center, some with cream.
- Arrange them diagonally so purple “X” shapes meet at corners.
- Use one of these joins:
- Slip Stitch Join: Hold two squares back-to-back and sl st through both back loops.
- Join-as-you-go: On last round, replace each ch-2 in corners with ch 1, sl st to adjacent square’s corner, ch 1.
- Whip Stitch Join: Using a needle, sew through the back loops only.
✨ OPTIONAL ROUND 6 (For More Definition)
If you want a thicker frame:
- Add another round in Color A using 3 dc, ch 2, 3 dc in corners and 3 dc in each side space.
💡 TIPS
- Keep your tension consistent; this pattern looks best with even stitches.
- To keep clean color changes, finish each round completely, cut yarn, and start new color in a corner.
- Use blocking (pin to shape and steam/lightly wet) for crisp squares before joining.