
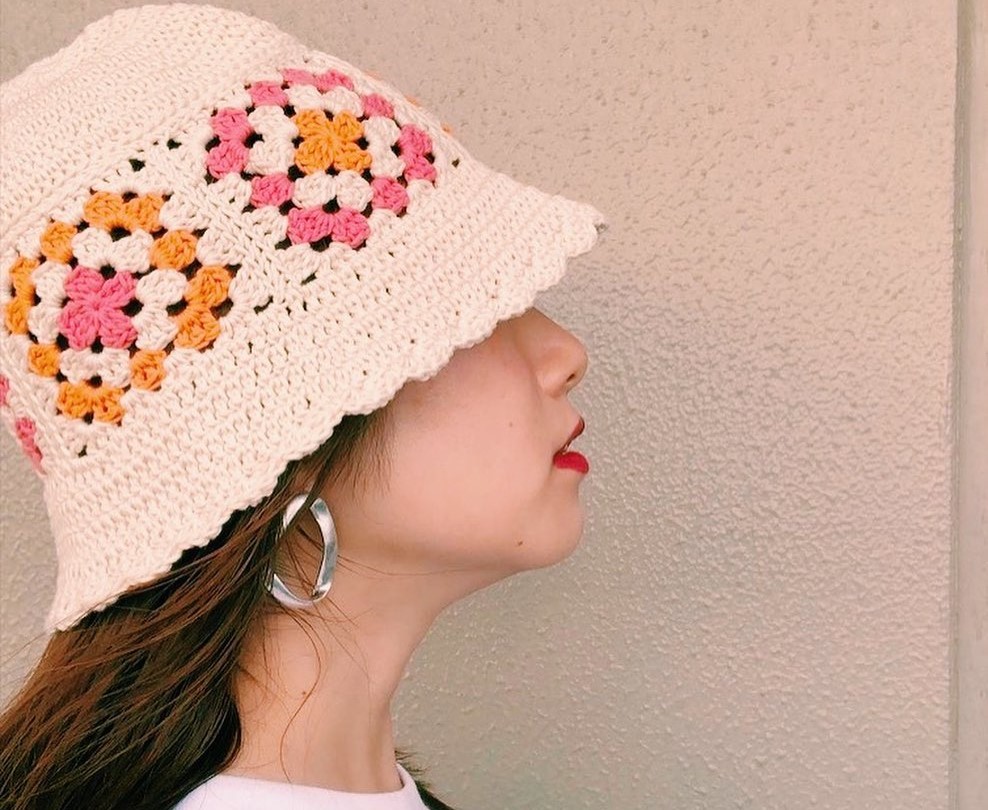
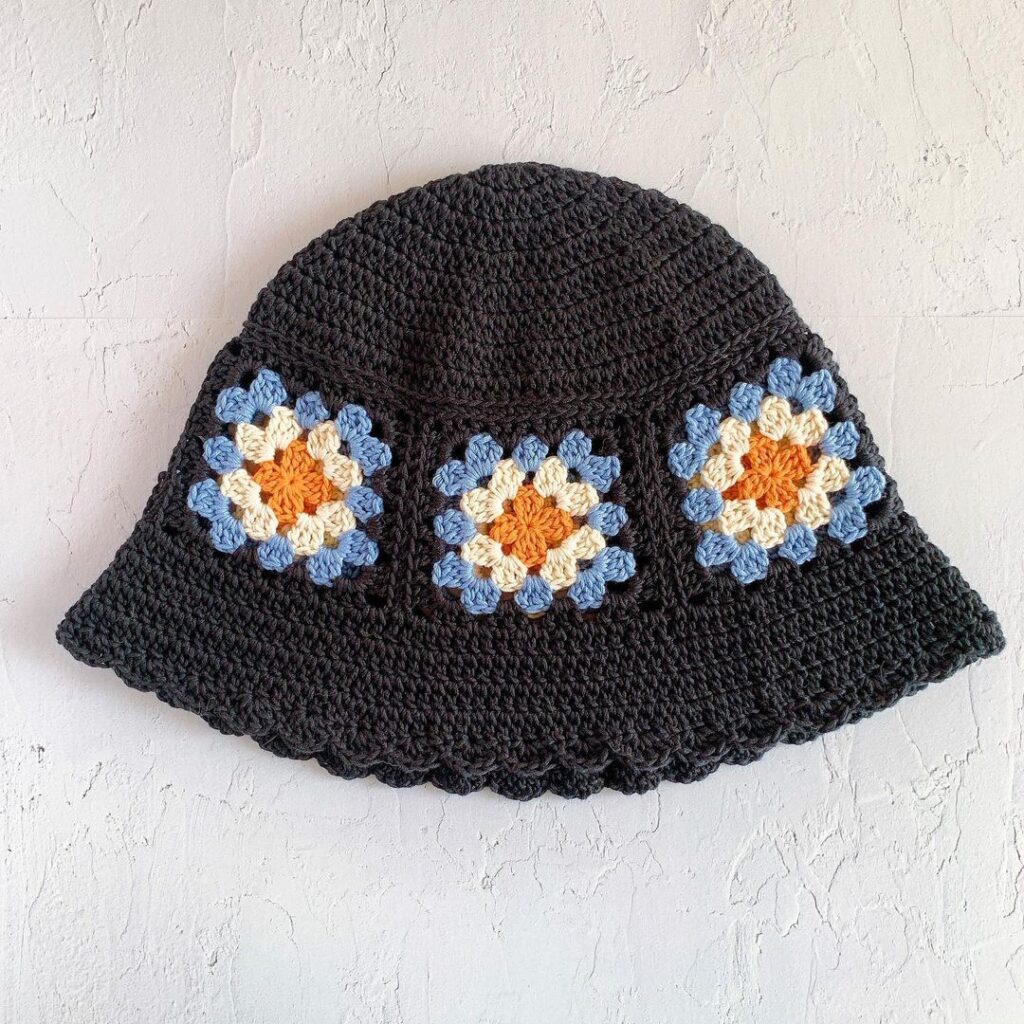
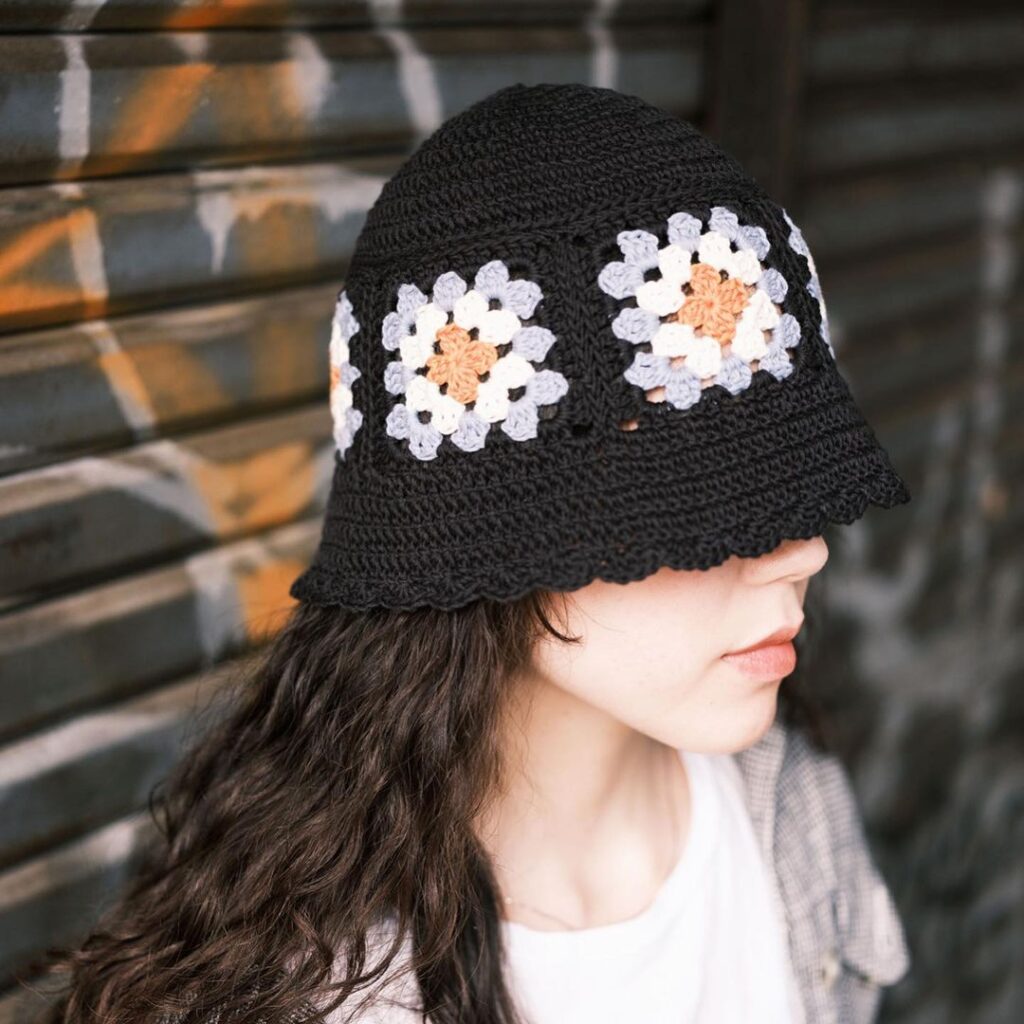
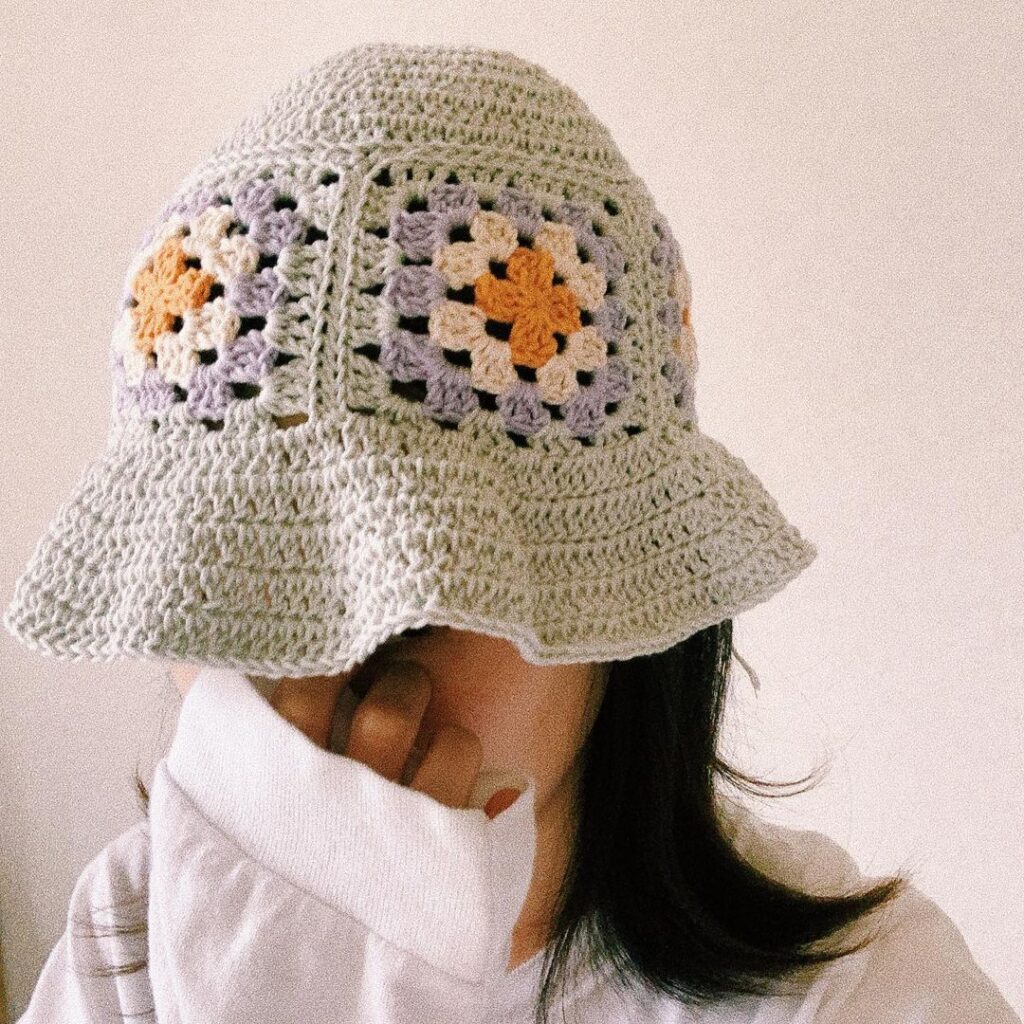
This beautiful granny square bucket hat combines retro charm with modern style! Here’s a step-by-step guide to crochet your own version, just like the one in your photo:
🧶 Materials
- Cotton yarn (DK or worsted weight) in 3–4 colors
- Crochet hook (usually 4mm or as recommended on your yarn label)
- Yarn needle
- Scissors
👒 Pattern Overview
- Crochet the Granny Squares (Hat Band)
- Join the Granny Squares
- Add the Crown (Top of the Hat)
- Crochet the Brim
- Optional: Add a Decorative Edge
🪡 Step-by-Step Instructions
1. Granny Squares (Hat Band)
Make 5 to 6 traditional granny squares depending on your head size.
Basic Granny Square Pattern (3 rounds):
Round 1: Start with a magic ring. Ch 3 (counts as dc), 2 dc into ring, ch 2,
*3 dc into ring, ch 2* repeat 2 more times, sl st to top of ch-3. (4 clusters)

Round 2: Sl st to next ch-2 space, ch 3, 2 dc in same space, ch 2, 3 dc in same space,
*(3 dc, ch 2, 3 dc) in next ch-2 space* repeat 3 times. Join.

Round 3: Work (3 dc, ch 2, 3 dc) in each corner space, and 3 dc in each side space.
Join and fasten off.
Weave in ends.
2. Join the Squares
- Use slip stitch or whip stitch to join granny squares edge to edge into a ring.
- This forms the band of the hat.
3. Add the Crown (Top of the Hat)
Using the same yarn color as your background (e.g., beige):
- Attach yarn to the top edge of the band.
- Crochet in rounds using double crochet (dc):
- Round 1: Make 1 dc in each stitch around.
- Round 2: Start increasing evenly (e.g., every 6 stitches, make 2 dc in the next).
- Continue increasing each round until the crown is flat and fits your head.
- Then, stop increasing and work a few rounds even to form the top dome.
4. Crochet the Brim
- From the bottom edge of the granny square ring:
- Round 1: Attach yarn, dc in each stitch around.
- Round 2–4: Continue in dc, increasing evenly every round to create a gradual flare.
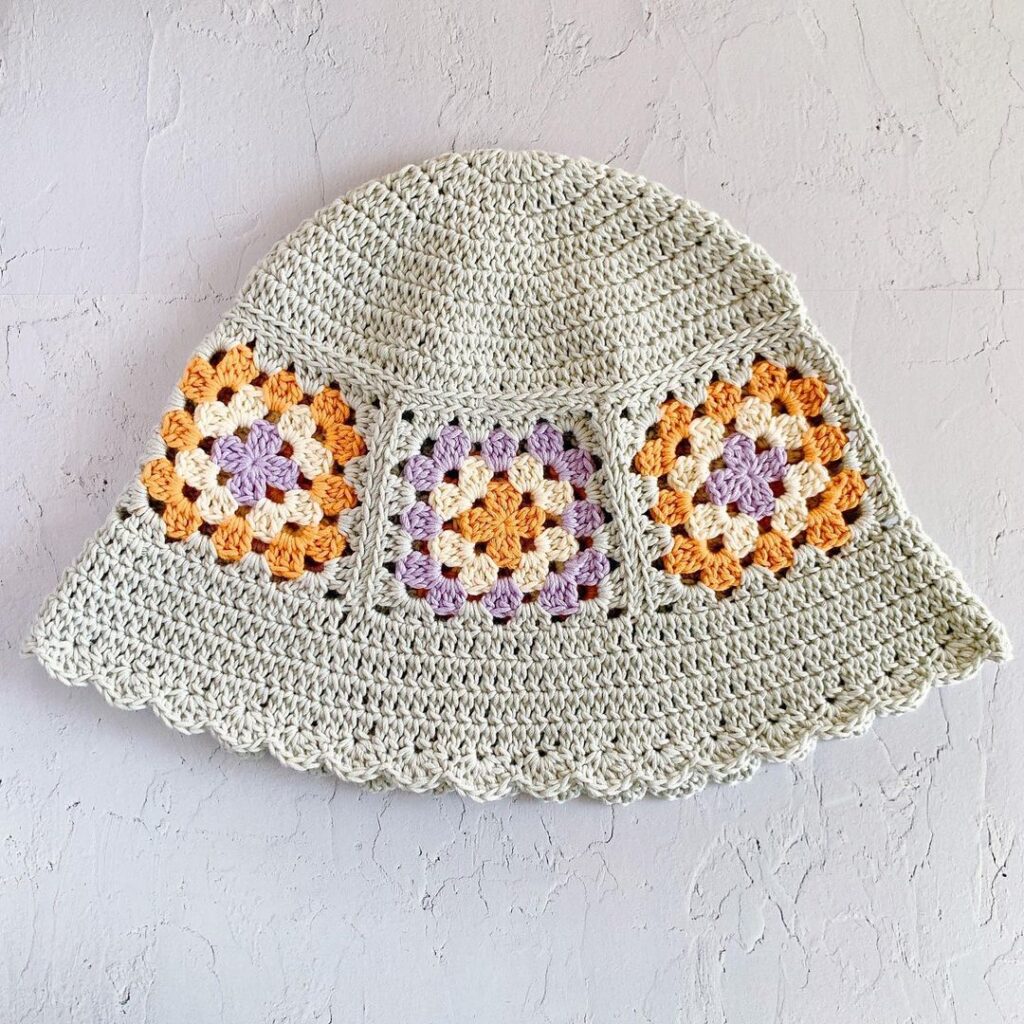
- Last round: Add a shell or scallop edge (e.g., skip 1 st, 5 dc in next st, skip 1 st, sl st in next) for a cute finish.
5. Finishing Touches
- Weave in all loose ends.
- Lightly block the hat if necessary to shape it.
🎨 Tips
- Use coordinating or pastel tones for a vintage look.
- Try alternating solid and multicolor granny squares for a unique design.
Video tutorial : How To Crochet A Granny Square Bucket Hat