
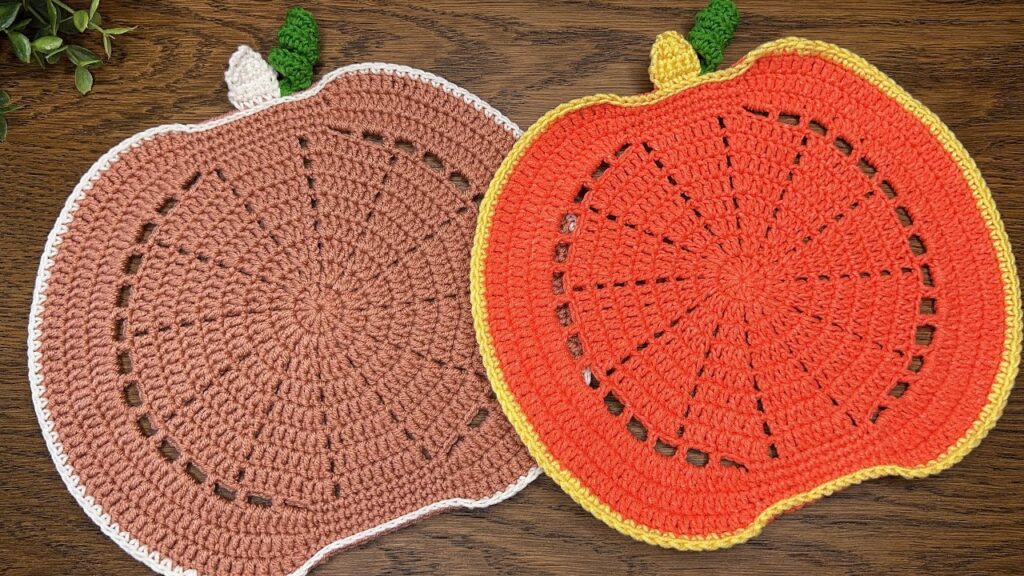
Perfect 🌸 let’s go step-by-step instructions so you can follow easily — this will help you make the crochet pumpkin placemat exactly like the one in your picture.
🍂 Crochet Pumpkin Placemat (Detailed Tutorial)
🧶 Materials:
- Yarn: Medium (worsted) weight cotton or acrylic yarn
- Pumpkin color: Orange or light brown (main color)
- Border: Yellow or white
- Stem: Green (or brown)
- Hook: 4.0 mm (G/6) or 4.5 mm
- Scissors
- Yarn needle
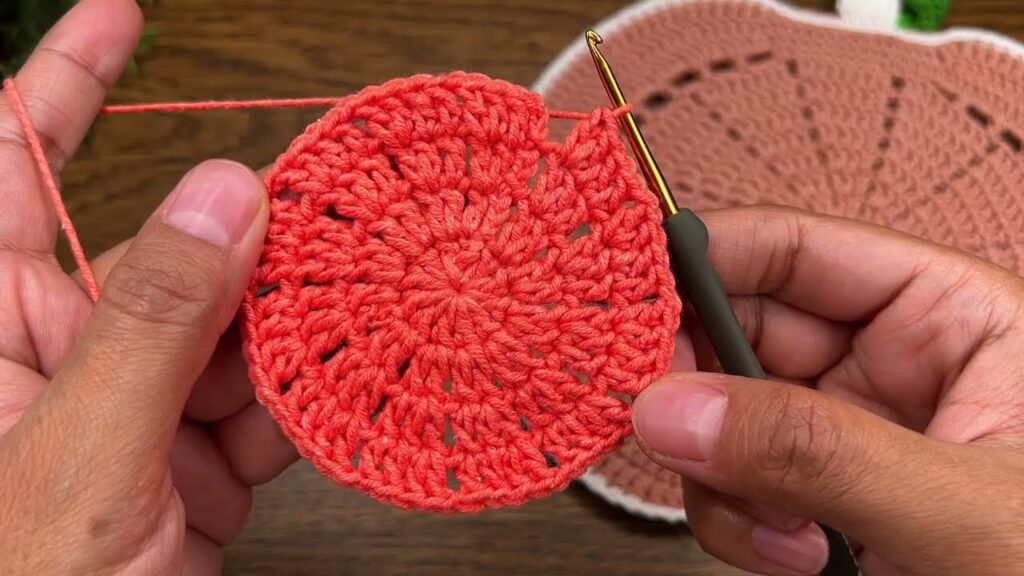
🍁 Step 1: Crochet the Round Pumpkin Base
We’ll start by making a flat circle that becomes the center of the pumpkin.
Round 1:
- Make a magic ring.
- Ch 2 (counts as first dc), make 11 more dc into ring. (Total 12 dc)
- Pull ring tight, sl st into top of first dc to join.
👉 12 dc total.
Round 2:
- Ch 2, make 2 dc in each stitch around.
- Join with sl st.
👉 24 dc total.
Round 3:
- Ch 2, (2 dc in next st, 1 dc in next st) repeat around.
- Join with sl st.
👉 36 dc total.
Round 4:
- Ch 2, (2 dc in next, 1 dc in next 2) repeat around.
- Join with sl st.
👉 48 dc total.
Round 5:
- Ch 2, (2 dc in next, 1 dc in next 3) repeat around.
- Join with sl st.
👉 60 dc total.
Round 6:
- Ch 2, (2 dc in next, 1 dc in next 4) repeat around.
- Join with sl st.
👉 72 dc total.
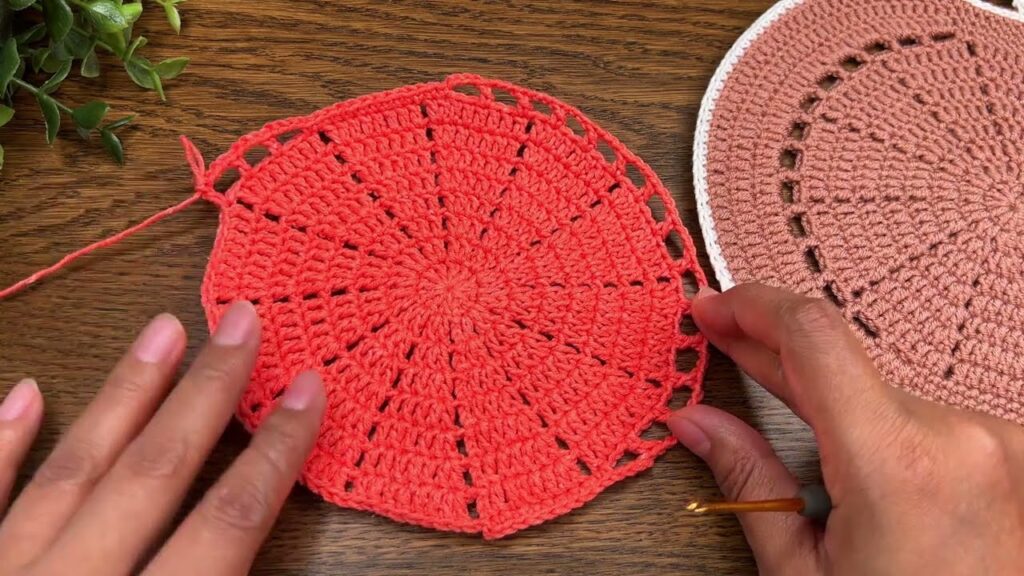
Round 7 (Open design row):
This round gives the small holes like in your photo.
- Ch 2, (dc in next 4 sts, ch 1, skip 1) repeat around.
- Join with sl st to first dc.
👉 You’ll see small holes forming evenly around.
Round 8:
- Ch 2, (2 dc in next, 1 dc in next 5) repeat around.
- Join with sl st.
👉 84 dc total.
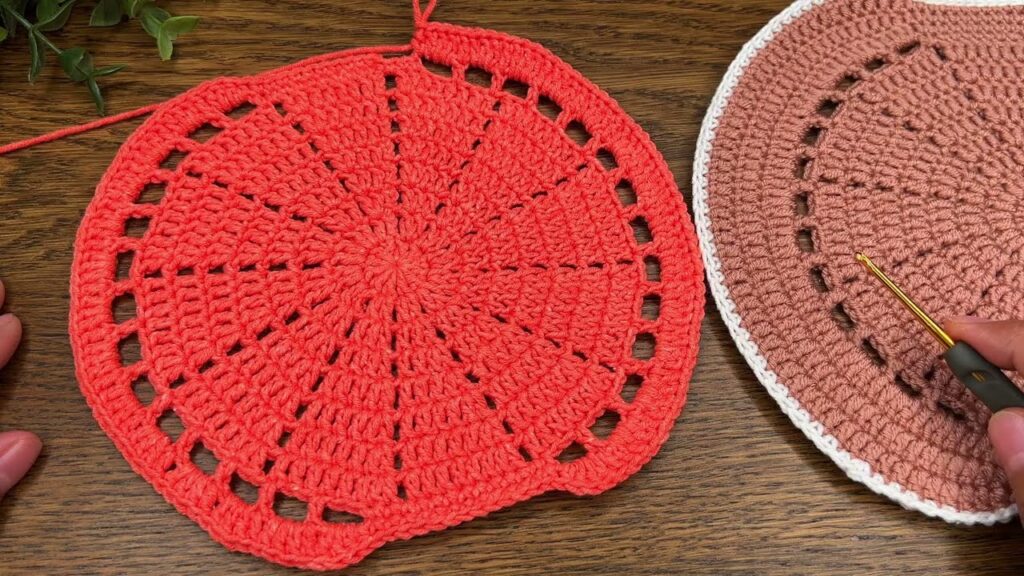
🍊 Step 2: Shape the Pumpkin (Curved edges)
Now we make the pumpkin lobes (soft curves around the edges).
We’ll create 3 curves: top middle, bottom left, bottom right.
Round 9:
- Ch 2, dc around evenly.
- But when you reach 3 sections (where you want the “bumps”), make:
- 2 dc in one stitch (to make it bulge slightly).
- Between bumps, you can skip 1 stitch (to make a dip).
- Join with sl st.
This shaping gives the pumpkin look!
Round 10:
- Ch 1, sc in each st around to smooth the edges.
- Do 2 sc in the bump points and 1 sc in each stitch elsewhere.
- Join with sl st and fasten off.
🌿 Step 3: Add the Border (Outline)
Attach yellow or white yarn to any stitch on the edge.
Border Round:
- Ch 1, sc around evenly.
- Add 2 sc in each corner or curve tip to prevent curling.
- Join with sl st.
- Fasten off and weave in ends neatly.
🌱 Step 4: Make the Stem
Attach green yarn at the top of the pumpkin.
- Ch 6.
- Sc in 2nd ch from hook and each chain across. (5 sc)
- Fasten off and sew stem to top.
🍃 Step 5: Crochet a Leaf
- Ch 8.
- In 2nd ch from hook: sc, hdc in next, dc in next, tr in next, dc in next, hdc in next, sc in last.
- Turn and sl st back down the other side of the chain.
- Fasten off, weave in ends, and sew beside the stem.
✅ Step 6: Finishing Touch
- Steam or lightly block the piece so it lies flat and round.
- You can make more in different colors (orange, brown, yellow).
- Use as placemats, wall decor, or table centerpiece.