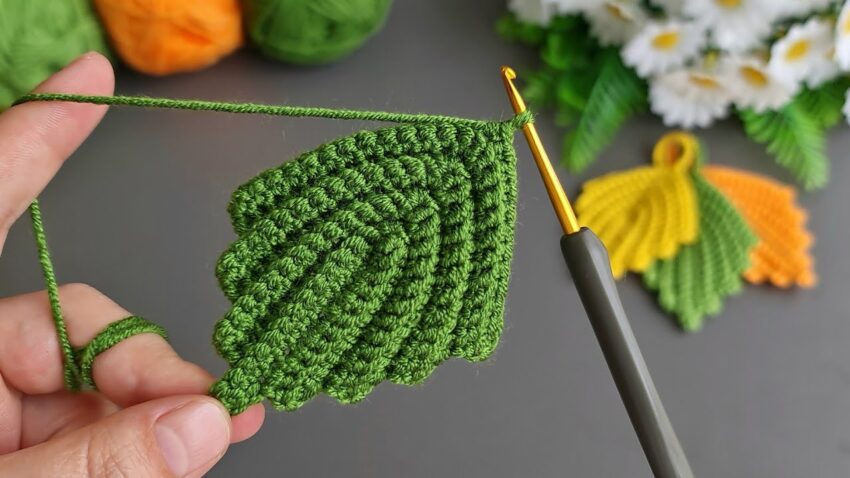
This crochet design in your image is a spiral leaf pattern, often used for decorative motifs, coasters, or appliqués. Here’s a detailed guide on how to make it:
🧶 MATERIALS
- Yarn: Light-weight or sport yarn (cotton or acrylic)
- Hook: 3.0 mm or size suitable for yarn
- Extras: Scissors, yarn needle, stitch marker (optional)

🌱 STEP-BY-STEP INSTRUCTIONS
1. Start with the center
This leaf begins from the inner curve and spirals outward.
- Make a magic ring.
- Round 1: Chain 1, make 6 single crochets (sc) into the ring.
Pull the ring tight. Do not join — continue working in spiral.
(6 stitches)
2. Build the spiral base
You will now crochet in spiral rounds to make the rounded inner base of the leaf.
- Round 2:
- 2 sc in each stitch around → 12 sts total.
- Round 3:
- (1 sc in next st, 2 sc in next st) repeat around → 18 sts
- Round 4:
- (2 sc, 2 sc in next st) repeat around → 24 sts
👉 Tip: This creates a circular spiral foundation that you’ll then “fan” out to make the scalloped leaf.
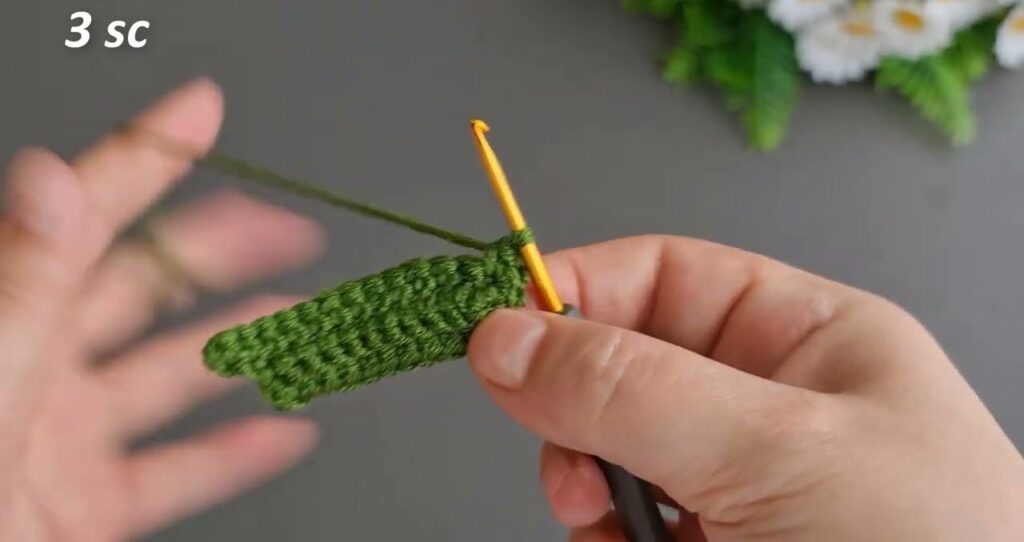
3. Shape the leaf (the fan part)
Now you’ll stop crocheting full circles — start working back and forth in rows on half of the spiral.
Row 1:
- Chain 1, work 6 sc across one side of the circle.
- Turn your work.
Row 2:
- Chain 1, 2 sc in first stitch (increase), sc in each of next 5 sts. (7 sts total)
- Turn.
Row 3:
- Chain 1, sc in each stitch (7 sts).
- Turn.
Row 4:
- Chain 1, 2 sc in first stitch, sc across remaining stitches. (8 sts)
- Turn.
Row 5:
- Chain 1, sc in each stitch.
- Turn.
👉 Continue this pattern:
Increase in the first stitch of every second row to grow the leaf shape in a fan-like curve.
You’ll notice the leaf naturally curves as you go — this is what forms the spiral scallop shape.
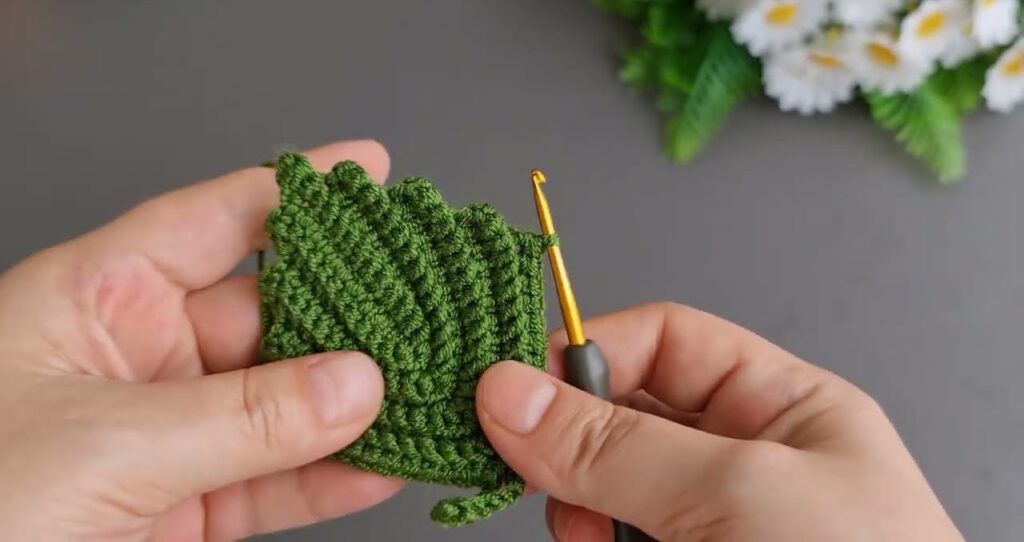
4. Make the scalloped edge
Once your piece looks like a broad fan (usually after about 10–12 rows):
- Chain 1, and along the edge do:
- Skip 1 stitch, (1 half double crochet [hdc], 1 double crochet [dc], 1 hdc) in next stitch, skip 1, slip stitch in next stitch.
- Repeat this pattern all along the curved edge.
This forms the rounded, shell-like ridges seen in the photo.
5. Outline and finish
To make the leaf neat and crisp:
- Chain 1, work single crochet evenly around the straight side of the leaf.
- Slip stitch to the first stitch, fasten off.
- Weave in the ends with a yarn needle.
Optional:
- Steam or block gently to make it flat.
- Add a small hanging loop (as seen in background) — just chain 10 and attach to the top edge.
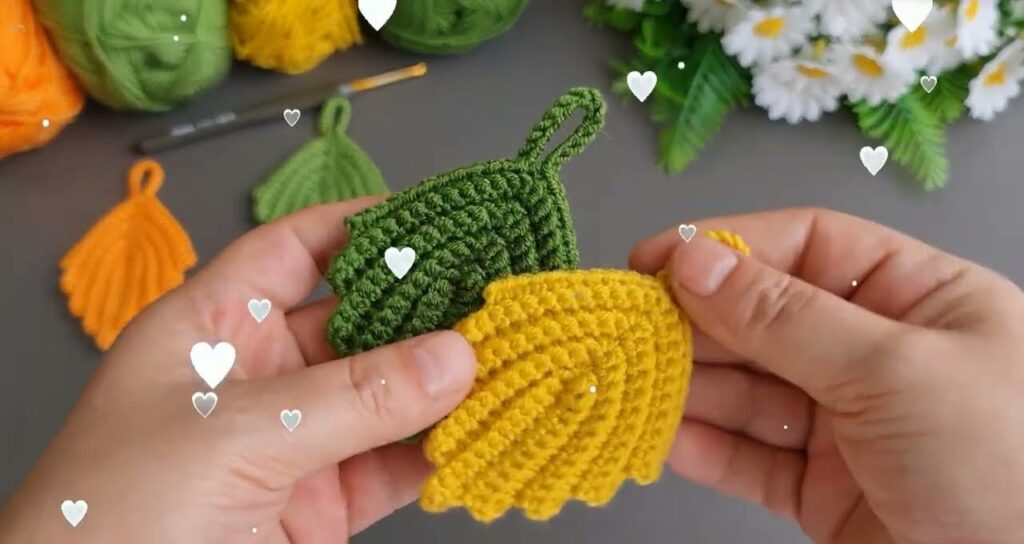
🌿 VARIATIONS
- Two-color version:
Switch yarn colors halfway through the rows for a dual-tone leaf. - Thicker texture:
Use half double crochet (hdc) instead of single crochet (sc). - Bigger leaf:
Continue increasing more rows before adding the scallop edge.