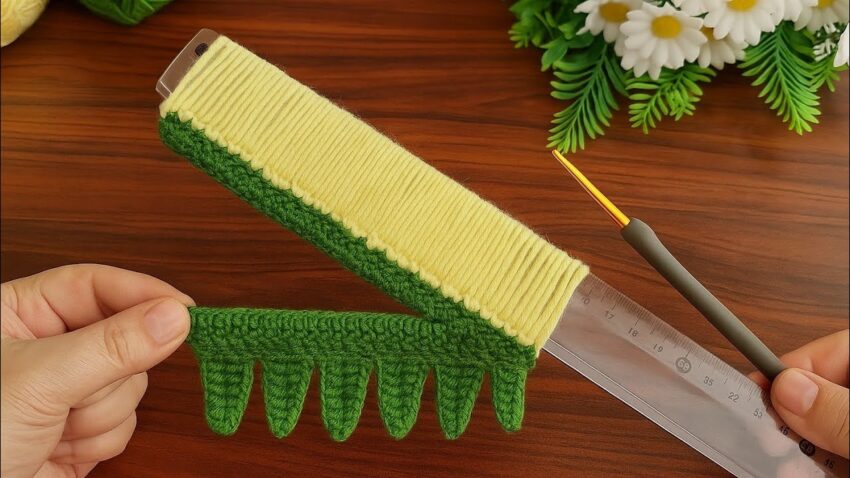
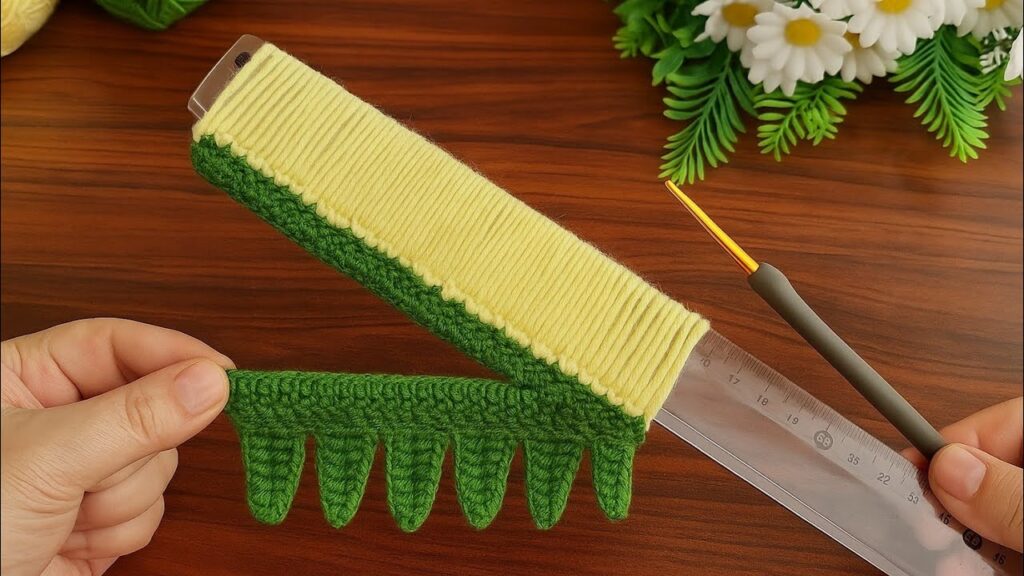
Here is how to make the crochet leaf-edge strip shown in the picture. This project uses a ruler (or any flat object) wrapped with yarn, then crocheted into to create the long loops and pointed leaves.
🌿 FULL DETAILED TUTORIAL
🌼 PART 1 — Wrapping the Ruler (Creating Long Base Loops)
1. Prepare the ruler
- Use a normal 30 cm ruler (as shown).
- Hold it so the long side is vertical.
2. Wrap the yarn
- Take your yellow yarn.
- Place the end at the top of the ruler and hold it with your thumb.
- Wrap the yarn many times around the entire width of the ruler.
- Make the wraps:
- Even
- Parallel
- Not too tight (you still need to slide them off later)
💡 Tip:
If you want a fuller, fluffier result, wrap more times.
3. Attach green yarn at the bottom
- Do not remove the wrapped yarn yet.
- Insert the crochet hook under the bottom edge of all the wrapped strands.
- Pick up green yarn and pull it through to make a loop.
- Chain 1 to secure.
4. Single crochet across
This creates a base row that holds all the wrapped loops in place.
- Insert the hook under the next group of yellow wraps.
- Yarn over with the green yarn.
- Pull through and complete a single crochet (sc).
- Continue until you have crocheted across the whole ruler width.
When finished, all yellow loops at the bottom are captured by a row of green single crochet.
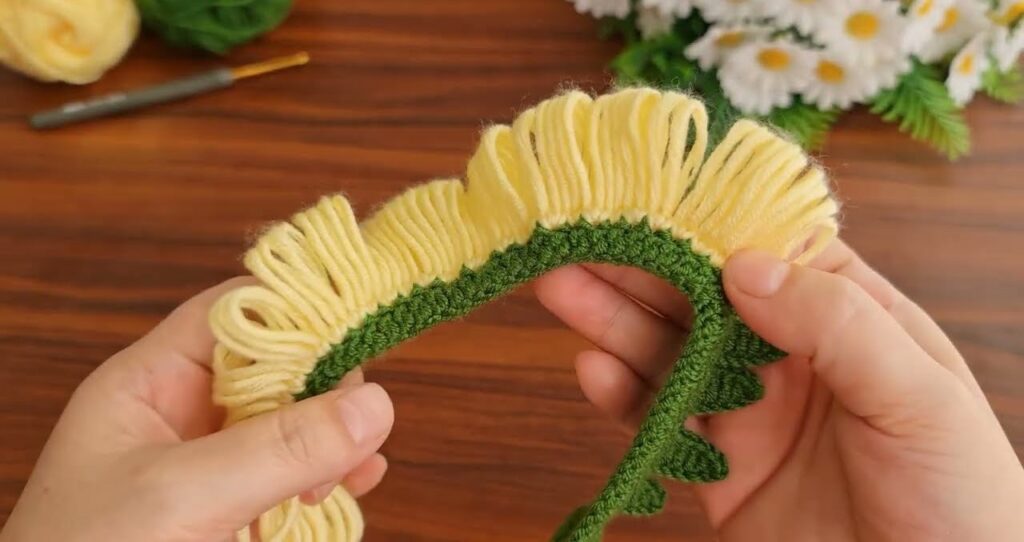
5. Slide everything off the ruler
- Gently pull the whole piece off the ruler.
- The yellow loops will stay long and even.
- Leave the green yarn attached — you will continue working with it.
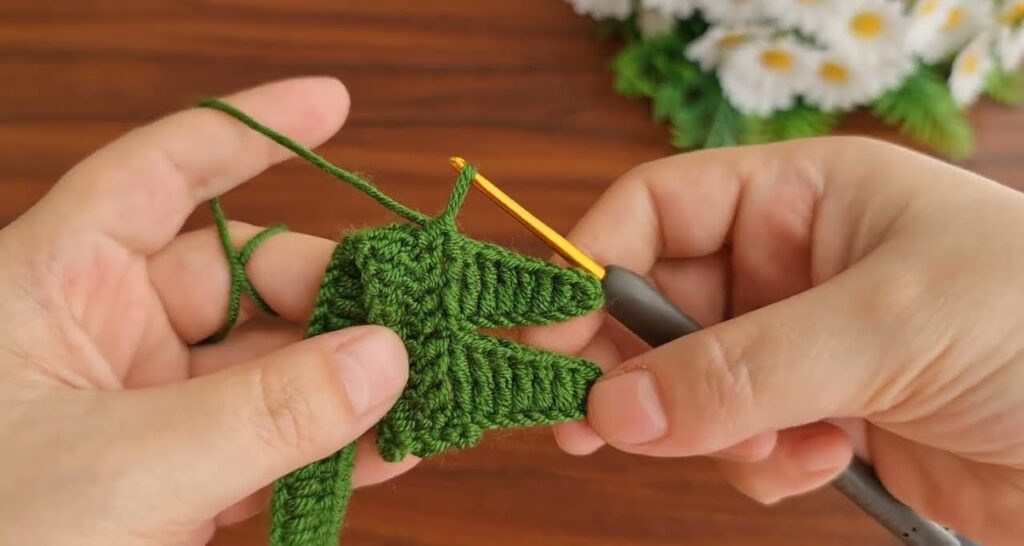
🍃 PART 2 — Crocheting the Pointed Leaf Shapes
You will now form the pointed leaves hanging from the green base row.
You will repeat this for each leaf.
🌱 Leaf Pattern (One Leaf)
1. Start the leaf
- From the point where your hook rests after the base row:
- Chain 6
This chain will become the leaf tip.
2. Work down the chain
Into these chain spaces, make:
| Chain Position | Stitch Type | Purpose |
|---|---|---|
| 2nd ch from hook | sc | Start shaping tip |
| 3rd ch | hdc | Slightly longer |
| 4th ch | dc | Making the leaf longer |
| 5th ch | dc | Symmetry |
| 6th ch (last) | tr | Longest stitch → sharp point |
This creates a long, pointed triangle (leaf).
🌱 3. Attach leaf to base
- Skip 2 stitches on the green base row.
- Into the 3rd stitch, make a slip stitch (sl st).
This pulls the leaf downward and attaches it neatly.
🌱 4. Repeat
After attaching:
- Chain 6 again
- Repeat the same leaf stitches
- Slip stitch into base row
- Continue all the way across
You should now have several evenly spaced pointed green leaves.
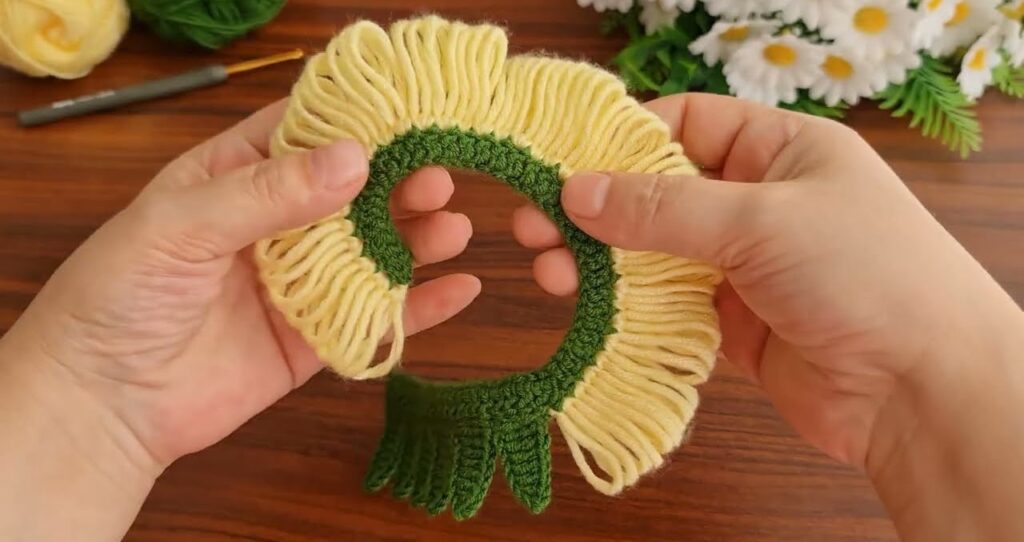
🌿 RESULT
When done, you get:
✔ Long yellow loops (top)
✔ Green base row
✔ Green pointed leaves hanging down
Just like the image you provided.