
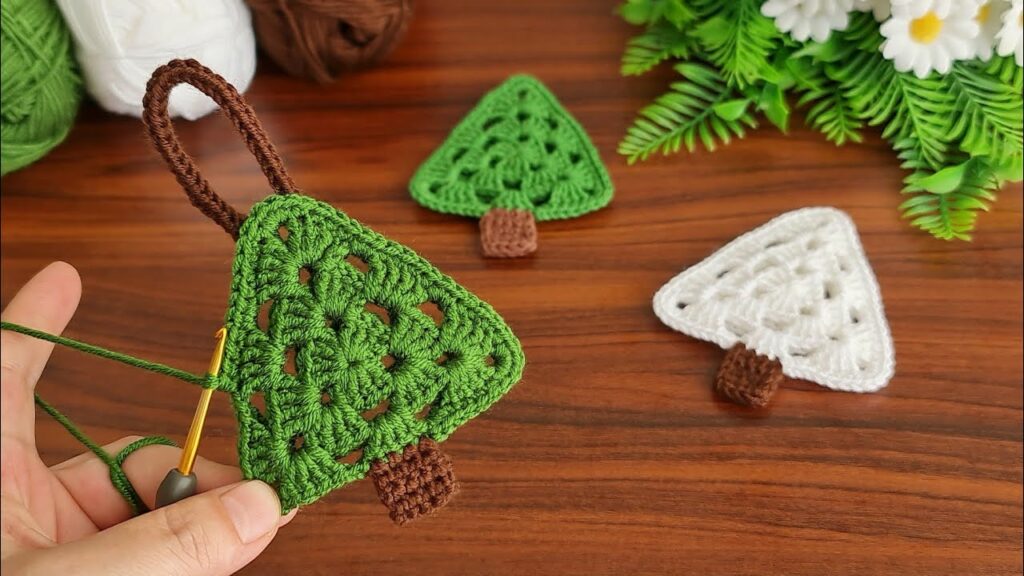
This crochet pattern in your image is a granny-style Christmas tree ornament — simple and cute! Here’s how to make it step-by-step:
🌲 Crochet Granny Triangle Christmas Tree Ornament (Detailed Tutorial)
🧶 Materials:
- Yarn:
- Green (for the tree)
- Brown (for the trunk)
- Hook: 3.0 mm–4.0 mm (depending on yarn thickness)
- Scissors
- Tapestry needle (for weaving in ends)
🍃 Part 1: Crochet the Tree (Triangle)
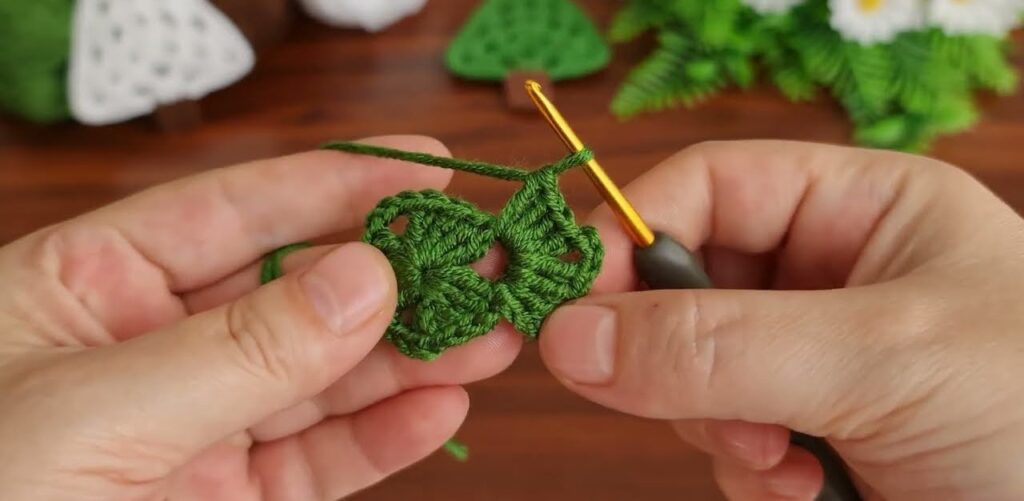
Step 1: Magic Ring
- Make a magic ring (or chain 4, slip stitch to form a circle).
- Inside the ring, work as follows:
- Ch 3 (counts as your first double crochet).
- 2 dc, ch 2, 3 dc, ch 2, 3 dc, ch 2.
- Pull the ring tight and join with a slip stitch to the top of the first ch 3.
👉 You now have a small triangle made of three clusters of 3 dc, each separated by a ch-2 corner space.
Step 2: Round 2 — Expanding the Triangle
- Slip stitch to the next ch-2 space.
- In that space, work:
(Ch 3, 2 dc, ch 2, 3 dc) → this is your corner cluster. - Ch 1 → space between corners.
- In the next ch-2 space, repeat: (3 dc, ch 2, 3 dc).
- Ch 1 again.
- In the final corner, repeat once more: (3 dc, ch 2, 3 dc).
- Join with a slip stitch to the top of the first ch 3.
✅ Now your triangle is larger — you have 3 corners and 3 side spaces.
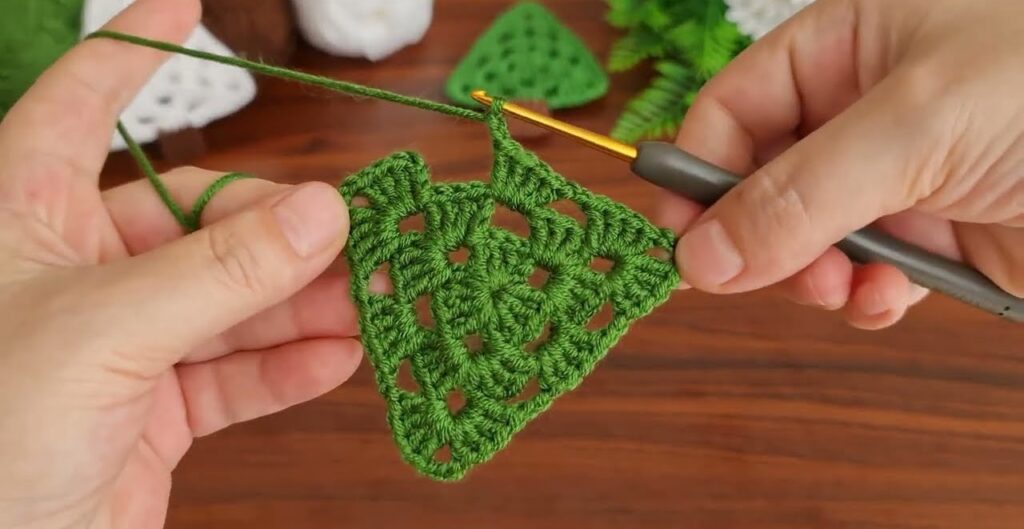
Step 3: Round 3 — One More Expansion (optional for bigger tree)
- Slip stitch into the next ch-2 space.
- In each corner space → (3 dc, ch 2, 3 dc).
- In each side space → (3 dc, ch 1).
- Keep this pattern until all sides are done.
- Join with a slip stitch.
👉 You can stop here for a medium-sized tree, or add another similar round for a larger one.
Step 4: Edging (for a clean finish)
- Ch 1, then sc around the entire edge of the triangle.
- In each corner: (sc, ch 2, sc) to keep the corners sharp.
- Join with slip stitch to the first sc and fasten off.
🌳 Part 2: Crochet the Trunk
- Attach brown yarn to the middle of the bottom side of your triangle.
- Row 1: Ch 1, work 4 sc evenly across the bottom edge.
- Row 2: Ch 1, turn, and make 4 sc.
- Row 3: Repeat Row 2.
- Fasten off and weave in the ends.
👉 You’ll have a small rectangular trunk under your tree.
🎀 Optional: Hanging Loop
- With brown yarn, attach your hook to the top of the tree.
- Ch 25–30 (depending on how long you want the loop).
- Slip stitch back into the top of the tree.
- Fasten off and weave in ends.

💡 Decoration Ideas:
- Add mini beads or buttons as ornaments.
- Stitch a tiny yellow star on top.
- Use white yarn and add silver thread for a snow-covered version (like the white one in your photo).