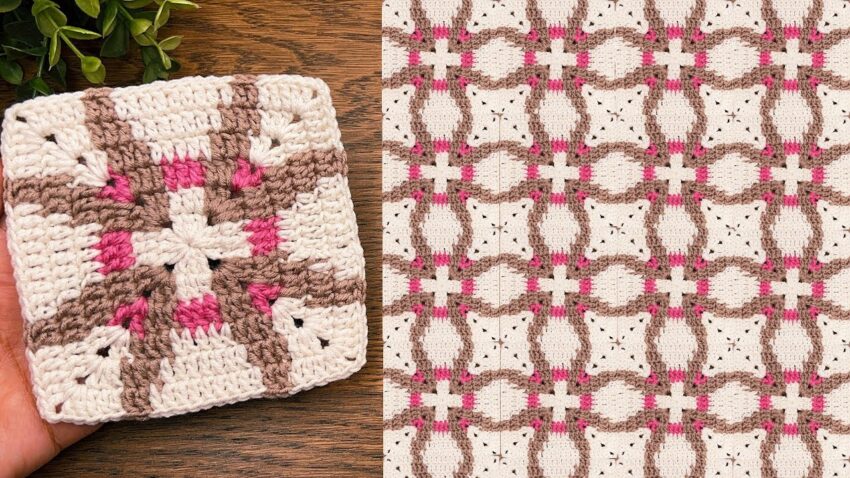
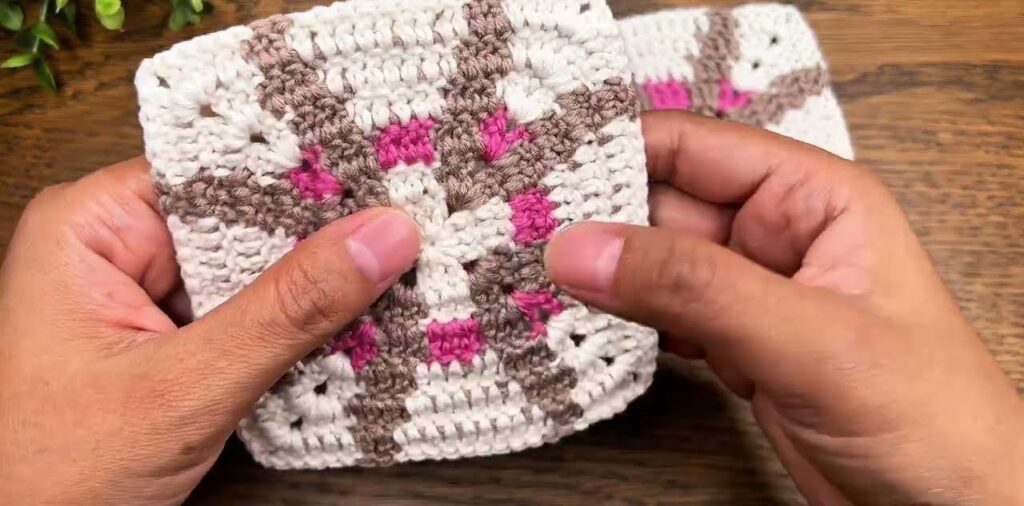
That’s a beautiful mosaic-style crochet square pattern, often called a Geometric Flower Square or Overlay Mosaic Square. It creates a stunning blanket when multiple squares are joined together. Here’s how you can make it step by step 👇
🧶 Materials
- Yarn: 3 colors (you can change them as you like)
- Color A – Cream (background)
- Color B – Pink (center accent)
- Color C – Brown (geometric frame)
- Hook: 3.5 mm or 4 mm (depending on yarn)
- Scissors and yarn needle
🔰 Stitches Used
| Symbol | Name | Abbreviation |
|---|---|---|
| ch | Chain | ch |
| sl st | Slip stitch | sl st |
| sc | Single crochet | sc |
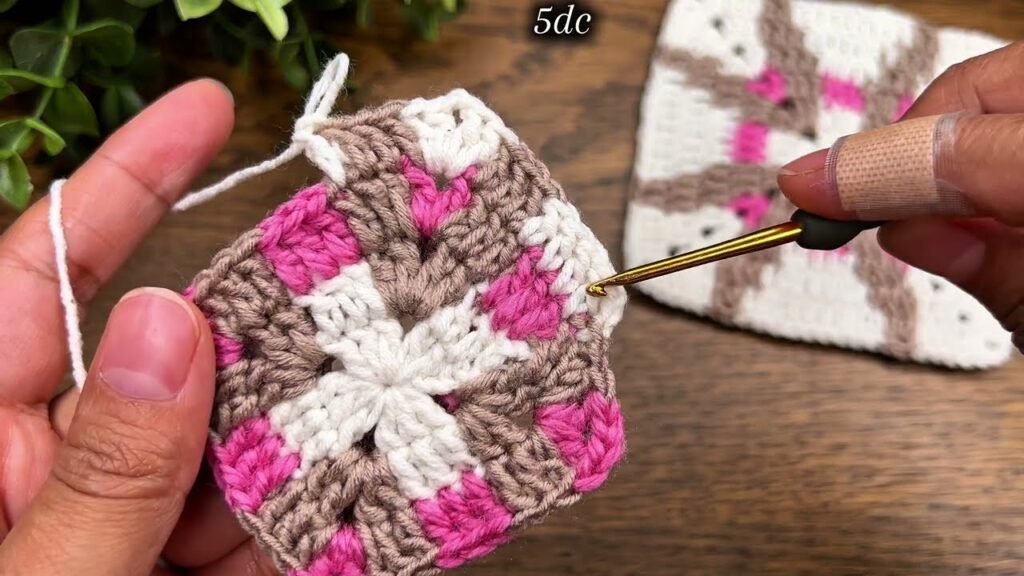
| dc | Double crochet | dc |
| fpdc | Front Post Double Crochet | fpdc |
| sp | Space | sp |
🌸 Step-by-Step Instructions
🧩 Round 1 – Center (Color B)
- Start with a magic ring.
- ch 3 (counts as dc), 2 dc into ring, ch 2.
(3 dc, ch 2) repeat 3 more times. - Pull the ring tight and join with sl st to top of ch 3.
👉 You should have 4 groups of 3 dc, separated by ch 2 corners.
🧩 Round 2 – (Color A)
- Attach Color A in any corner ch-2 sp.
- ch 3 (counts as dc), dc, ch 2, 2 dc in same sp.
- dc in next 3 dc.
- (2 dc, ch 2, 2 dc) in corner, dc in next 3 dc) repeat around.
- Join with sl st to top of ch 3.
👉 You now have a larger square foundation.
🧩 Round 3 – (Color C)
- Join Color C in any corner space.
- ch 3, dc, ch 2, 2 dc in same corner.
- dc in next 7 sts.
- (2 dc, ch 2, 2 dc) in corner, dc in next 7 sts) repeat around.
- Join with sl st to top of ch 3.
👉 The square should now have 11 stitches per side.
🧩 Round 4 – Overlay Accent (Color B)
This is the small pink “cross” seen in the center.
- Attach Color B to the middle dc on one side (the 4th dc from a corner).
- ch 3, dc in next 2 sts, skip 2 sts, fpdc around the middle dc of Round 1 (the pink from the center), skip 2 sts, dc in next 3 sts.
- Fasten off.
Repeat this step on all four sides (you can cut yarn and reattach for each or carry it if preferred).
🧩 Round 5 – Geometric Frame (Color C)
- Join Color C in any corner ch-2 sp.
- ch 3, dc, ch 2, 2 dc in same sp.
- dc in next 3 sts.
- fpdc around the Color B dc below (the pink ones you made in Round 4).
- dc in next 3 sts, (2 dc, ch 2, 2 dc) in corner) repeat around.
- Join with sl st and fasten off.
🧩 Round 6 – Border (Color A)
- Join Color A in any corner space.
- ch 3, dc, ch 2, 2 dc in corner.
- dc in each st and each fpdc around.
- (2 dc, ch 2, 2 dc) in corners) repeat around.
- Join with sl st and fasten off.
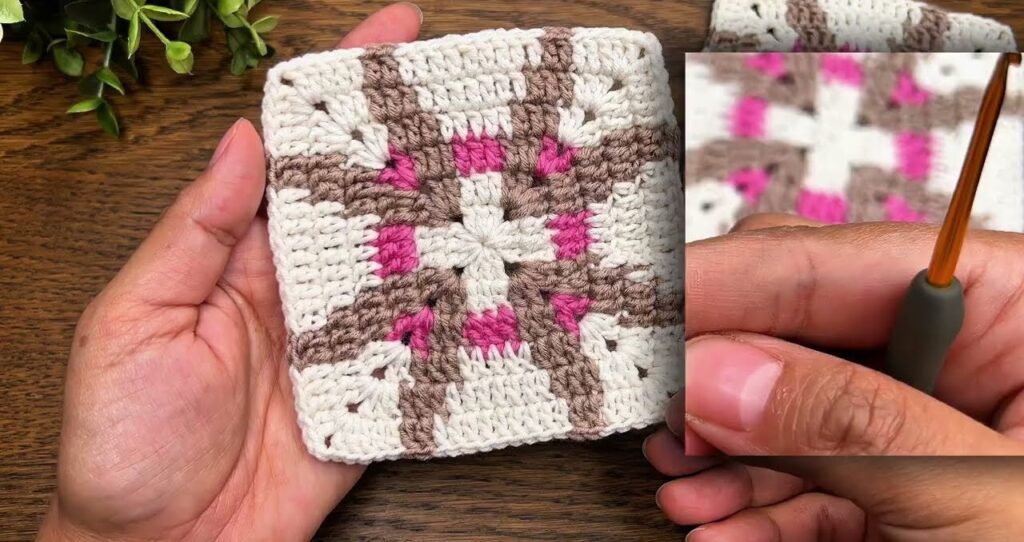
✅ Final Step – Block and Join
- Steam block or wet block your squares to make edges straight.
- Join squares with slip stitch through back loops only or the join-as-you-go method using Color A.
- Add a border if desired (for a blanket, do a few rounds of dc with Color A).
💡 Tips
- Always carry yarn up the side when changing colors if possible — it keeps the back tidy.
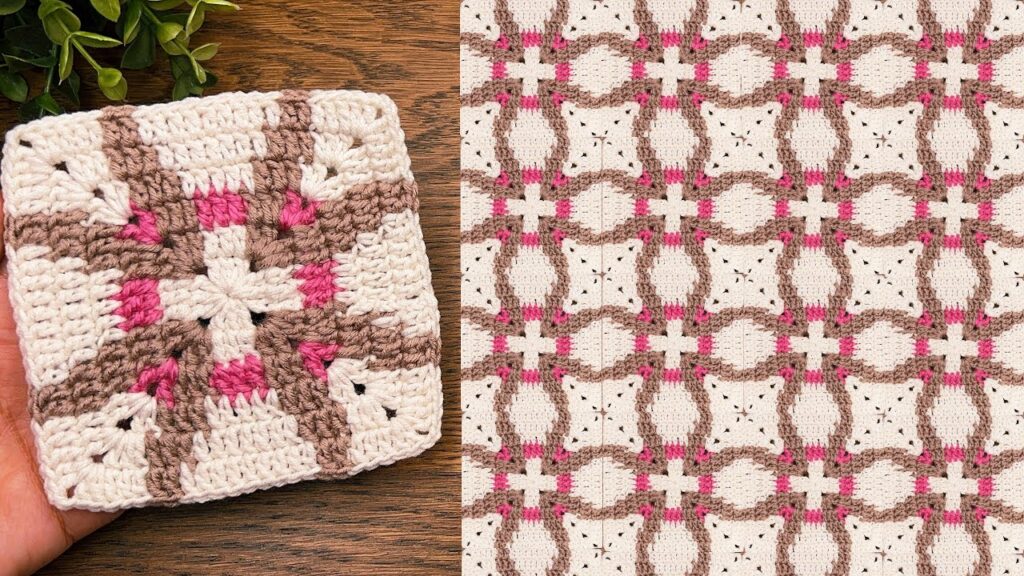
- To make the pattern continuous like in your photo, keep color positions consistent for every square.
- The pattern looks best when you alternate pink and brown positions evenly.