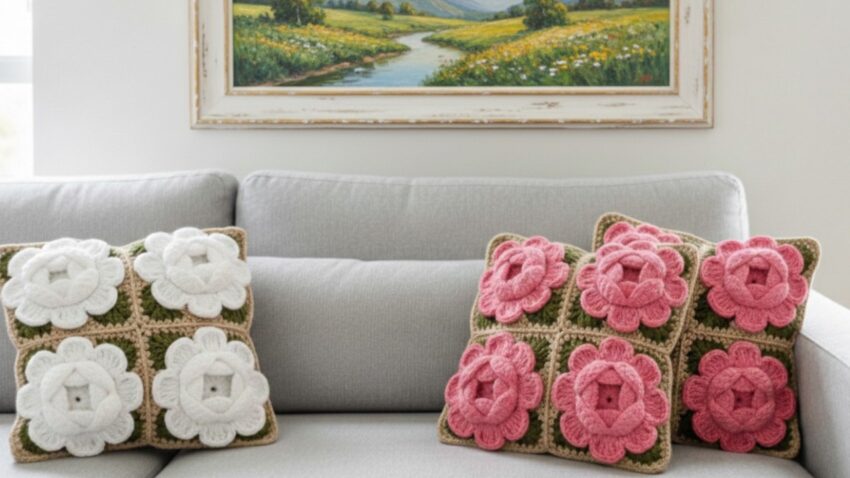
This is a 3D crochet flower granny square pillow 🌸
I’ll show you step-by-step how to make it (flower square + joining + pillow).
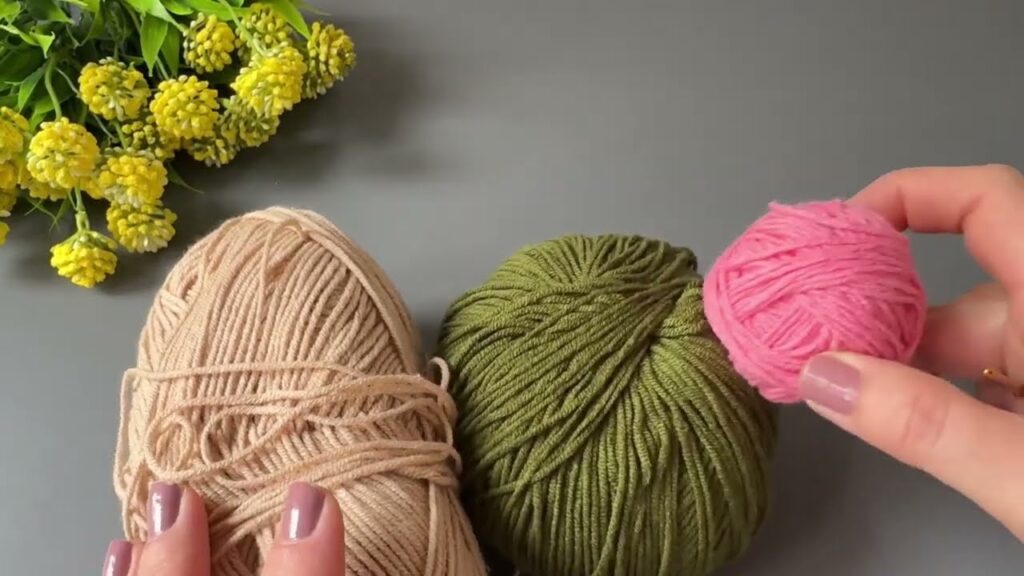
🧶 MATERIALS (IMPORTANT)
- Yarn: Medium (4 / worsted)
- Color A: Flower (pink or white)
- Color B: Green
- Color C: Beige / cream
- Hook: 4.5 mm (use 4 mm if you want tighter petals)
- Pillow insert: 40 × 40 cm (16×16 in)
- Needle, scissors

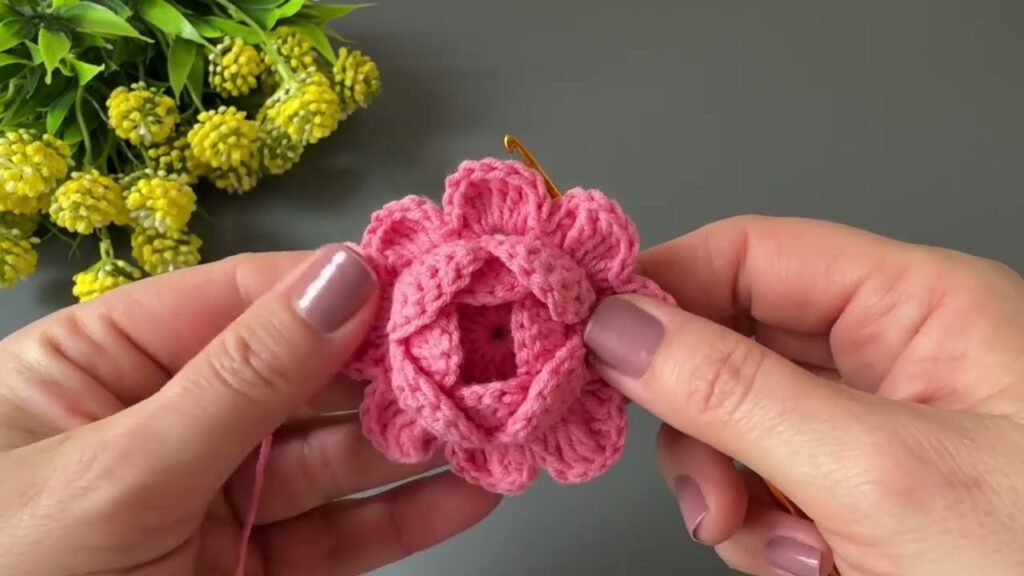
🌼 PART 1: 3D ROSE FLOWER (CENTER)
🌟 Round 1 – Center Ring
- Make magic ring
- Ch 1
- 8 SC into ring
- Sl st into first SC
➡️ (8 stitches)
🌟 Round 2 – Small Base Petals
Work into each stitch from Round 1
Repeat 8 times:
- Ch 2
- 2 HDC in same stitch
- Ch 2
- Sl st in next stitch
➡️ You now have 8 small petal loops
🌟 Round 3 – BIG 3D PETALS (KEY ROUND)
⚠️ VERY IMPORTANT:
Turn flower slightly forward. You will crochet BEHIND the petals, inserting hook around the post of Round 1 stitches.
Repeat 8 times:
- Sl st behind next petal
- Ch 2
- 3 DC
- Ch 2
- Sl st behind next petal
➡️ Big raised rose petals form 🌹
🍃 PART 2: GREEN LEAF ROUND
Attach green yarn behind flower petals
Repeat in each large petal space:
- SC
- HDC
- DC
- HDC
- SC
➡️ Each petal becomes a leaf shape
➡️ Total: 8 leaf sections
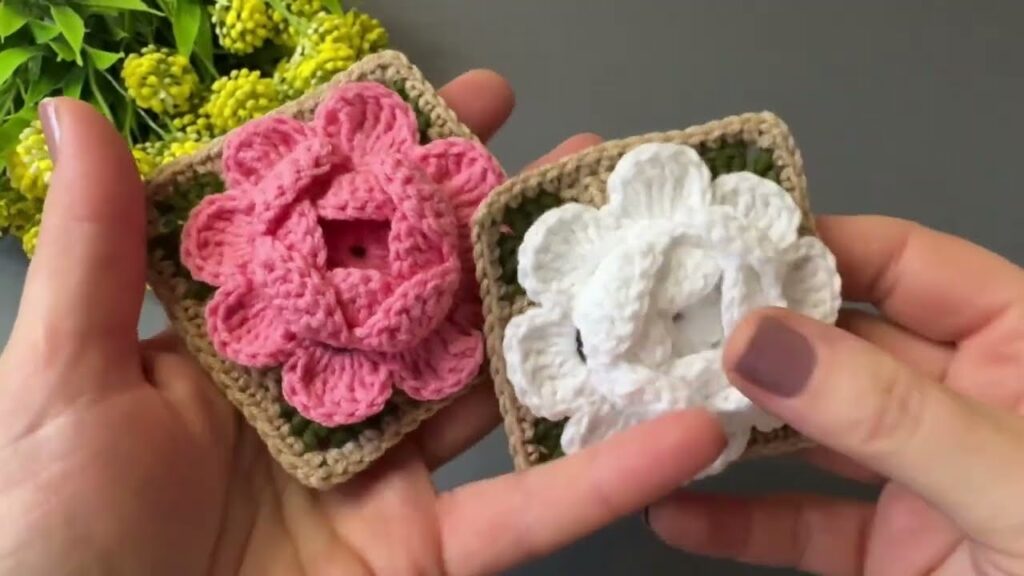
⬛ PART 3: SQUARE FORMATION (VERY IMPORTANT)
Attach beige yarn in any SC stitch between leaves
🌟 Round 1 – Turning Circle into Square
You will make 4 corners.
Corner stitch:
- (3 DC, ch 2, 3 DC) in same stitch
Side stitches:
- 3 DC in next stitch
Repeat:
- Side → Side → Corner
- Do this 4 times
Sl st to join.
🌟 Round 2 – Expanding Square
- In each corner: 3 DC, ch 2, 3 DC
- In each side space: 3 DC
Sl st to join.
🌟 Round 3 – Final Square Size
Repeat Round 2 until square measures:
📏 ~13–14 cm (5–5.5 in)
Each square must be same size!
🧩 PART 4: MAKE PILLOW FRONT
- Make 9 flower squares (3 × 3)
- Arrange colors (like photo: pink or white)
Join squares:
Best method:
- Slip stitch join (wrong side together)
How:
- Hold two squares together
- Insert hook through both loops
- Sl st across
🛋️ PART 5: BACK PANEL
Option 1 (easy):
- Crochet plain granny square same size as front
Option 2 (neat):
- SC rows back and forth until size matches
🧵 PART 6: ASSEMBLY
- Put front & back right sides out
- SC around edges (3 SC in each corner)
- Insert pillow
- Continue SC to close
Fasten off, weave ends.
🌸 FINAL PRO TIPS
✔ Use tight stitches for clean flowers
✔ Push petals forward with fingers
✔ Steam lightly (do NOT touch iron)
✔ Use cotton yarn for firm petals