
Headbands are some of my favorite items to make. This crochet easy cable headband is one of the most popular tutorials, it takes no time to finish.
CROCHET EASY CABLE HEADBAND
The crochet easy cable headband is a perfect choice for cold weather; you can wear it with your hair up or down, inside or outdoors. You need to know only the double crochet & single crochet stitches to make this beautiful headband.
📏 Materials:
- Worsted weight yarn (like the green yarn in your image)
- 4.0 mm or 4.5 mm crochet hook
- Hair elastic band (medium size)
- Scissors
- Yarn needle

✨ Stitches Used (US Terms):
- ch = chain
- sc = single crochet
- dc = double crochet
- fpdc = front post double crochet
- puff st = puff stitch (yarn over, insert hook into stitch, yarn over and pull through — repeat 3 more times — 9 loops on hook, yarn over and pull through all loops, ch 1 to close puff)
📜 Step-by-Step Instructions:
🔸 Foundation Chain
- Ch 56 (or adjust to desired length to fit around your head — number of chains should be a multiple of 2)
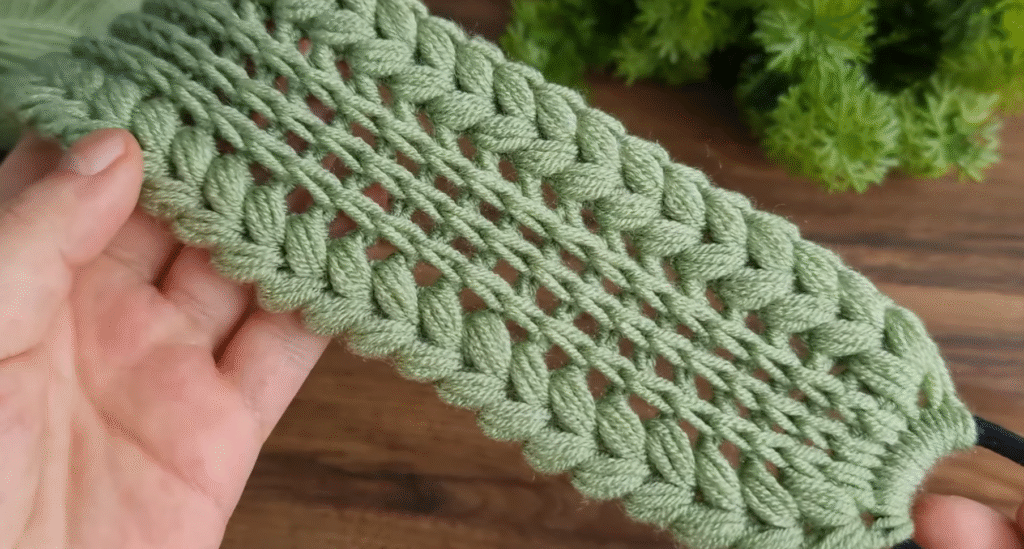
🔸 Row 1 (Puff Stitch Border)
- Ch 1 (turning chain).
- In the 2nd chain from hook, work puff st (as described above), ch 1, skip 1 chain.
- Repeat puff st, ch 1, skip 1 chain across the row.
- You should end with a puff stitch in the last chain.
- Ch 2, turn.
🔸 Row 2 (Textured Middle Rows)
- Work 1 dc in first stitch.
- Fpdc around next dc (from previous row’s dc if applicable — or work in puff if adjusting for alignment).
- Repeat fpdc in each stitch across the row until 1 stitch remains.
- Work 1 dc in the last stitch.
- Ch 2, turn.
🔸 Row 3
- Repeat Row 2.
📌 Tip: Repeat Row 2 for a total of 6 rows (or more if you want a wider band).
🔸 Final Row (Puff Stitch Border Again)
- Ch 1.
- Work puff stitches as in Row 1 across.
- End with a puff in the last stitch.
- Fasten off, leaving a long tail for sewing.
🔸 Assembling the Center Cinch
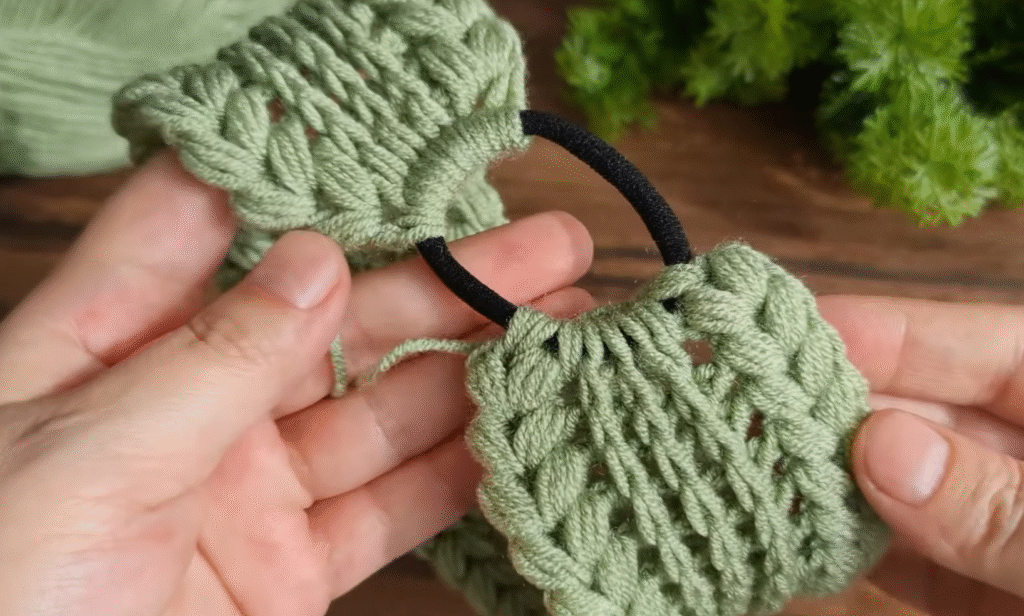
- Fold your band so both ends meet.
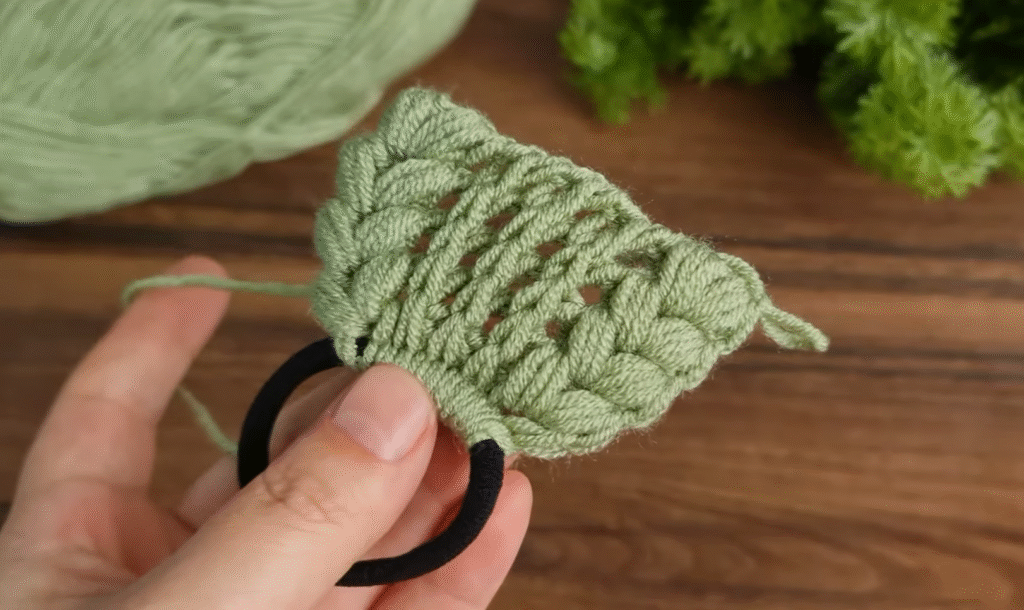
- Insert your hair elastic band in the middle area.
- Stitch the two short ends of the band together with the yarn needle using the long tail you left.
- Secure and tighten the stitches so it holds well.
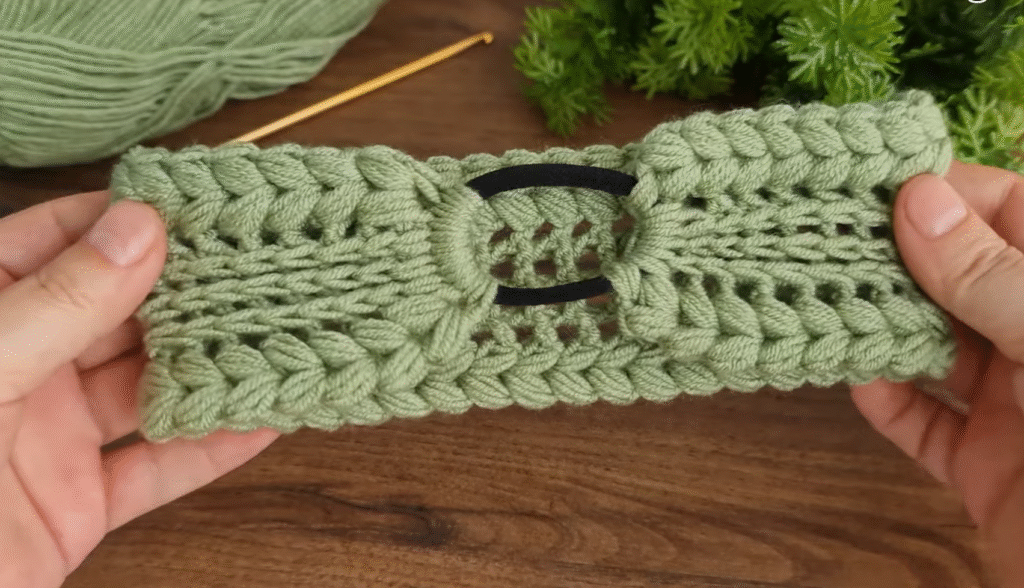
- The hair elastic will gather the middle section — creating that cute cinched bow effect like in your photo.
🔸 Finishing
- Weave in any loose ends with a yarn needle.
- Trim excess yarn.
🎉 Done!
You now have a beautifully textured, puff-stitched, front-post detailed crochet hairband just like in your image!
Video tutorial : Easy crochet head band can you make