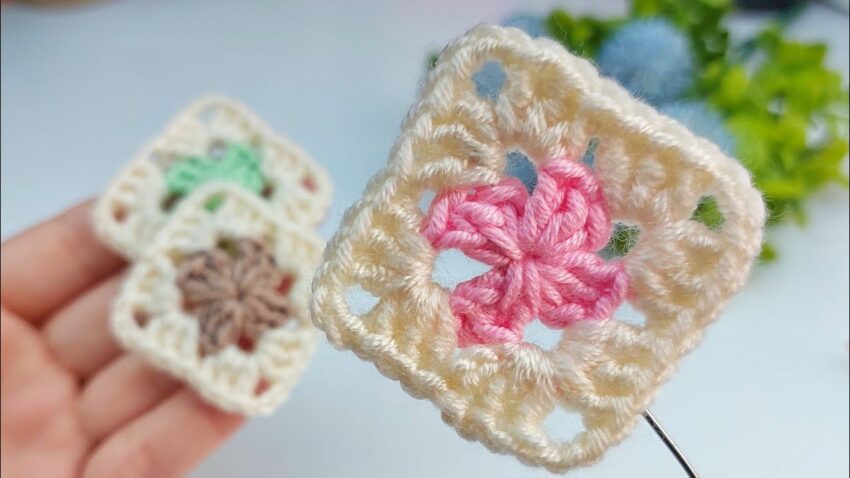
Perfect 🌸crochet flower granny square step-by-step with more detailed explanation — from start to finish, including stitch counts and placement.
🧶 What You’ll Need
- Yarn: Two colors (Color A = flower, Color B = border)
- Hook: 3.0 mm (or size that fits your yarn)
- Scissors & Yarn needle
Abbreviations (US terms):
- ch = chain
- sl st = slip stitch
- sc = single crochet
- dc = double crochet
- sp = space
- st = stitch
- rnd = round

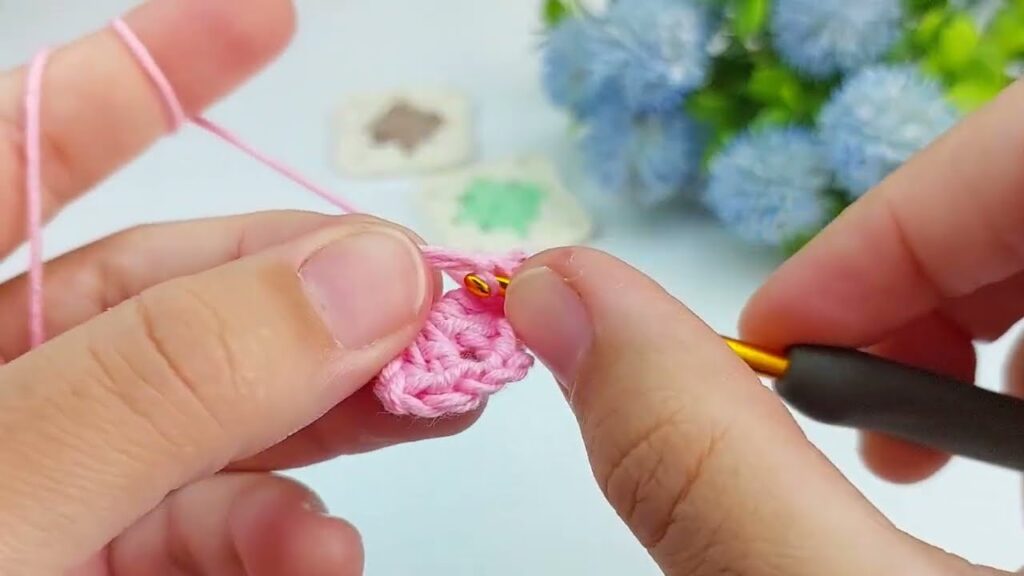
🌼 Step 1: Magic Ring (Flower Center)
- Use Color A (pink).
- Make a magic ring (or chain 4, join with sl st to form a ring).
- Ch 3 (counts as 1 dc).
- Work 2 dc, ch 2 into the ring.
- Repeat (3 dc, ch 2) 3 more times → You’ll have 4 clusters of 3 dc, each separated by a ch-2 space.
- Pull the ring closed tightly.
- Join with sl st to top of starting ch 3.
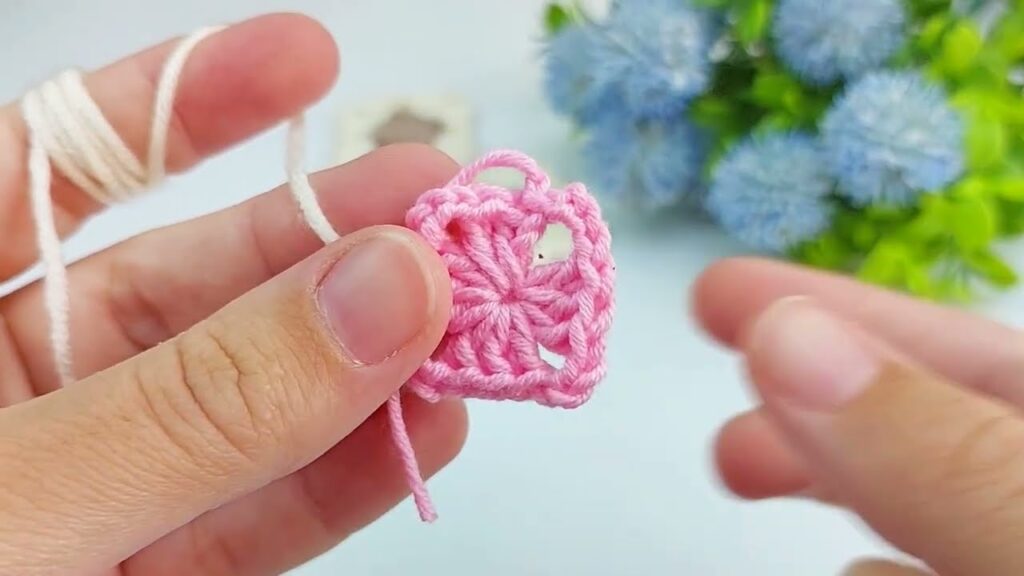
🧩 You should now have a little circle with 4 ch-2 spaces — these will become your flower petal bases.
🌸 Step 2: Crochet the Petals
- Slip stitch over into the first ch-2 space.
- In that space, work (3 dc, ch 1, 3 dc) — this forms your first petal.
- Move to the next ch-2 space and repeat (3 dc, ch 1, 3 dc).
- Repeat this in each ch-2 space all the way around — total 4 petals.
- Join with a sl st to the top of the first dc.
- Fasten off Color A.
🌷 You now have a cute 4-petal flower. The ch-1 spaces between petals will be where you join the next color.
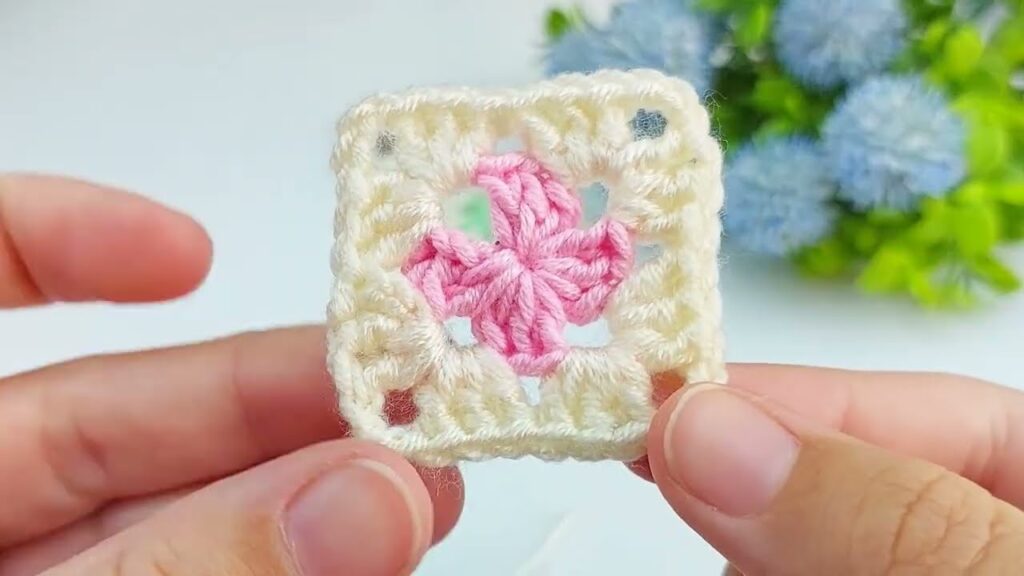
🟨 Step 3: Add the Granny Square Border
- Join Color B (cream) in any ch-1 space between petals.
- Ch 3 (counts as dc), then 2 dc in same space.
- Ch 1.
- In next space (corner between petals), work (3 dc, ch 2, 3 dc) → this forms a corner.
- Ch 1, then 3 dc in next space.
- Ch 1, then (3 dc, ch 2, 3 dc) in next corner.
- Continue this pattern around:
- Work (3 dc, ch 1) in side spaces
- Work (3 dc, ch 2, 3 dc) in corners
- Join with sl st to the top of your first ch 3.
- Fasten off and weave in ends.
🧩 Step 4: Finishing Touches
- Use your yarn needle to hide the yarn tails neatly on the back.
- If your square isn’t lying flat, you can lightly spray it with water and pin it to shape (blocking).
💡 Optional:
If you want a bigger square, you can add more rounds:
- Next round: In corners, work (3 dc, ch 2, 3 dc); on sides, (3 dc, ch 1) in each ch-1 space.