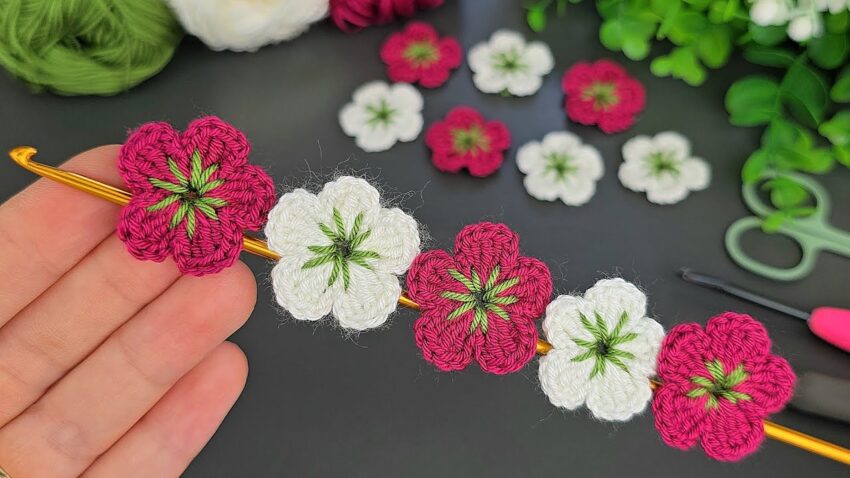
let’s go step-by-step so you can crochet the exact flowers like the ones in your image (the ones with the green centers and alternating red and white petals).
This pattern uses basic stitches, but the layering and color changes make it look elegant.
🌸 Crochet Mini Flower Pattern (Detailed Tutorial)
🧶 Materials
- Crochet thread (size 8 or 10 cotton thread is ideal)
- Color A: Green (for the center)
- Color B: White
- Color C: Red or dark pink
- Crochet hook: 1.5 mm–2.0 mm steel hook
- Tapestry needle for weaving in ends
- Scissors

🪡 Step 1: The Green Center
Round 1
- Make a magic ring (or chain 4 and slip stitch to form a ring).
- Chain 1 (does not count as a stitch).
- Work 6 single crochets (sc) into the ring.
- Pull the tail to close the ring tightly.
- Slip stitch (sl st) into the first sc to join.
➜ You should now have 6 stitches forming a small circle.
Round 2
- Chain 1.
- In each stitch around, work 2 single crochets (sc).
(This doubles your stitch count to 12.) - Slip stitch to the first sc to join.
➜ This forms the slightly larger green center of your flower.
Finish: Fasten off the green yarn and cut the thread. Leave a small tail to weave in later.
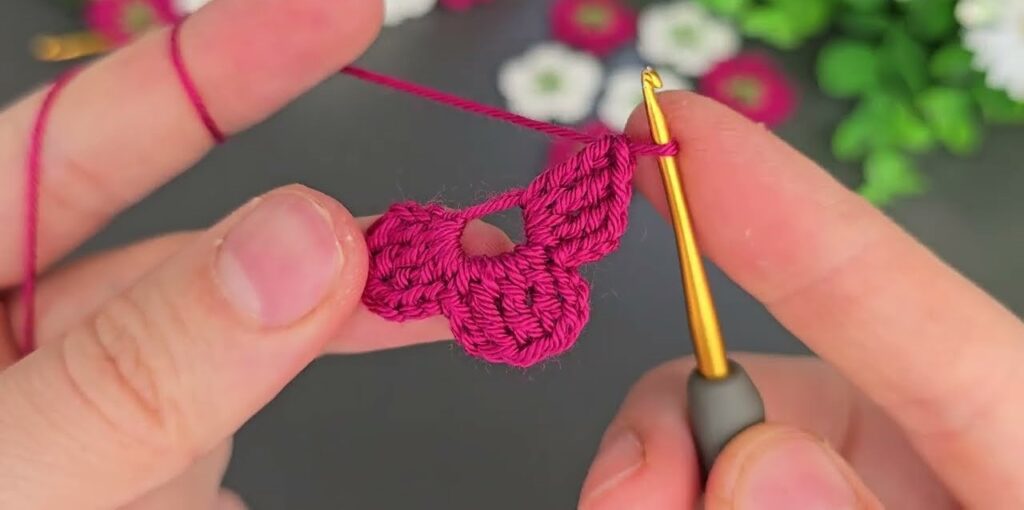
🌺 Step 2: The Petals (White or Red Layer)
Attach your next color (white or red) to any stitch of the green circle.
Round 3 (Petal Round)
Each petal is worked across two stitches from the green base.
- In first stitch:
- Chain 2 (counts as your first half double crochet – hdc).
- Work 1 double crochet (dc) in the same stitch.
- In next stitch:
- Work 1 treble crochet (tr), 1 dc, and 1 hdc.
- Skip to the next stitch on the green base and make a slip stitch (sl st) to secure the petal.
- Repeat Steps 1–3 five more times (for 6 petals total).
- After finishing the last petal, join with a slip stitch to the base of the first petal.
Fasten off and weave in ends.
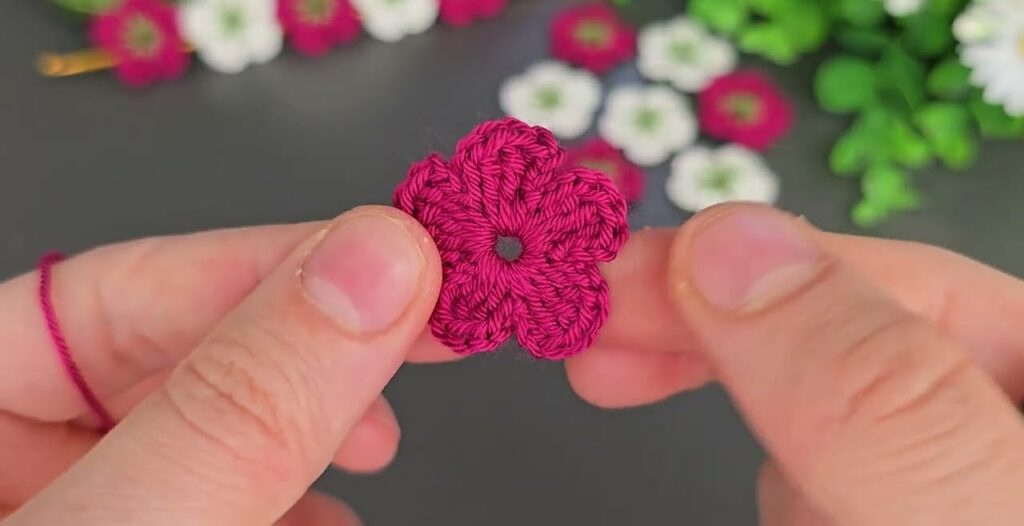
🌿 Step 3: (Optional) Veins in the Center
This is the decorative green embroidery you see radiating out from the flower’s center.
- Thread your green yarn into a tapestry needle.
- Insert the needle from the back of the flower (center) and bring it up to the front between two petals.
- Make a straight stitch from the center to about halfway into the petal.
- Repeat for all 6 petals, evenly spacing the stitches.
- Secure the yarn at the back and trim.
This gives the beautiful leaf-vein look in the center of each flower.
🌼 Step 4: Joining Flowers (Optional)
If you want a chain of flowers (like in the photo):
- Before fastening off each flower, instead of cutting the yarn, start the next flower directly:
- Make a chain of 3–5 stitches (depending on how close you want them).
- Begin the magic ring for the next flower on that chain.
- Alternatively, finish all flowers first, then sew them together side by side using a needle and matching thread.
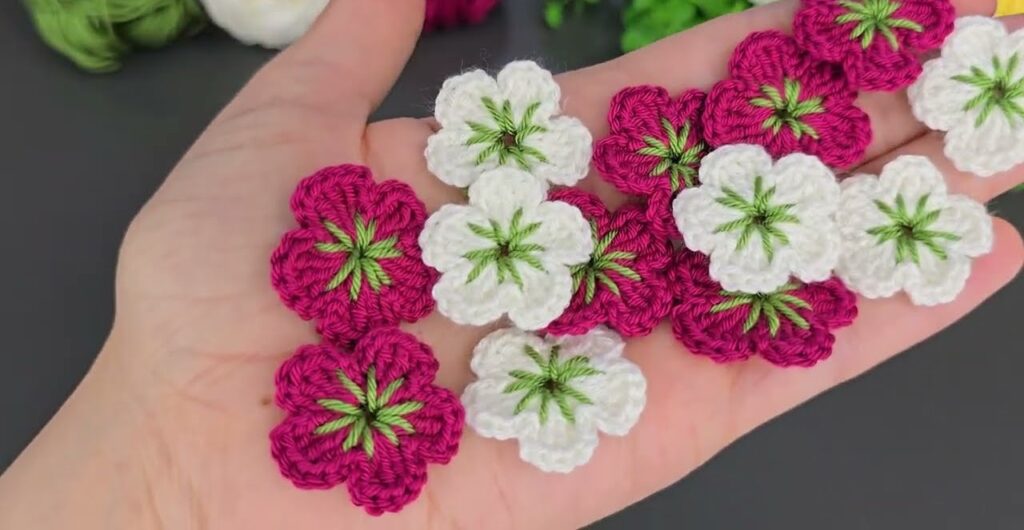
🌈 Color Ideas
| Flower Color | Petal Color | Center | Look |
|---|---|---|---|
| 1 | Red | Green | Bold contrast |
| 2 | White | Green | Fresh and clean |
| 3 | Pink | Green | Soft and delicate |
Alternate them for a lively garland effect like in your image.
🧵 Abbreviations (US Terms)
| Symbol | Stitch Name |
|---|---|
| ch | Chain |
| sl st | Slip Stitch |
| sc | Single Crochet |
| hdc | Half Double Crochet |
| dc | Double Crochet |
| tr | Treble Crochet |
| st | Stitch |