This is a mini yarn pom-pom flower made using your fingers 🌼
Here is an easy step-by-step tutorial.
MINI FINGER POM-POM FLOWER (STEP-BY-STEP)
🧶 Materials
- Yarn (medium or thin works best)
- Scissors ✂️
- Your fingers (no tools needed)

PART 1: MAKE THE FLOWER BALL
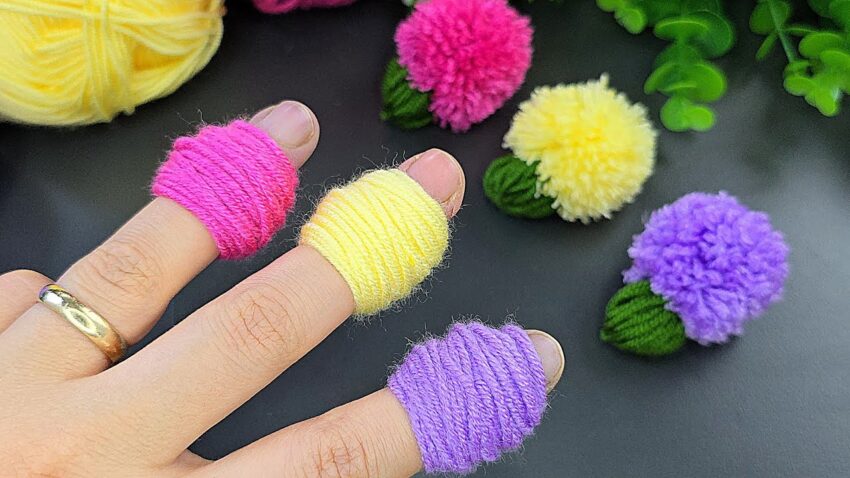
STEP 1: Hold your fingers
- Use 2 fingers (index + middle finger)
- Keep fingers slightly apart (not tight together)
STEP 2: Wrap the yarn
- Put yarn tail on your palm side
- Start wrapping yarn around both fingers
- Wrap in one direction only
- Do 40–50 wraps
👉 This makes it fluffy like the photo
📌 Tip:
- Less wraps = small flower
- More wraps = big, full flower

STEP 3: Slide off carefully
- Gently slide the wrapped yarn off your fingers
- Hold it tightly in the middle so it doesn’t loosen
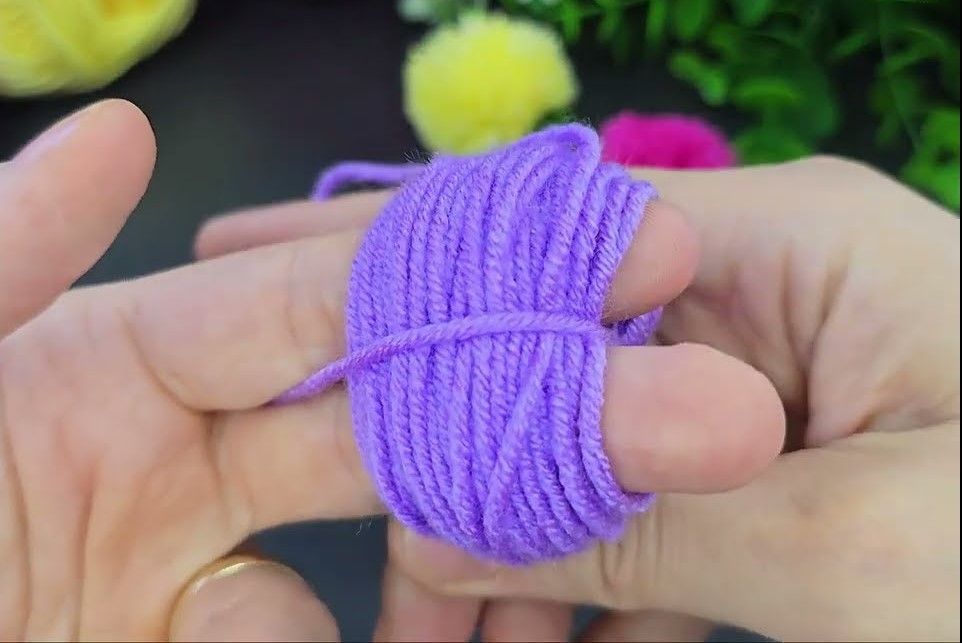
STEP 4: Tie the center (VERY IMPORTANT)
- Cut a 20 cm yarn piece
- Wrap it tightly around the middle
- Pull as tight as possible 💪
- Double knot (tie twice)
📌 The tighter this knot, the better the flower shape
STEP 5: Cut the loops
- You will see loops on both sides
- Cut through all loops with scissors
- Don’t worry—it will look messy first
STEP 6: Shape the pom-pom
- Fluff with fingers
- Trim little by little into a round ball
- Turn it while trimming for even shape ✂️
🎉 Now your flower top is done!
PART 2: MAKE THE GREEN BASE (LEAVES)
STEP 7: Wrap green yarn
- Use 2 fingers
- Wrap green yarn 15–20 times
STEP 8: Tie the middle
- Slide off fingers
- Tie tightly in the middle
- Do NOT cut both sides
STEP 9: Cut only ONE side
- Cut loops on one side only
- The other side stays folded
STEP 10: Attach to flower
- Place green yarn under the pom-pom
- Tie tightly using the green yarn ends
- Trim green yarn short to look like leaves 🍃
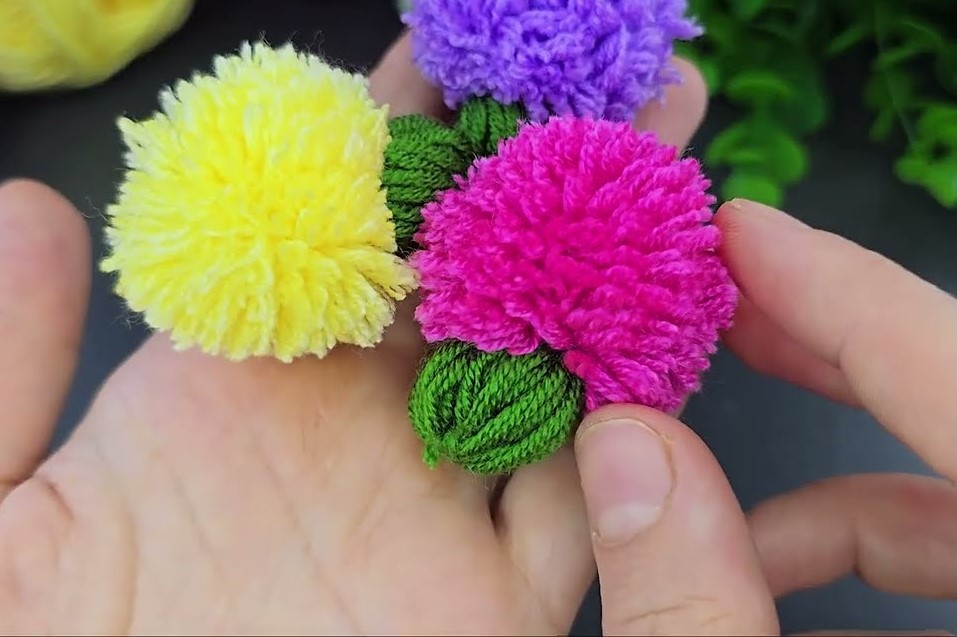
FINAL TOUCH
- Trim flower again if needed
- Press gently to make it round
- Size should be about 2–3 cm, like the photo
COMMON MISTAKES ❌
- Knot not tight → flower falls apart
- Cutting before tying → yarn comes loose
- Too few wraps → flower looks thin
USE IDEAS 💡
- Hair clips
- Earrings
- Brooch
- Keychains
- Decoration