
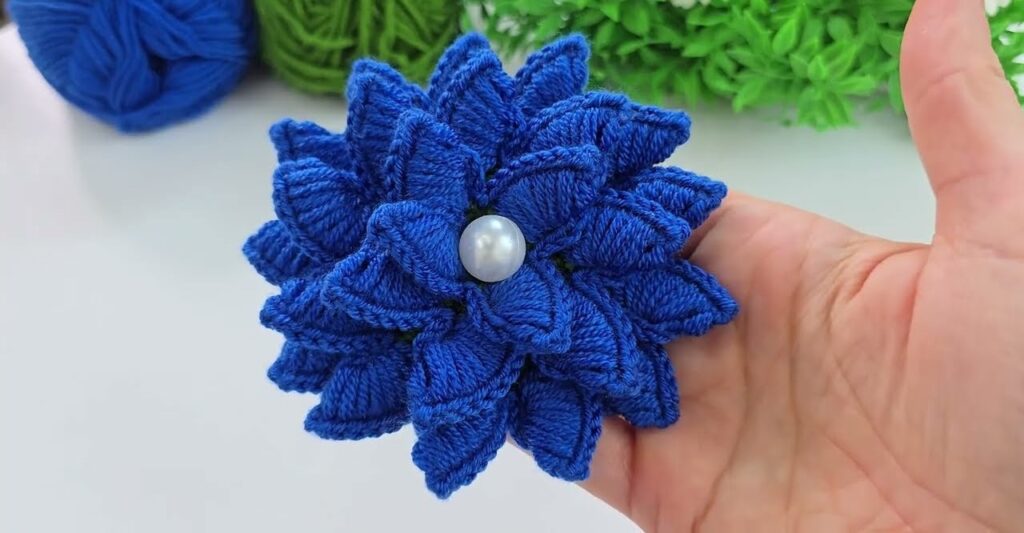
Great! Here is a step-by-step tutorial to make the exact 3D curved puff-petal motif in your image.
I will break it into:
1️⃣ Green curved base
2️⃣ Blue puff petals (3D loops)
3️⃣ Assembly + tips
🌿 PART 1 — MAKE THE GREEN CURVED BASE (DETAILED)
Step 1: Make the foundation chain
- With green yarn, make 30 chains.
(You can do 25–35 — more chains = bigger curve.)
Step 2: Single crochet foundation row
- Insert hook into the 2nd chain from hook.
- Make 1 SC in every chain.
- At the end, chain 1 and turn.
You now have a straight strip.
Step 3: Shape the curve (increase row)
This creates the semi-circle that your petals attach to.
- Ch 1.
- Work across the row following this pattern:
Increase Pattern
| Stitches | What to do |
|---|---|
| First 6 stitches | 2 HDC in each stitch |
| Middle stitches (about 18 stitches) | 1 HDC in each |
| Last 6 stitches | 2 HDC in each stitch |
This increases both ends so the strip curves naturally.
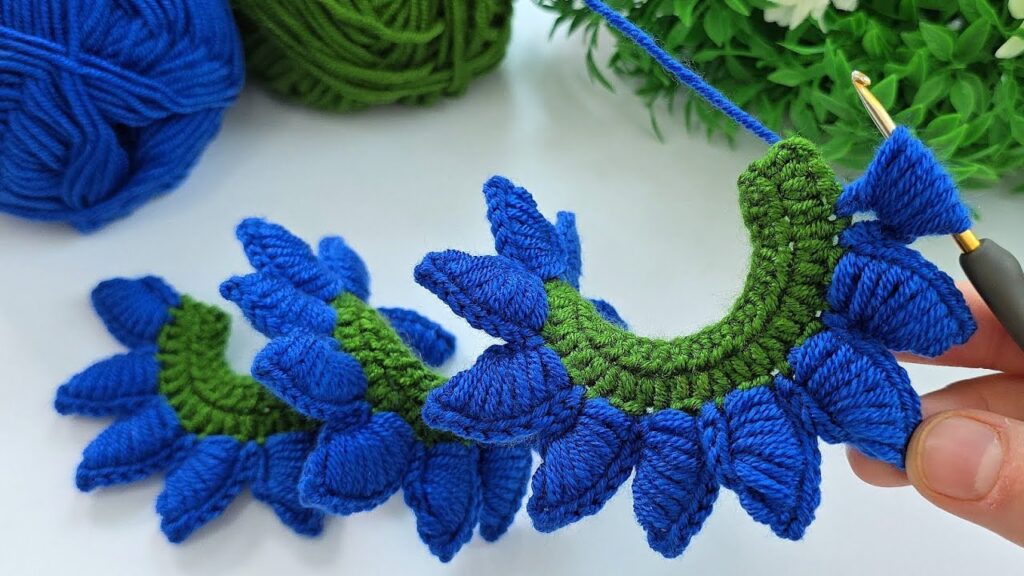
👉 Now you have a green semi-circle base exactly like the photo.
🔵 PART 2 — MAKING THE BLUE PUFF PETALS (VERY DETAILED)
Each petal is a large 3D elongated puff, made in one stitch of the green base.
You will work in every stitch across the curved row.
⭐ How to make ONE puff petal
Attach blue yarn to the 1st stitch of the green curved row.
Puff Petal Instructions (very detailed)
- Yarn over.
- Insert hook into the stitch.
- Pull up a tall loop (about 1 cm tall).
- Yarn over again.
- Insert into the same stitch.
- Pull up another tall loop.
➡️ Repeat Steps 1–3 until you have
14–18 loops on your hook.
(The more loops → the thicker the petal.)
Close the puff
- Yarn over.
- Pull through all the loops on the hook.
- Chain 1 to lock the puff.
You have now completed one fat, standing, 3D petal.

🔁 Repeat the petal in every stitch
- Make 1 puff petal in each stitch of the green curved base.
- Keep loops the same height so the petals look uniform.
- Continue until you reach the end of the row.
At the end, your piece looks exactly like your photo:
✔ Big blue puff petals
✔ Curved green base
✔ Dense, layered flower strip
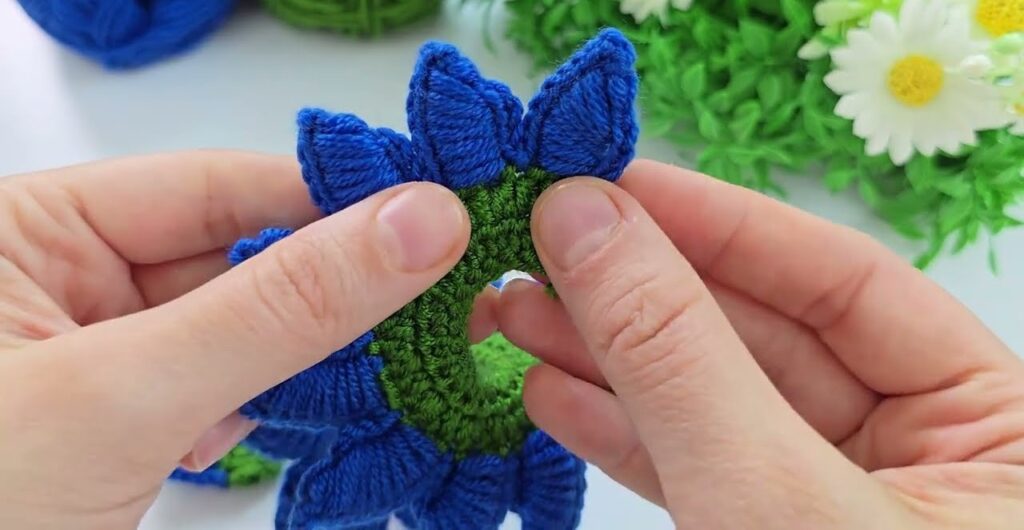
🌼 PART 3 — FINISHING
- Cut yarn
- Pull tail through loop
- Use a yarn needle to weave in ends at the back
- Shape each puff petal with your fingers to make it “open”
🌟 EXTRA TIPS FOR BEST RESULT
✔ Use soft yarn (acrylic or milk cotton)
It makes the petals plumper.
✔ Make loops the same height
This gives a clean, professional look.
✔ Stay in the front loop only of the green base (optional)
This makes petals stand even more upright.
✔ Make small increases on the green base
If curve is too tight → fewer increases
If curve is flat → add more increases