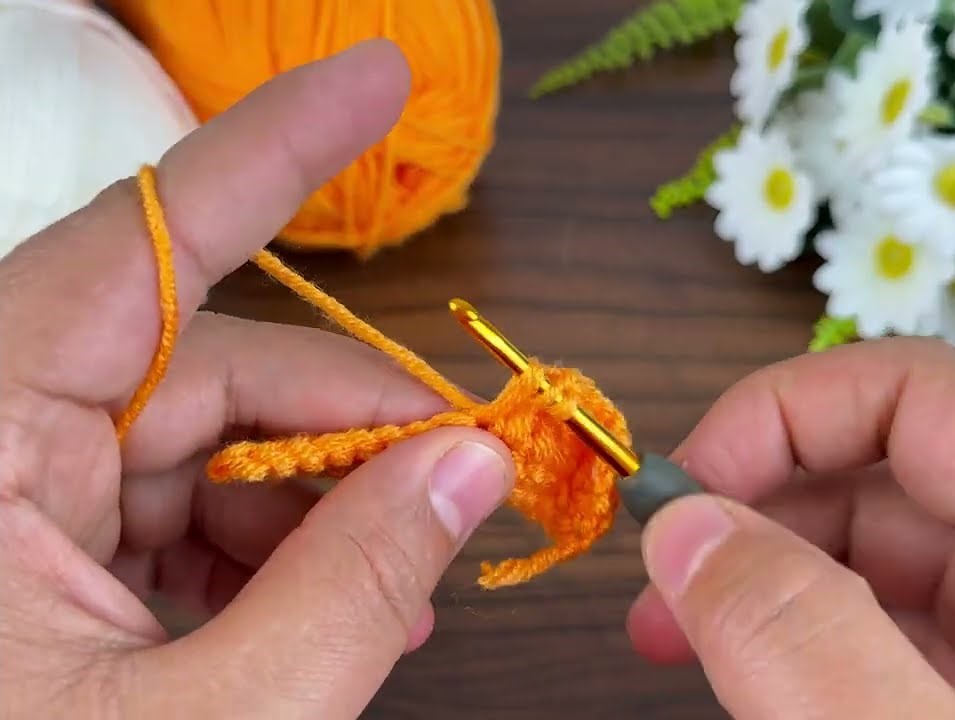
That’s a lovely crochet border pattern — it looks like a mosaic or tapestry crochet design using two colors (orange and white). Here’s how you can make it:
🌼 MATERIALS
- Yarn: 2 contrasting colors (example: orange = Color A, white = Color B)
- Hook: 3.0 mm
- Scissors
- Tapestry needle for weaving ends

🧵 STEP-BY-STEP INSTRUCTIONS
🔹 Step 1: Foundation Chain
- With Color A (orange), make a slip knot.
- Chain any multiple of 4 + 3 (for example, 23 chains).
- The “+3” gives balance to the pattern.
- Add 1 extra chain for turning.
So if you start with 23 + 1 = 24 chains total.
🔹 Step 2: Row 1 (Base Row – Orange)
- Work 1 single crochet (sc) into the 2nd chain from hook.
- Continue working 1 sc in each chain across.
- Turn your work.
- You should now have a solid base row of orange single crochets.

🔹 Step 3: Row 2 (Orange)
- Chain 1 (does not count as a stitch).
- Make 1 sc in each stitch across the row.
- Do not cut the yarn — keep Color A attached.
- Turn.
🔹 Step 4: Row 3 (White – Decorative Bars)
Now you start to form the white “puff-like” designs.
- Attach Color B (white) at the start of the row.
- Chain 1.
- Pattern repeat begins:
- Make 1 single crochet (sc) in the first stitch.
- Skip the next stitch, then make 1 double crochet (dc) in the skipped stitch of Row 1 (that’s two rows below).
👉 This dc should be long — it creates a vertical white bar. - Repeat this pattern:
(1 sc, skip 1, 1 dc in skipped stitch 2 rows below)
until the end of the row.
- End with 1 sc in the last stitch.
- Cut Color B and pull through.
✅ You’ll now see white vertical stitches forming the decorative design.

🔹 Step 5: Row 4 (Orange)
- Bring Color A (orange) up again from the side (don’t cut it).
- Chain 1.
- Work 1 sc in each stitch across, crocheting over the loose white strand to hide it.
- Turn your work.
🔹 Step 6: Row 5 (White)
Repeat Row 3 pattern again (1 sc, skip 1, dc in stitch 2 rows below, repeat).
You’ll see a second line of white “bars,” but they’ll align to form small tulip-like shapes.
🔹 Step 7: Row 6 (Orange)
Repeat Row 4 again (all sc in orange).
🔹 Step 8: Border Finishing
Once you have your desired length:
- Work 1 round of single crochet around the whole strip using orange.
- At corners, make 3 sc in one stitch to turn smoothly.
- Fasten off and weave in all ends.

🌸 OPTIONAL:
If you want a thicker border, you can add:
- One more white row (Row 3 pattern),
- Then finish with an orange single crochet row.
🧶 Stitch Summary
| Symbol | Stitch Name | Description |
|---|---|---|
| ch | Chain | Foundation stitches |
| sc | Single crochet | Basic flat stitch |
| dc | Double crochet | Used for long vertical white bars |
