
Great! Here is a step-by-step tutorial so you can make the exact same starburst pattern in your photo.
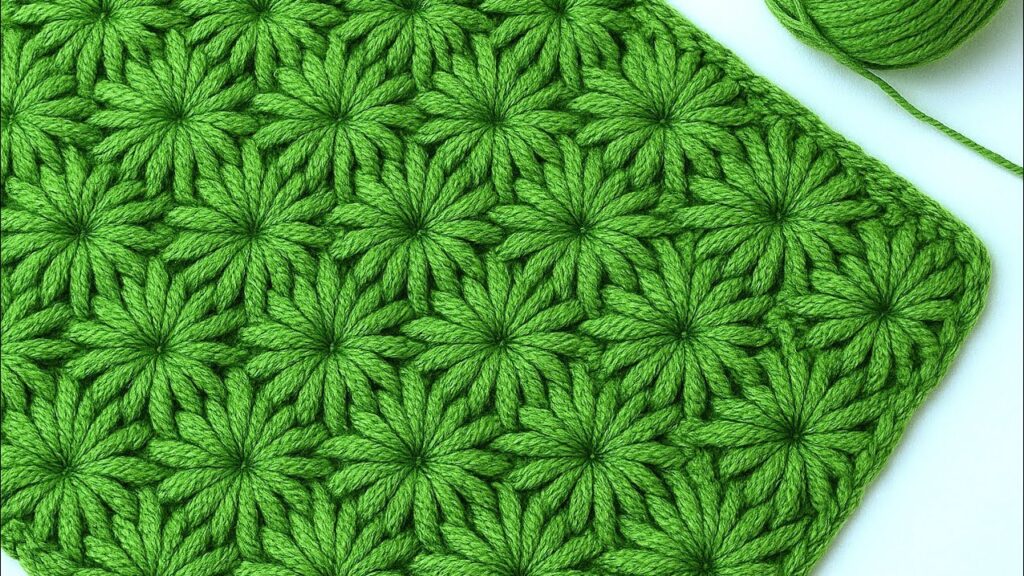
🌟 STARBURST (SUNBURST) CROCHET STITCH – FULL DETAILED TUTORIAL
This stitch is made from elongated puff stitches worked in 5 locations to form each “flower”.
🧶 MATERIALS
- Medium (#4) yarn (or any yarn you like)
- Hook recommended for your yarn
- Scissors
- Tapestry needle
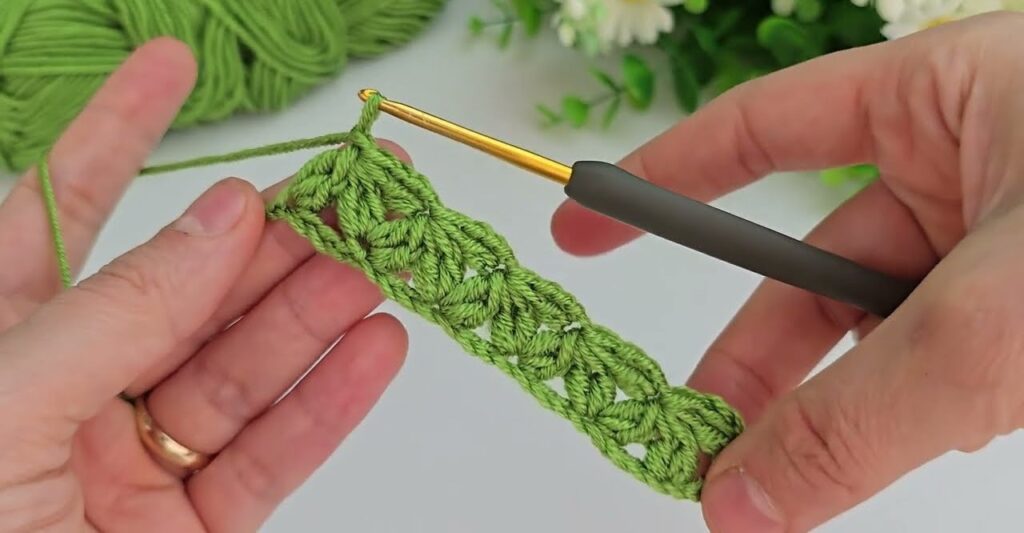
🧵 STEP 1 — Foundation Row
You must start with:
➤ Chain: multiple of 4 + 1
Examples:
- 25 + 1
- 32 + 1
- 40 + 1
Why?
Each starburst uses 4 base stitches.
So let’s say you chain 33 (8 starbursts wide).
🪡 STEP 2 — Row 1 (Single Crochet Row)
This row gives you a solid base.
- Insert hook in 2nd chain from hook, make 1 single crochet (SC).
- SC in every chain across.
- Turn work.
You should now have a neat SC row.
🌼 STEP 3 — Row 2 (First Row of Starbursts)
Each starburst uses 5 loops pulled up from different places.
⭐ HOW TO MAKE 1 STARBURST
You will pull up long loops from 5 positions, then close them into one big puff.
Loop 1:
Insert hook into same stitch, pull up a long loop.
Loop 2:
Insert into next stitch, pull up a long loop.
Loop 3:
Insert into the next stitch, pull up a long loop.
Loop 4:
Insert into the space below, between stitches on the previous row (the SC row), pull up a long loop.
Loop 5:
Insert again in the same space, pull up another loop.
➡ You now have 6 loops on your hook (5 pulled-up + the starting loop).
Close the Starburst
- Yarn over.
- Pull through all loops together.
- Chain 1 to lock it.
This forms one complete flower.
🌼 STEP 4 — Continue Row 3
You start the next starburst immediately:
For the next flower:
- Loop 1 → from the closing chain
- Loop 2 → from next stitch
- Loop 3 → from next stitch
- Loop 4 → from the “gap” between starbursts
- Loop 5 → again from the same gap
- Close + chain 1
Repeat to the end of the row.
Turn your work.
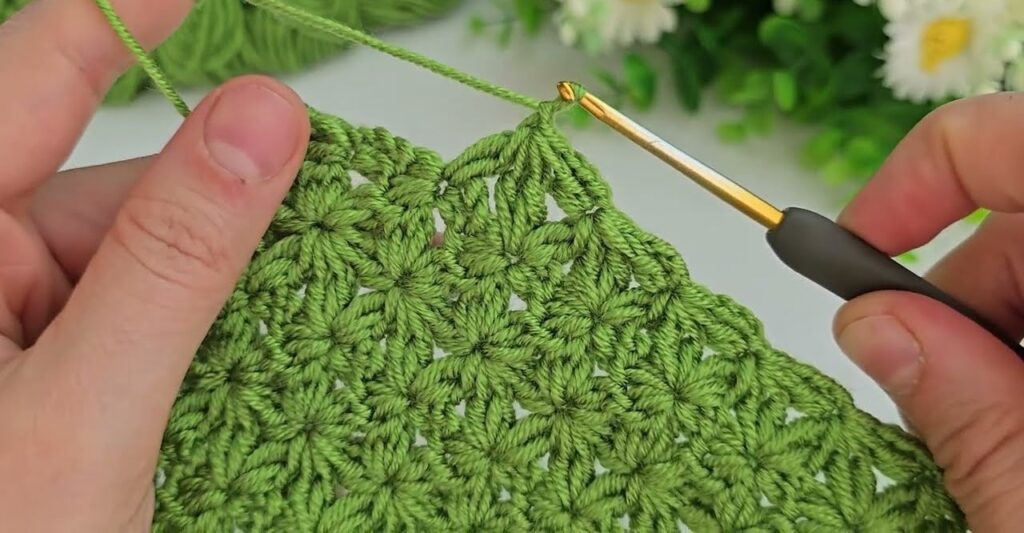
🌿 STEP 5 — Row 3 and all following rows
From now on, every new flower is anchored in the spaces between the flowers below.
For each new starburst:
- Insert in closing chain of previous row (pull up loop).
- Insert into next stitch (pull up loop).
- Insert into next stitch (pull up loop).
- Insert into the space between flowers below (pull up loop).
- Insert again in the same space (pull up loop).
- Yarn over → pull through all loops.
- Chain 1.
Continue to the end.
Repeat this row as many times as you want.
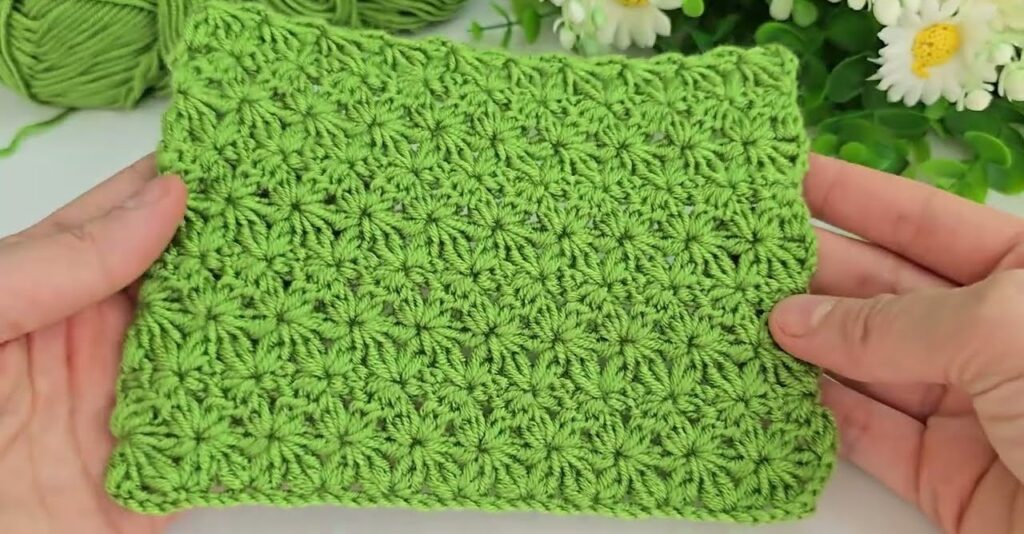
📌 IMPORTANT TIPS FOR SUCCESS
✔ Pull all loops to equal height for perfect petals
✔ Use a soft twist yarn so the flowers look full
✔ Do not tighten the “closing chain” too much
✔ If you want a thicker texture, use bulkier yarn