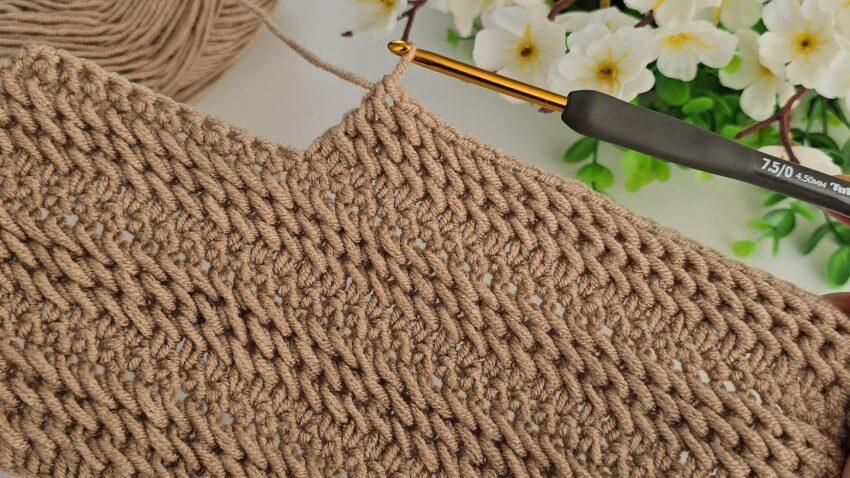
This is a Tunisian crochet stitch pattern, often called the Tunisian Simple Stitch (TSS). It uses a Tunisian crochet hook (shown in the image) — longer than regular hooks — and it creates a fabric that looks like a mix between crochet and knitting.
Here’s how you can make it step-by-step 👇
🧶 What You’ll Need:
- Yarn: Medium-weight (like size 4 cotton or acrylic)
- Hook: A Tunisian crochet hook, 4.5 mm (as in your photo)
- Scissors
- Yarn needle for weaving in ends

🌿 Step 1: Make the Foundation Chain
- Make a slip knot on your hook.
- Chain (ch) 20–30 stitches (or however wide you want your project to be).
- Each chain will become one vertical stitch in your work.
👉 Example:ch 20
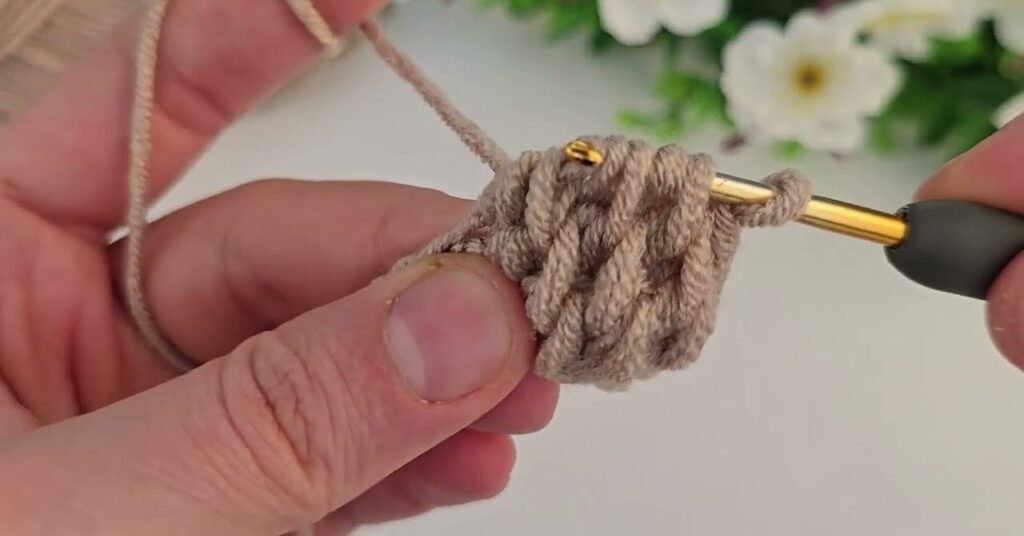
🌿 Step 2: Forward Pass (Pick Up Loops)
- Skip the first chain (closest to the hook).
- Insert your hook into the back bump or front loop of the next chain.
- Yarn over (yo) and pull up a loop — keep that loop on your hook.
- Insert the hook into the next chain, yo, pull up another loop.
- Continue this across the entire chain.
When you reach the end, you’ll have many loops on your hook — do not yarn over and pull through all like normal crochet. Keep them all there.
🌿 Step 3: Return Pass (Work Back)
Now you’ll work back across the loops to complete the row.
- Yarn over and pull through 1 loop only (this forms the edge).
- Then repeat: Yarn over, pull through 2 loops.
- Continue yarning over and pulling through 2 loops at a time until only one loop remains on your hook.
That’s the end of your first row.
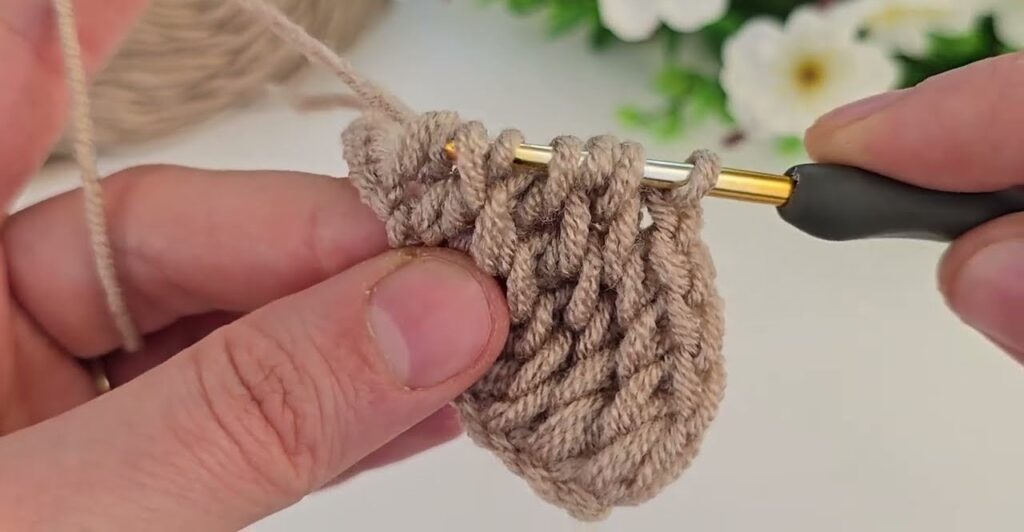
🌿 Step 4: Tunisian Simple Stitch (TSS)
Now you’ll start creating the vertical lines (like in your photo).
- Look at your work — you’ll see vertical bars across the front.
- Insert your hook from right to left under the front vertical bar of the next stitch (not through the back bump).
- Yarn over and pull up a loop — leave it on your hook.
- Repeat this for every stitch across the row.
👉 You’ll again have loops all along your hook.
🌿 Step 5: Return Pass (Repeat Each Row)
Just like before:
- Yarn over, pull through 1 loop (edge stitch).
- Then yarn over, pull through 2 loops repeatedly until only 1 loop remains.
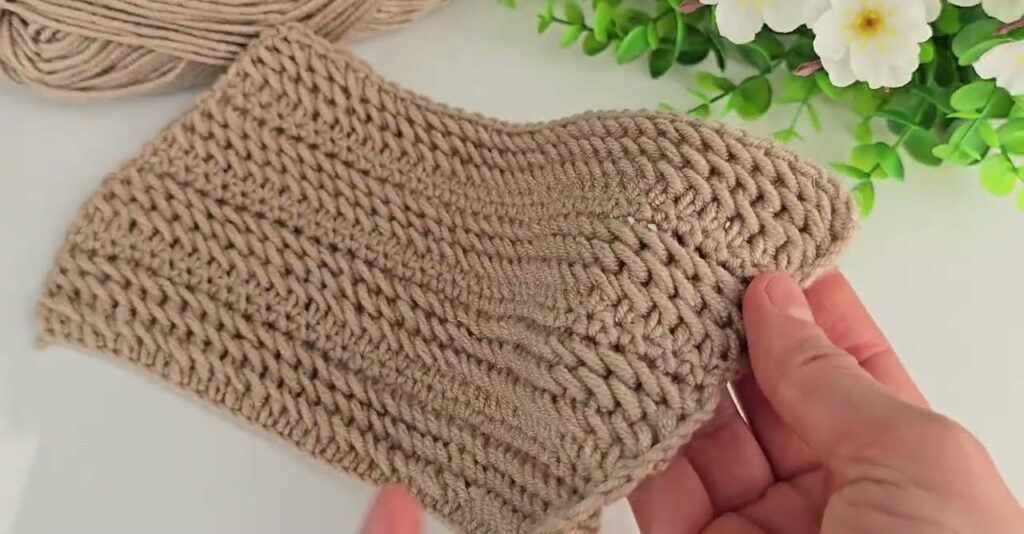
That’s another row of Tunisian Simple Stitch complete.
🌿 Step 6: Repeat
Repeat Step 4 (Forward Pass) and Step 5 (Return Pass) until your piece is as long as you like.
It could be used for:
- Bags
- Sweaters
- Blankets
- Cushion covers
🌿 Step 7: Bind Off (Finishing Row)
To finish neatly:
- Insert your hook under the vertical bar of the next stitch.
- Yarn over and pull through both loops on your hook (like a slip stitch).
- Continue across the row.
- Fasten off your yarn and weave in ends.
💡 Tips:
- The edge can curl a little — that’s normal! You can block it (steam or wet block) afterward.
- Keep your tension even — not too tight.
- To make the fabric softer, use a slightly larger hook.