
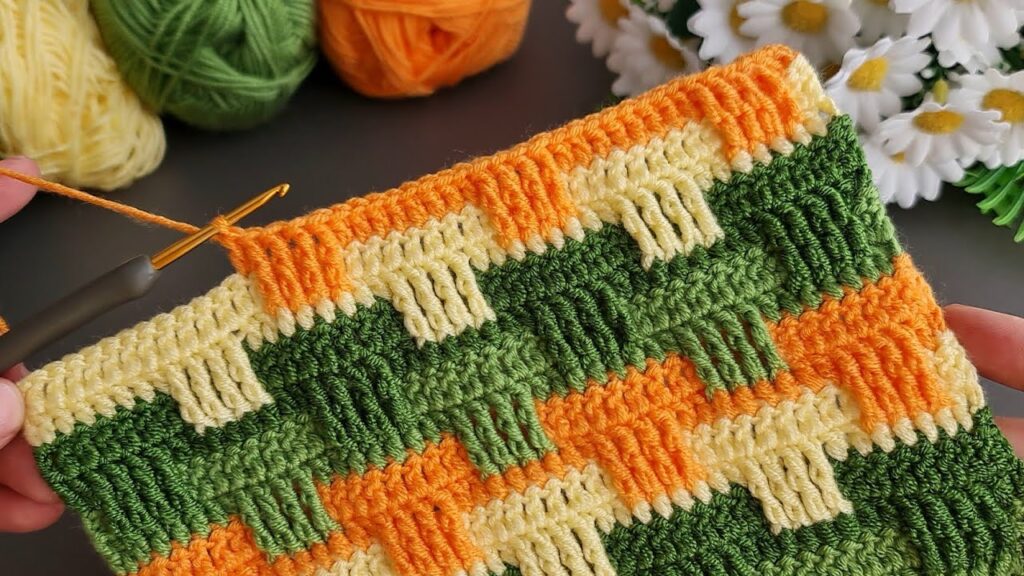
This is a crochet mosaic or interlocking block stitch pattern — sometimes called a brick stitch or tetris stitch. It uses front post double crochet (FPdc) and double crochet (dc) with color changes every few rows to create the raised block effect.
Here’s how you can make it step-by-step:
🧶 Crochet Pattern: “3-Color Raised Block Stitch”
This pattern creates a beautiful woven look using front post double crochet (FPdc) and double crochet (dc) in three colors — orange, yellow, and green (like your image).
🌈 Materials
- Yarn: 3 colors (A = Orange, B = Yellow, C = Green)
- Hook: 4.0 mm (or suitable for your yarn)
- Scissors and yarn needle
🪄 Stitches Used (US Terms)
| Abbreviation | Meaning |
|---|---|
| ch | chain |
| dc | double crochet |
| FPdc | front post double crochet |
| st | stitch |
| yo | yarn over |
🧩 Front post double crochet (FPdc) = Yarn over, insert hook around the post of the stitch from front to back to front, yo, pull up a loop, yo, pull through 2 loops twice.
⚙️ Pattern Setup
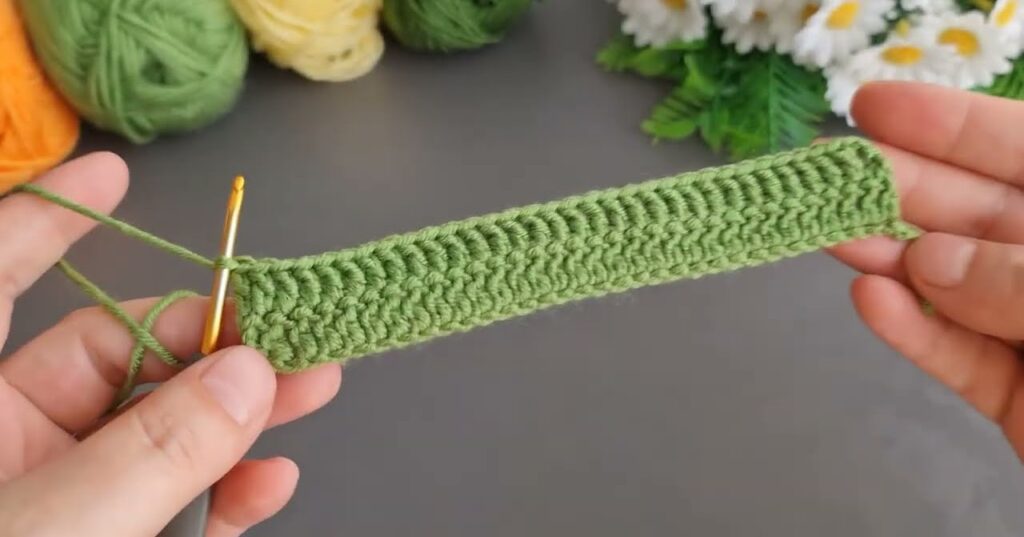
- Foundation Chain:
Make a chain of any multiple of 8 + 2 (for example, 34 + 2 = 36). - Row 1 (Base row):
Dc in the 3rd ch from the hook and in each ch across. Turn.
🌼 Row-by-Row Instructions
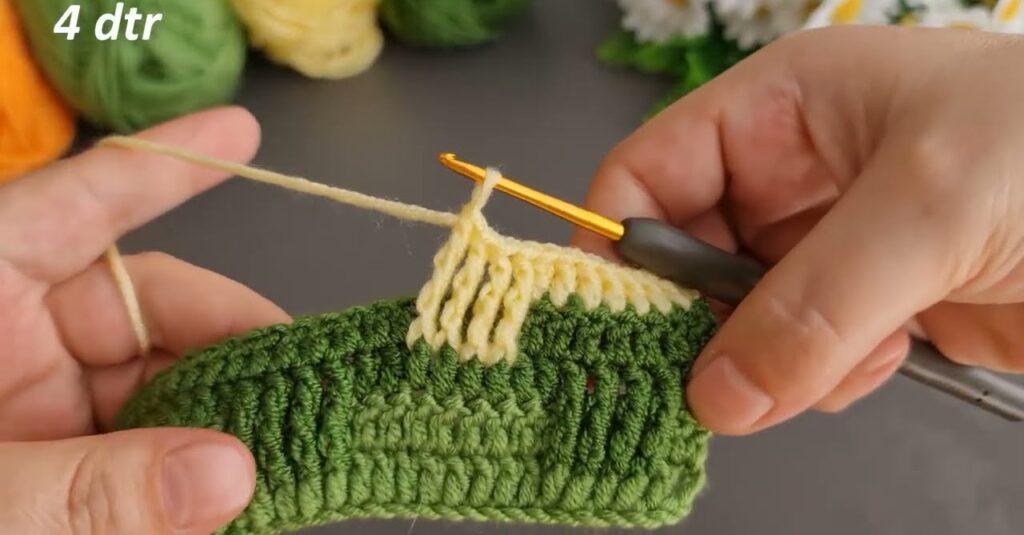
🟧 Row 2 (Color A – Orange)
- Ch 2 (counts as first dc).
- Dc in next 3 sts (total 4 dc).
- FPdc around next 4 sts (from row below), dc in next 4 sts.
- Repeat from * to * across. Turn.
This creates the first set of raised orange blocks.
🟨 Row 3 (Color A – same color)
- Ch 2, dc across (no FPdc this time). Turn.
👉 This row flattens and finishes the first block stripe.
Cut yarn and change to next color (Yellow).
💛 Row 4 (Color B – Yellow)
- Join Color B and ch 2.
- Skip first 4 sts, FPdc around next 4 sts (two rows below), dc in next 4 sts.
- Repeat across.
(The yellow blocks are offset from the orange ones.) - Turn.
💛 Row 5 (Color B – same color)
- Ch 2, dc in each st across. Turn.
Cut yarn, change to Color C.
💚 Row 6 (Color C – Green)
- Join Color C, ch 2.
- Repeat the same pattern as Row 2 (FPdc 4, dc 4, FPdc 4, etc.).
- Turn.
💚 Row 7 (Color C – same color)
- Ch 2, dc in each st across. Turn.
Cut yarn, return to Color A.
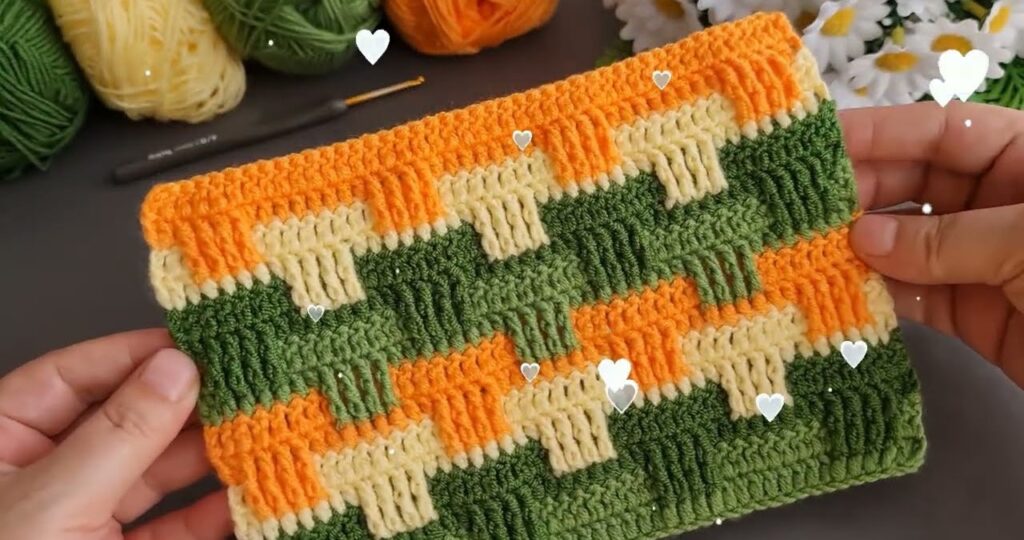
Now, repeat Rows 2–7 for the rest of your work.
Each two-row color band forms one “brick layer,” alternating their position each time.
🧵 Finishing
- When you reach your desired length, end with a dc row.
- Fasten off and weave in all yarn ends neatly.
✨ Tips for Best Results
- Don’t crochet FPdc too tightly; they should stand out smoothly.
- When changing colors, carry the yarn loosely along the side or cut and rejoin if you prefer a clean edge.
- You can use more colors for a patchwork look or only two colors for simplicity.