
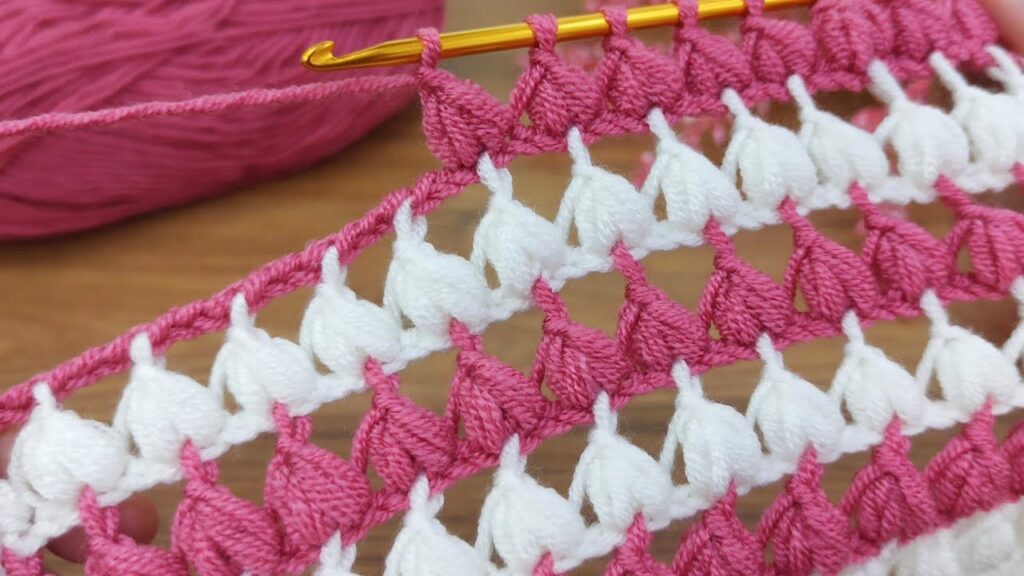
That’s a beautiful crochet stitch pattern — it looks like a two-color puff or cluster stitch pattern (often called the “V Cluster Stitch” or “Triangle Puff Stitch”). Here’s how you can make it step-by-step
🧶 MATERIALS
- Yarn: Two colors (for example, pink and white as in your photo).
- Crochet hook: Use the hook size recommended on your yarn label.
- Scissors
- Tapestry needle (to weave in yarn ends later).
✨ ABBREVIATIONS (US terms)
- ch = chain
- dc = double crochet
- yo = yarn over
- st = stitch
- sp = space
🌸 PATTERN IN DETAIL
🔹 Step 1: Foundation
- With Color A (pink), make a slip knot and then chain a multiple of 4 + 3 (for example: 27 + 3 = 30 chains total).
- This formula helps your stitch pattern line up correctly.
🔹 Step 2: Row 1 (Color A)
- Skip the first 3 chains (they count as your first dc).
- In the 4th chain from hook, make 3 dc all in the same chain.
- Skip 3 chains, and in the next chain, make 3 dc again.
- Repeat: skip 3 chains, make 3 dc in next chain across the row.
- You’ll end with clusters of 3 dc (like small triangle groups).
- When you reach the end, chain 3 and turn your work.
💡 Tip: These “3 dc groups” are your base clusters — you’ll crochet into the spaces between them in the next row.
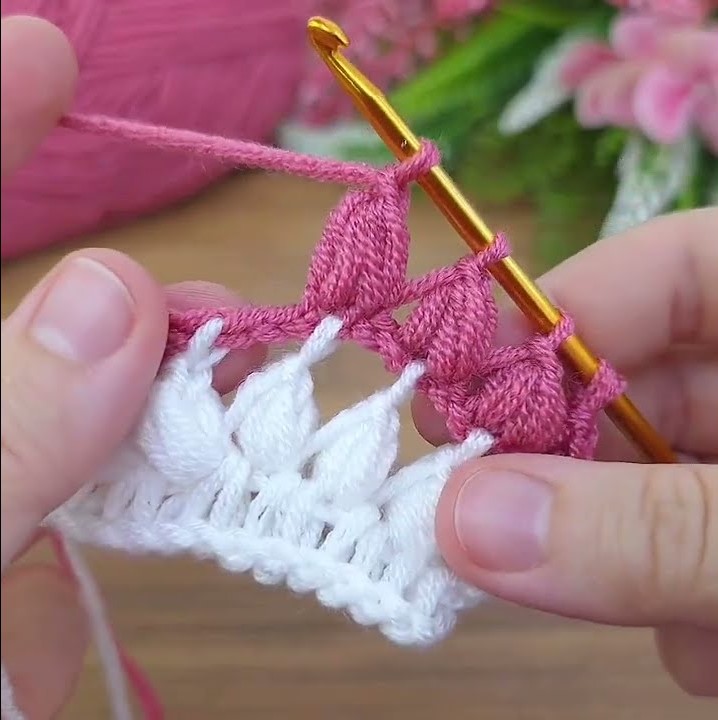
🔹 Step 3: Row 2 (Still Color A)
- Yarn over and make 3 dc into the space between the first and second clusters (the gap).
- Continue making 3 dc in each space between clusters.
- When you reach the end, make 1 dc on top of the last dc (to keep the edge straight).
- Cut the yarn if you plan to change color.
- Fasten off and weave in the tail (optional).
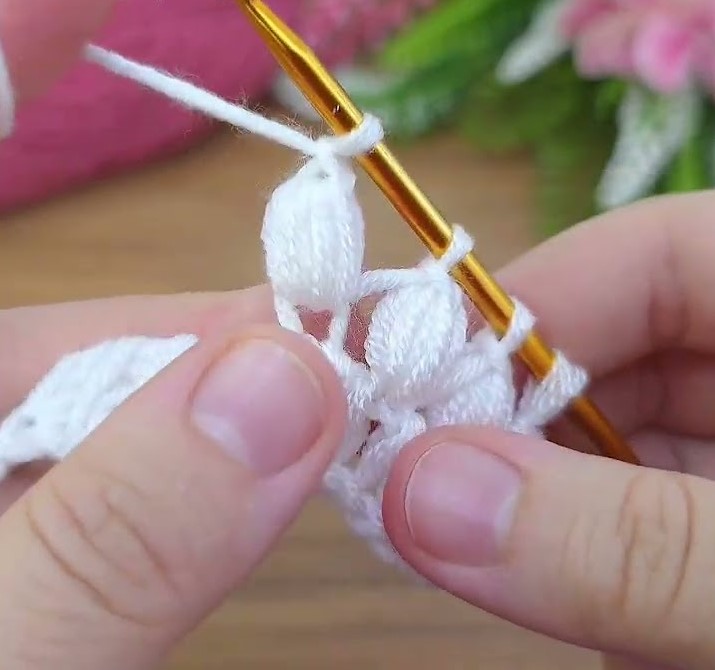
🔹 Step 4: Change to Color B (White)
- Attach Color B in the first space between clusters.
- Chain 3 (counts as 1 dc).
- In the same space, make 2 more dc (so total = 3 dc).
- Skip to the next space, make 3 dc again.
- Repeat across the row.
- At the end, chain 3 and turn.
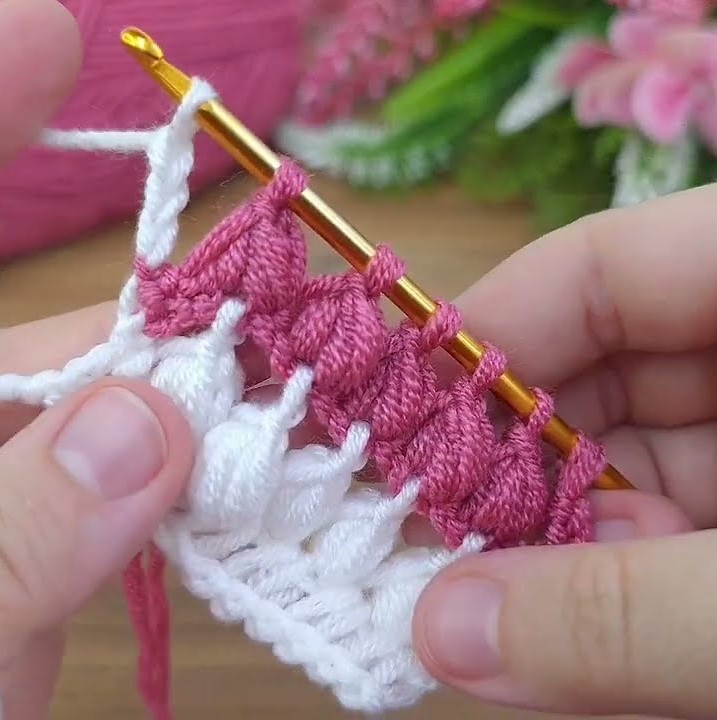
💡 Now you’ll start seeing alternating color bands — pink row, white row, pink row, etc.
🔹 Step 5: Continue Pattern
- Keep repeating Row 2 with each color.
- Alternate colors every 2 rows for a bold stripe look (like your photo).
So the color order is like this:
Rows 1–2: Color A (pink)
Rows 3–4: Color B (white)
Rows 5–6: Color A (pink)
Rows 7–8: Color B (white)
You can continue until you reach your desired length.
🔹 Step 6: Finishing
- Once finished, cut yarn, leaving about 10 cm tail.
- Use a tapestry needle to weave in the yarn ends neatly.
- Gently block your piece (optional) to make the stitches flat and even.
💡 Extra Tips
- Keep your tension even for smooth clusters.
- You can use cotton yarn for a crisp look or acrylic for a soft blanket.
- This stitch is great for scarves, blankets, or baby clothes.