
This crochet design is called the Broomstick Lace Stitch (sometimes known as the Jiffy Lace stitch). It creates beautiful loops that give a lacy, textured effect. Here’s a step-by-step guide so you can try it:
🔹 Step-by-Step Instructions
Row 1: Foundation
- Make a chain (multiple of 4 + 1 for balance).
Example: 25 chains. - Work 1 single crochet (sc) into each chain across.
➝ This row gives you a solid base.
Row 2: Making Long Loops
- Chain 1, turn.
- Insert hook into the first sc, yarn over, pull up a long loop (about 2–3 cm).
➝ Place this loop on a large knitting needle, thick crochet hook, or anything round. - Repeat this for each stitch across.
➝ Now all loops are sitting on your big needle.
Row 3: Grouping Loops
- Carefully slide 4 or 5 loops off the big needle (depending on your pattern).
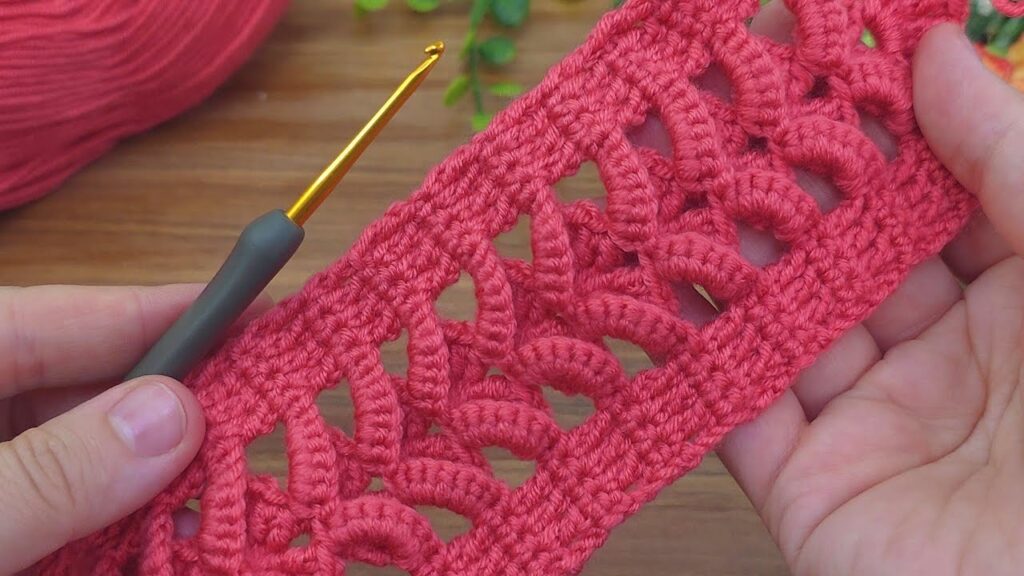
➝ Let’s use 5 loops per group (like in your photo). - Insert hook under all 5 loops together.
- Yarn over, pull through, and chain 1 to secure.
- Into the same group, work:
- 1 single crochet (sc)
- 1 half double crochet (hdc)
- 3 double crochet (dc)
- Move to the next 5 loops, repeat the same stitches.
- Continue until the row is finished.

Row 4: Base Row Again
- Chain 1, turn.
- Work 1 sc in each stitch across.
➝ This prepares the base for the next broomstick lace row.
🔁 Repeat
- Repeat Row 2–4 for the length of your project.
- The loops will stack vertically, and the fans create the beautiful lace effect you see in the photo.
✅ Tips for Success
- Keep loop size consistent for even lace.
- Use a smooth yarn so loops slide easily.
- If loops twist, gently adjust them with your fingers before working into groups.
