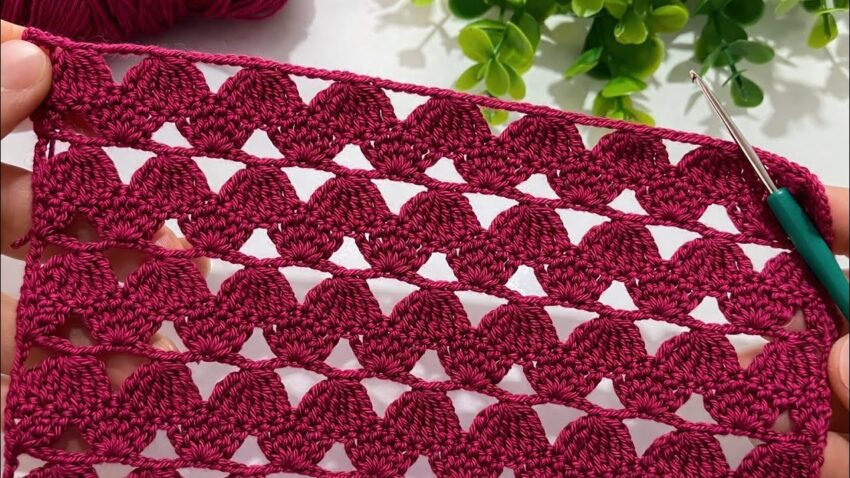
This is a crochet shell / scallop lace stitch worked in rows. I’ll explain it step-by-step so you can make the same pattern.
🧶 MATERIALS
- Yarn: medium / DK / cotton (smooth yarn helps see stitches)
- Hook: 4–5 mm (use a bigger hook if it feels tight)

🧵 STITCHES (IMPORTANT)
- ch = chain
- sc = single crochet
- dc = double crochet
- sl st = slip stitch
👉 If you don’t know dc or sc, tell me and I’ll explain those too.
📐 FOUNDATION CHAIN
This stitch needs multiples of 6 + 3
Example (recommended for practice):
👉 Chain 33
- 30 stitches = 5 shells
- +3 for turning
Do not twist your chain.
🌸 ROW 1 – FIRST SHELL ROW (BASE)
This row creates the first row of solid shells.
Step-by-step:
- Dc in the 4th chain from hook
- The 3 skipped chains count as your first dc
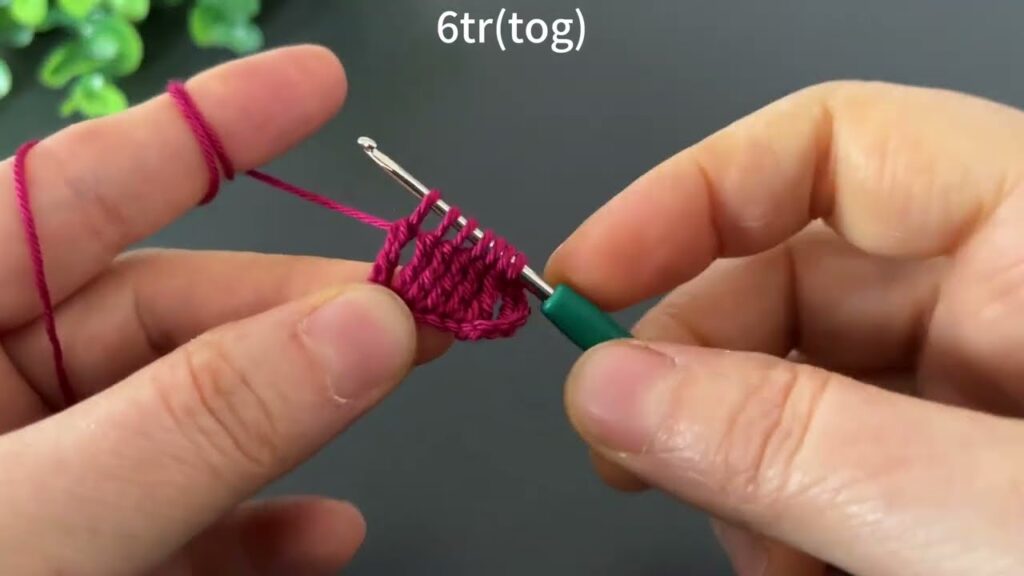
- Dc in the next 5 chains
- You now have 6 dc together
- ✅ This is 1 shell
Now repeat across:
- Skip 2 chains
- Sc in next chain
- This sc creates the gap between shells
- Skip 2 chains
- Dc in next 6 chains (next shell)
Repeat steps 3–6 until the end.
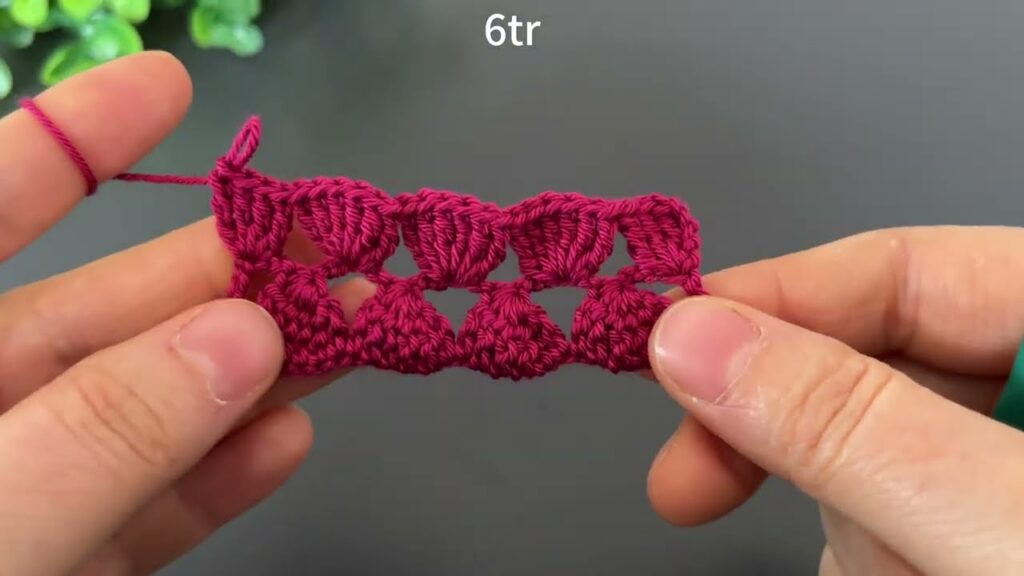
👉 Your row should look like:
Shell – gap – shell – gap – shell
Turn your work.
🔗 ROW 2 – CONNECTING / LACE ROW
This is the row that makes the diagonal lace lines.
Step-by-step:
- Ch 3 (counts as 1 dc)
- Insert hook into the center dc of the shell below
- (The 3rd dc of the 6-dc shell)
- Dc 2 more times into that same stitch
👉 You now have 3 dc together
- Ch 3
- Sl st into the sc between shells
- This anchors the lace line
- Ch 3
- Insert hook into the center dc of next shell
- Dc 3 times into that stitch
Repeat steps 4–8 across the row.
👉 End the row with dc group, turn.
🌼 ROW 3 – FULL SHELL ROW
This row builds the next row of shells between the previous ones.
Step-by-step:
- Ch 1
- Insert hook into the first ch-3 space
- Sc
- Skip next ch-3 space
- Insert hook into the next ch-3 space
- Dc 6 times into the same space
👉 This forms a new shell
- Skip next ch-3
- Sc in next ch-3 space
Repeat steps 4–8 across.
Turn your work.
🔁 REPEAT PATTERN
Keep repeating:
- Row 2 (lace row)
- Row 3 (shell row)
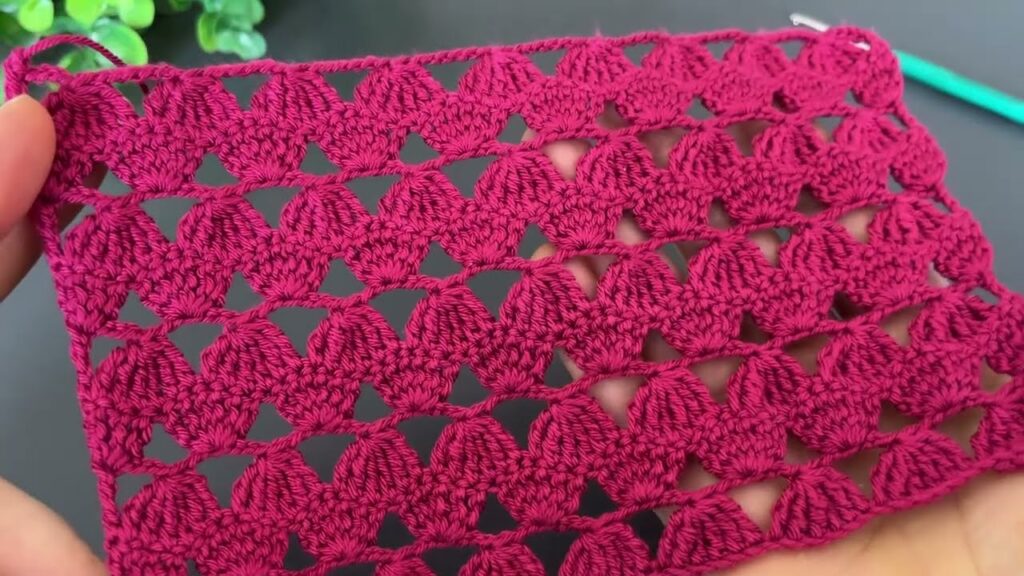
The shells will:
✔ stack upward
✔ shift left and right
✔ create the diamond / zigzag look
👀 WHAT TO CHECK (VERY IMPORTANT)
✔ Each shell = 6 dc
✔ Always crochet shells into spaces, not stitches
✔ Lace row always goes into center dc of shells
✔ Fabric should feel soft, not stiff
🧵 COMMON MISTAKES
❌ Putting shells into stitches instead of spaces
❌ Missing the center dc
❌ Pulling chains too tight
❌ Forgetting sc between shells
💡 USES
This stitch is perfect for:
- Scarves
- Shawls
- Summer tops
- Table runners
- Blanket panels