Creating a granny square crochet pillow like the one in my photo is a fun and rewarding project! Here’s a step-by-step guide to help you crochet a similar pillow:
🧶 Supplies Needed
- Yarn in various colors (e.g., white, green, yellow, brown, tan)
- Crochet hook (usually size 4mm–5.5mm, depending on yarn)
- Scissors
- Yarn needle
- Pillow insert or stuffing
- Optional: zipper or buttons (if you want a removable cover)
🪡 Instructions
1. Choose Your Granny Square Pattern
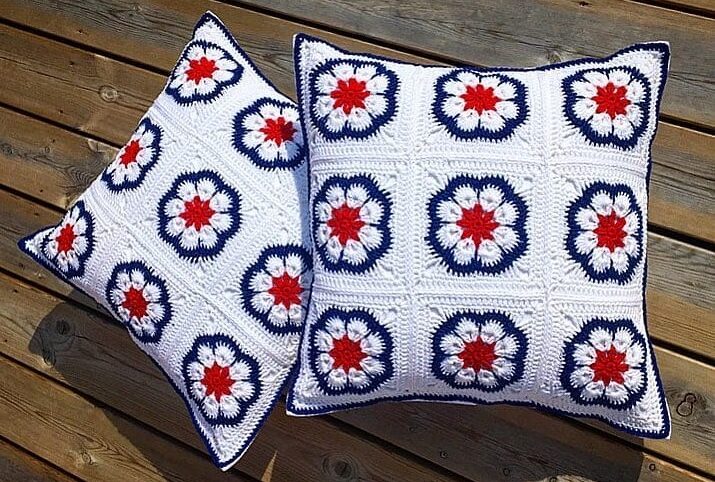
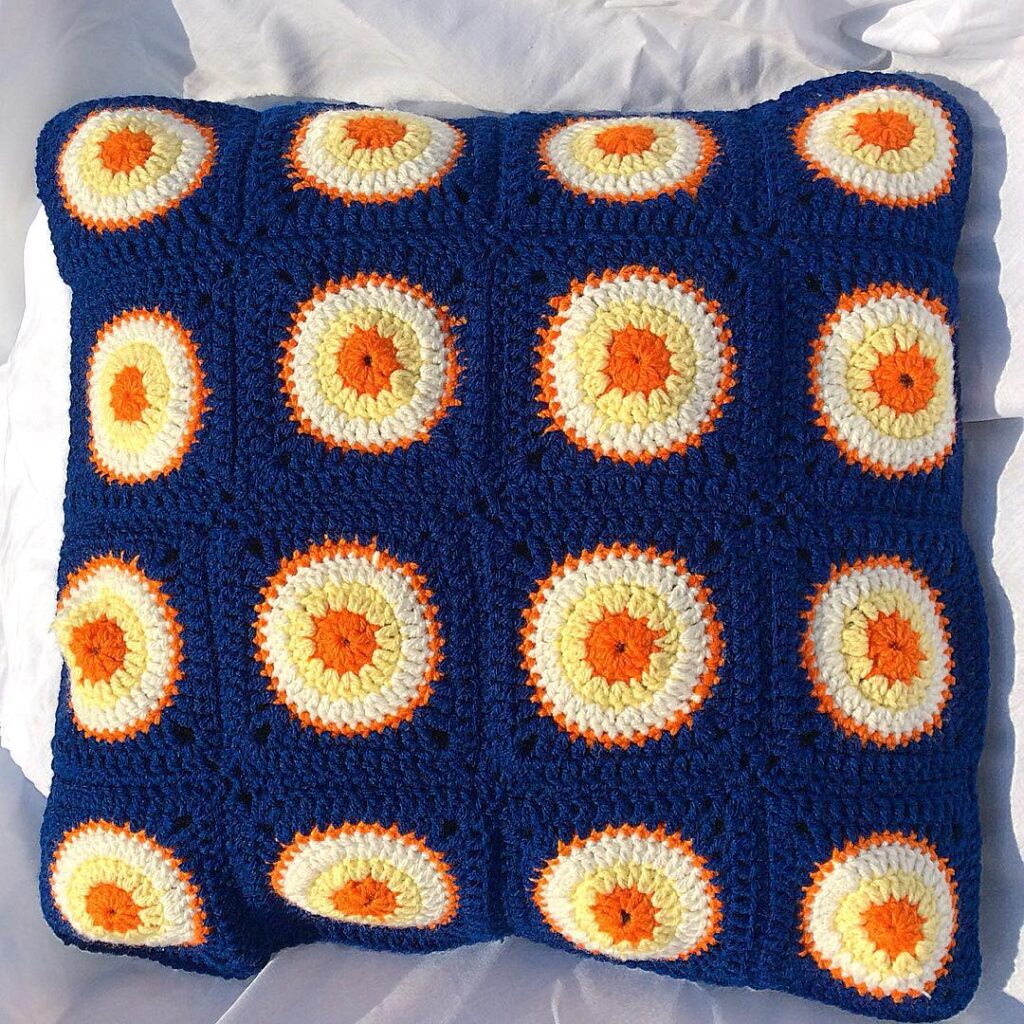
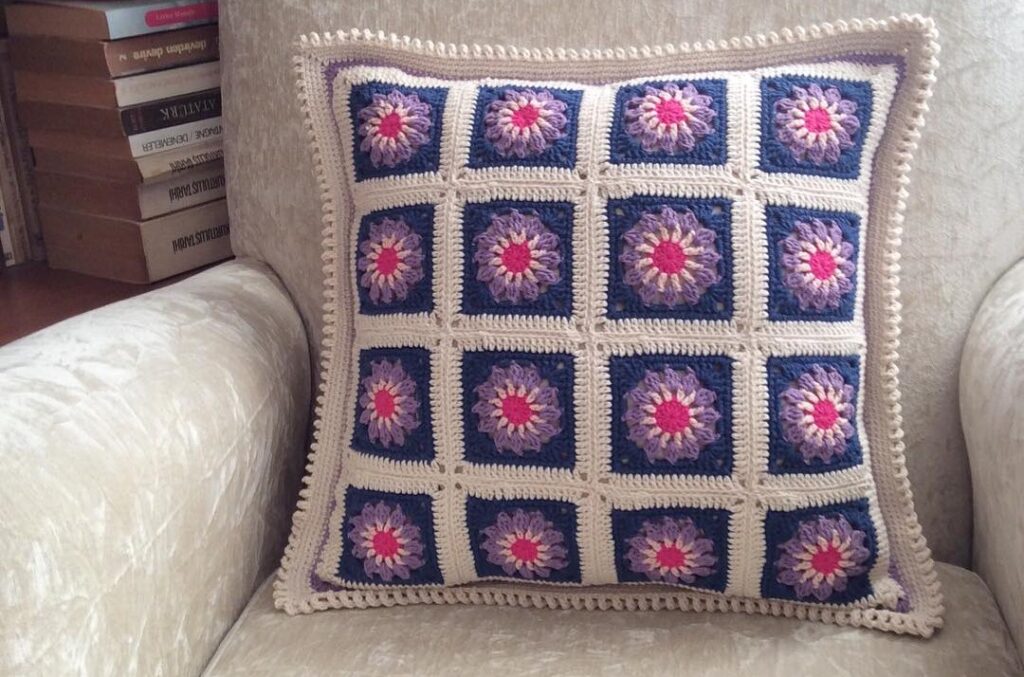
- The pillow in the image uses flower-style granny squares, often called “sunburst granny squares” or “daisy granny squares”.
- Each square has a colorful center flower and is bordered in white.
You can follow this general pattern:
- Round 1: Magic ring, make puff or cluster stitches for the center flower.
- Round 2: Add a round of petals using double crochets or puff stitches.
- Round 3: Change color and turn the circle into a square using a combination of dc and chains (granny square shaping).
- Round 4: Border in white to finalize the square size.
You’ll want all squares to be the same size (approx. 4” x 4” each).
2. Make the Squares
- Decide the size of your pillow (e.g., 16” x 16”).
- Make enough granny squares to match the size (e.g., 4×4 grid = 16 squares, or 5×5 = 25 squares).
- Make double the number of squares for the front and back sides of the pillow.
3. Join the Squares
- Use your preferred method: whip stitch, slip stitch, or continuous join-as-you-go.
- Lay out the squares to plan the color placement before joining.

4. Assemble the Pillow
- Join the front and back panels together along three sides (right sides facing each other).
- Insert the pillow form or stuffing.
- Finish by joining the last side. If you want a removable cover, you can sew in a zipper or add buttons.
🌼 Optional Touches
- Add a decorative edge using shell stitch or picot around the seam.
- Mix yarn textures for added charm.
Video tutorial : Beautiful crochet granny square pillow pattern