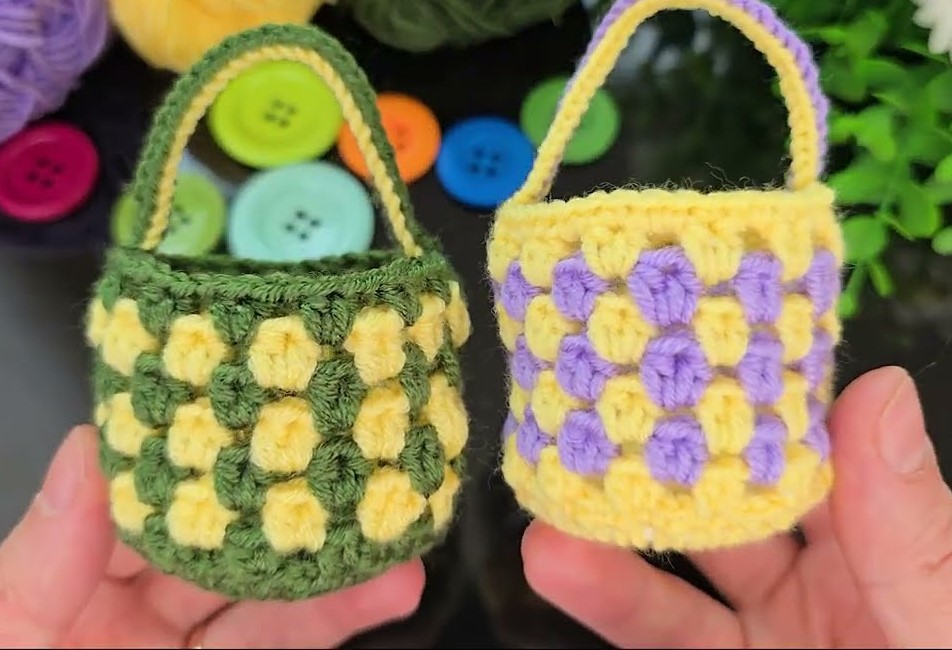
Great choice 👍 I’ll explain this step by step, exactly like the basket in the photo.
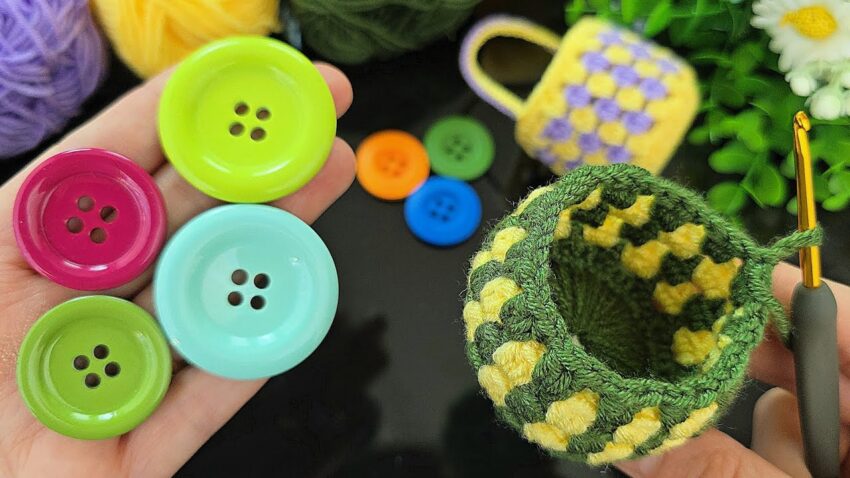
This is a crochet mini basket made around a 4-hole button, with yellow puff stitches and green structure.
🧶 MATERIALS (IMPORTANT)
- Yarn:
- Green (main color)
- Yellow (puff stitches)
- Crochet hook: 2.5 mm – 3.0 mm
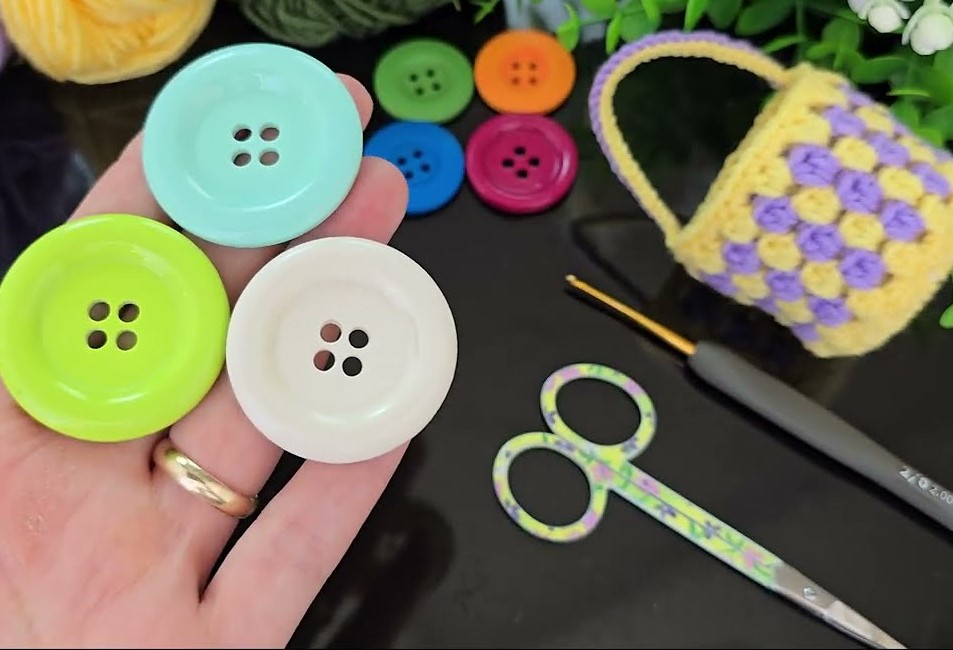
- Large plastic button (4 holes)
👉 Button size: about 3–4 cm - Scissors

📌 STITCHES YOU MUST KNOW
- ch = chain
- sl st = slip stitch
- sc = single crochet
- puff stitch = explained below
🟢 PART 1: CROCHET ON THE BUTTON (BASE)
Step 1: Attach yarn to button
- Insert hook from back to front through one hole of the button
- Pull yarn through
- Ch 1 (this locks the yarn)
Step 2: Crochet around the button
Work 2 single crochet in EACH hole
➡️ For every hole:
- Insert hook through hole
- Yarn over, pull up loop
- Yarn over, pull through (sc)
- Repeat once more in same hole
✔️ 4 holes × 2 sc = 8 sc total
Join with sl st to first sc
👉 Button should now be fully covered
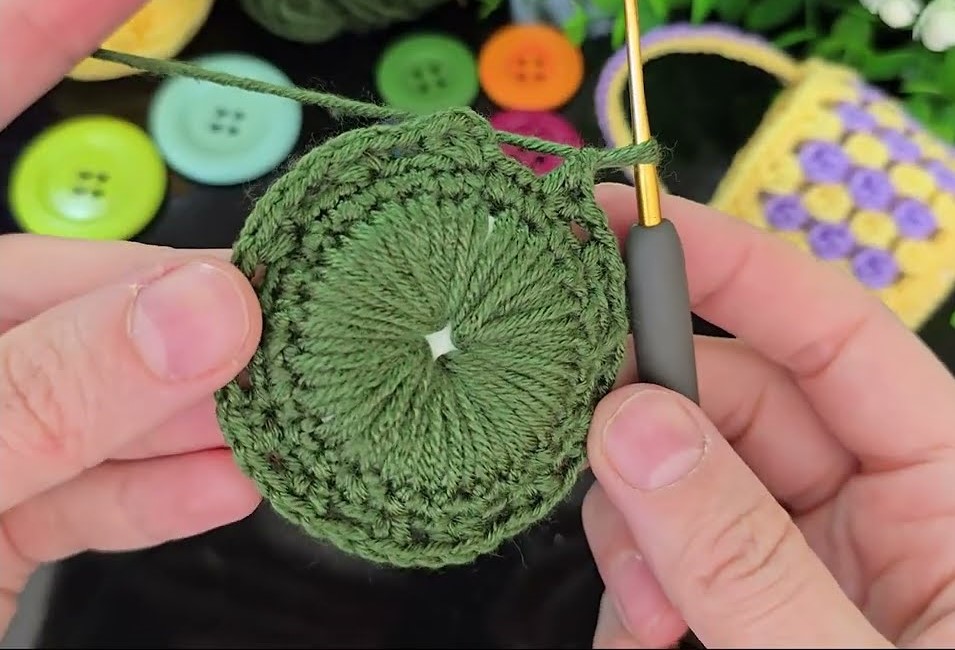
🟢 PART 2: EXPAND THE BASE (ROUND SHAPE)
Step 3: Increase round
- Ch 1
- Put 2 sc in each stitch
- Insert hook
- sc
- sc again in same stitch
✔️ 8 stitches → 16 sc
Join with sl st
👉 This creates a flat circle under the basket
🟡 PART 3: YELLOW PUFF STITCH ROUND
Step 4: Change color
- Cut green
- Join yellow yarn
- Ch 1
Step 5: Puff stitch (VERY IMPORTANT)
How to make ONE puff stitch:
- Yarn over
- Insert hook into stitch
- Pull up loop (3 loops on hook)
- Yarn over, insert hook again
- Pull up loop (5 loops)
- Yarn over, insert hook again
- Pull up loop (7 loops)
- Yarn over, pull through ALL loops
- Ch 1 to close puff
Step 6: Puff pattern
- Puff stitch
- Sc in next stitch
Repeat around:
Puff – sc – puff – sc …
Join with sl st
👉 Yellow bumps will be visible like the photo
🟢 PART 4: TURN BASE INTO WALLS
Step 7: Change back to green
- Join green yarn
- Ch 1
Step 8: Back Loop Only (THIS MAKES IT STAND)
- Insert hook into BACK LOOP ONLY
- Sc in every stitch
Join with sl st
👉 Basket walls start to go UP
🟢 PART 5: BUILD THE HEIGHT
Step 9: Normal single crochet rounds
- Ch 1
- Sc in both loops
- Repeat for 2–3 rounds
✔️ More rounds = taller basket
🟢 PART 6: TOP EDGE (STRONG & CLEAN)
Step 10: Final edge
Choose one:
🔹 Simple:
- Sl st around loosely
🔹 Decorative (photo style):
(sc, ch 1) in each stitch
Fasten off
Weave in all ends
🌼 OPTIONAL ADD-ONS
- Keychain loop:
Ch 10 → sl st into rim - Stiffer basket:
Use cotton yarn or smaller hook - Different colors:
Puff stitches look best in contrast
📏 FINAL SIZE
- Width: 4–5 cm
- Height: 4–6 cm
(depends on button & rounds)