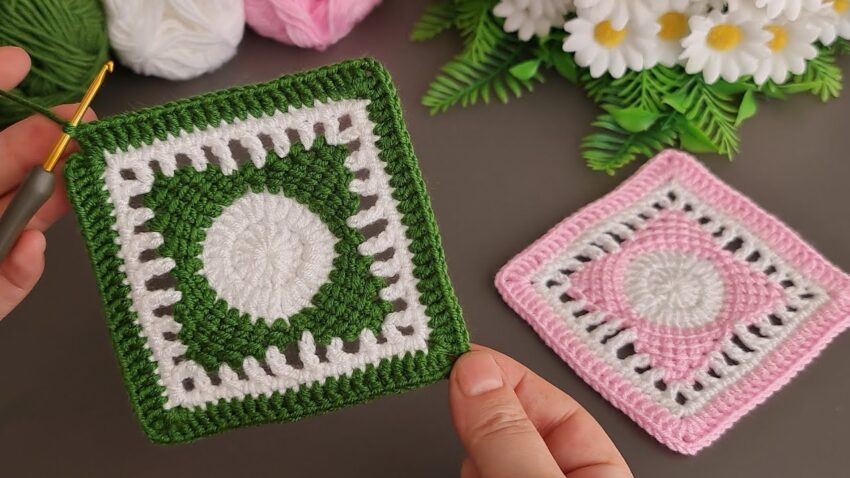
Here is a row-by-row tutorial for making the crochet square shown in your image (a circle center → diamond → lacy frame → solid border). You can use any 3–4 ply yarn and a matching hook.
⭐ DETAILED CROCHET PATTERN – Circle to Square Lacy Motif
You will make:
- a flat circle
- a diamond/tilted square
- a lacy openwork round
- a solid border
🧶 Materials
- 3–4 ply yarn (3 colors recommended: center, lacy round, border)
- Hook size: 3.0–4.0 mm
- Scissors, needle

🔰 STITCHES
- MR – magic ring
- ch – chain
- sc – single crochet
- dc – double crochet
- sl st – slip stitch
🌸 STEP 1 – CENTER CIRCLE (white)
Round 1
- Make magic ring
- Ch 3 (counts as dc)
- Make 11 dc into ring → 12 dc total
- Pull ring tight
- Sl st into top of ch-3
✔ Should look like a small round circle.
Round 2
We increase every stitch.
- Ch 3
- 2 dc in each stitch around
→ 24 dc total - Sl st to join
✔ Circle gets bigger.
Round 3
Increase every second stitch.
- Ch 3
- (1 dc in next st, 2 dc in next st) repeat around
→ 12 inc → 36 dc total - Sl st to join
Cut yarn.
✔ This circle size matches the photo.
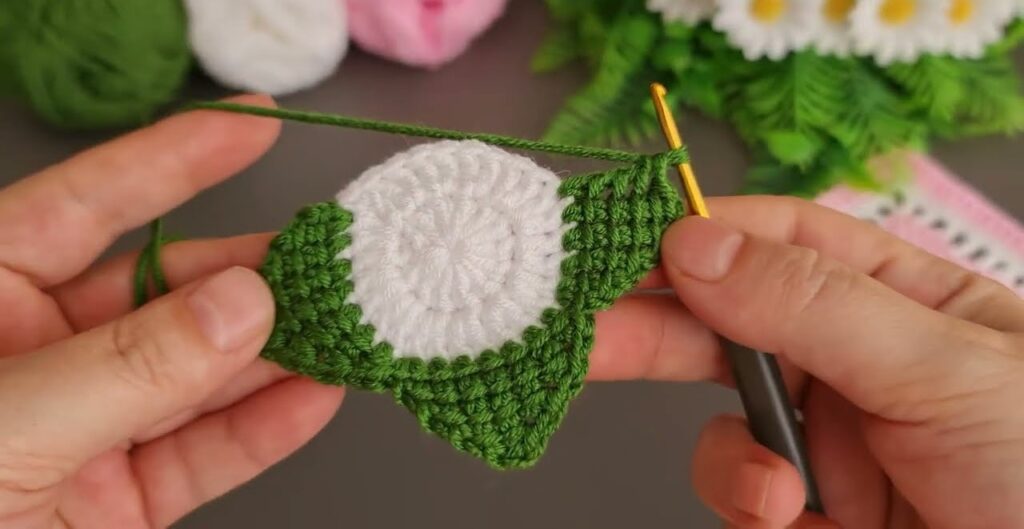
🌿 STEP 2 – DIAMOND ROUND (green / pink)
This round begins shaping the circle into a tilted square.
Join color B in any stitch.
Round 4
- Ch 3
- (1 dc in next 2 sts, 2 dc in next st) repeat 3 times,
then in the next st work your first corner:
(2 dc, ch 2, 2 dc).
You will make 4 corners evenly around.
So the structure of each side is:
Side pattern:
- (1 dc in next 2 stitches, 2 dc in next stitch) repeated 3 times
- Corner: (2 dc, ch 2, 2 dc)
Repeat this for all 4 sides.
Sl st to join.
✔ Now you have a soft diamond shape, exactly like the photo.

🤍 STEP 3 – LACY FRAME (white)
This is the beautiful open section with vertical “windows”.
Join white in any corner ch-2 space.
Round 5
In each corner:
- (dc, ch 2, dc)
Along each side:
Repeat the sequence:
- Ch 2, skip 2 stitches, dc in next stitch
Do this all the way across the side until you reach the next corner.
👉 You should see a row of evenly spaced tall vertical holes, matching the photo.
Sl st to join.
✔ The work now clearly shows the window-like white round.
🟢 STEP 4 – FIRST SOLID BORDER (green / pink)
This fills the spaces and creates a full square.
Round 6
Corners:
- (2 dc, ch 2, 2 dc) in every corner space
Sides:
- Work 1 dc in each dc
- AND 2 dc into each ch-2 space
Repeat around.
Sl st to join.
✔ Now the square is fully formed with clean edges.

🟢 STEP 5 – FINAL BORDER ROUND (same color)
Gives the square the wide outer edge as in the picture.
Round 7
- Corners: (2 dc, ch 2, 2 dc)
- Dc in every stitch around
Sl st, cut yarn, weave ends.
✔ This final round gives the thick border seen in the photo.
🎉 AND YOU’RE DONE!
Your square will look exactly like the green-white and pink-white samples.