
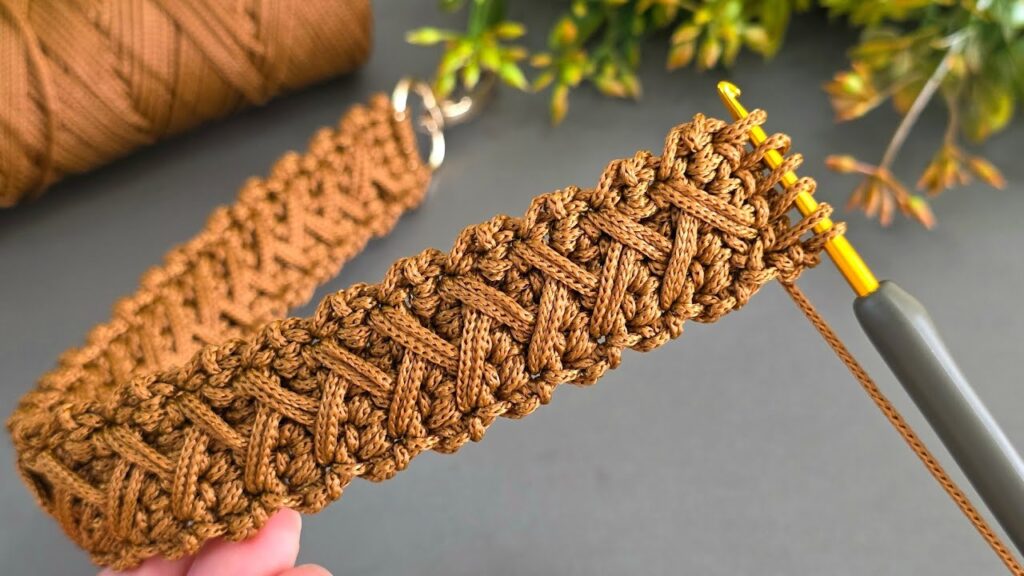
Great! Here is a beginner-friendly tutorial for the exact stitch in your photo.
This stitch is often called Crossed Extended Front-Post Stitch or Braided Strap Stitch.
🧶 FULL DETAILED TUTORIAL
⭐ STEP 1 — Foundation
- Make a slip knot.
- Chain an even number (example: 22).
- Row 1:
- Make 1 single crochet (sc) in each chain.
- Turn your work.
You now have a strong base.
⭐ STEP 2 — Understanding the Stitch
You will always work into:
- the current row (normal stitches)
- AND the row below (to create the long vertical lines)
Each “braid” uses two long loops you pull from below, then cross them.
⭐ STEP 3 — Row 2 (the braid row)
🔸 Step A — Start the first long loop
- Insert your hook into the stitch directly below (the row under the current one).
→ Not the top loop, but the body of the stitch. - Yarn over.
- Pull up a tall loop, about 1.5–2 cm long.
- Keep the loop on your hook.
🔸 Step B — Make the second long loop
- Skip the next stitch on the current row.
- Insert your hook into the next stitch but again into the row below.
- Yarn over and pull up another tall loop.
- You now have several loops on your hook.
These two loops will cross.
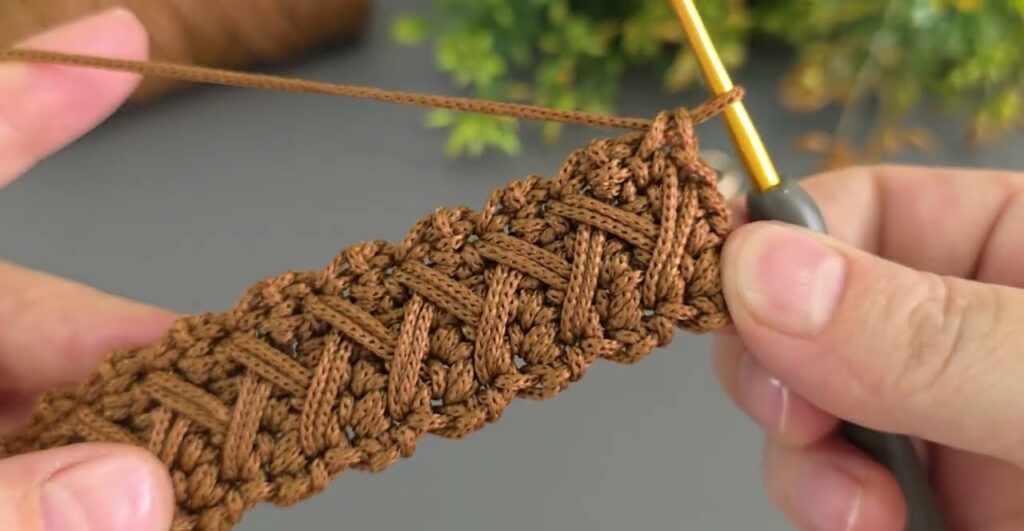
🔸 Step C — Join the loops
- Yarn over.
- Pull through both long loops at the same time.
→ They cross naturally into a braid/X shape. - Chain 1 to lock them.
That completes one braided unit.
⭐ STEP 4 — Repeat Across
Repeat the same sequence:
- Skip 1 stitch.
- Pull a long loop from the stitch below.
- Pull another long loop from the next stitch below.
- Yarn over and pull through both long loops.
- Chain 1 to secure.
Continue until the end of the row.
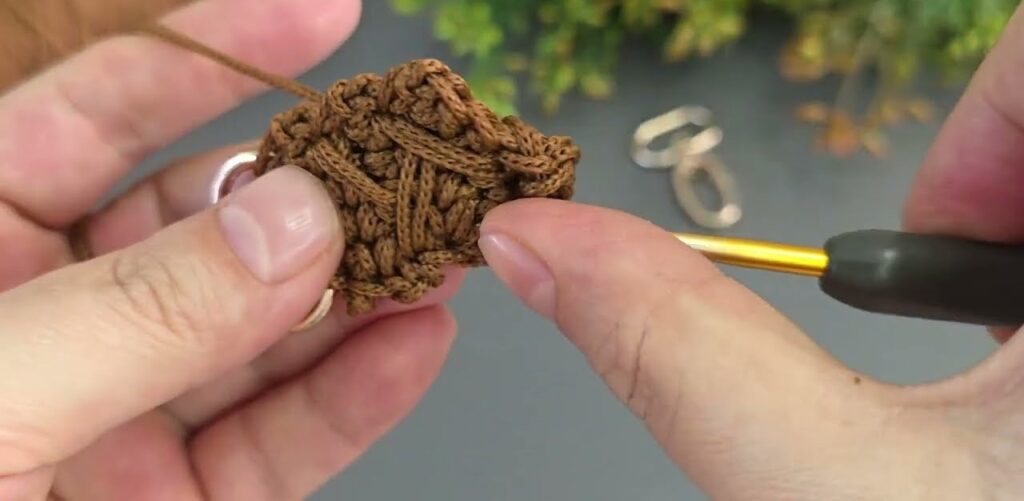
⭐ STEP 5 — Row 3 (the anchor row)
This row makes everything clean and stable.
- Chain 1, turn.
- Make 1 single crochet (sc) in each stitch across.
→ This returns the width to normal and prepares for the next braid row.
⭐ STEP 6 — Repeat Rows
Repeat:
- Row 2 — braid
- Row 3 — single crochet
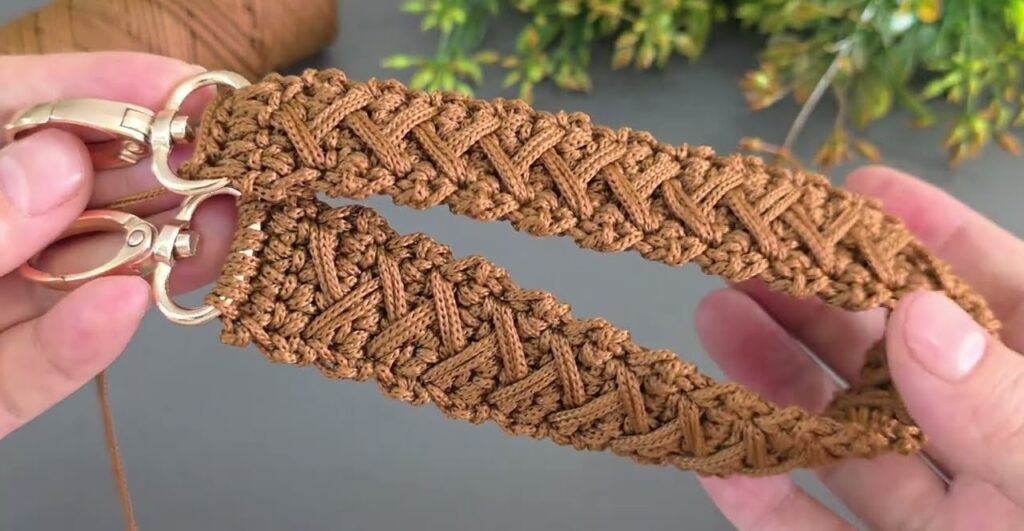
This builds the thick, structured braid pattern from the photo.
⭐ TIPS FOR PERFECT BRAIDS
✔ Keep all long loops the same height
✔ Pull loops gently so the stitch stays clean
✔ Use a stiff yarn (like nylon cord) for better structure
✔ Don’t tighten the chain-1 too much
✔ If the work curls, block lightly