Perfect 💜 the Bean Stitch Crochet Tutorial in step-by-step detail, so you can follow along easily — even if you’re a beginner.
🌸 Detailed Bean Stitch Crochet Tutorial
🧶 What You Need
- Yarn: Medium-weight yarn (#4 worsted weight is ideal)
- Hook: 4 mm–5 mm crochet hook
- Extras: Scissors and tapestry needle

🔤 Stitch Abbreviations
| Symbol | Meaning |
|---|---|
| ch | chain |
| st | stitch |
| yo | yarn over |
| sc | single crochet |
| bean st | bean stitch |
🪡 Step 1: Make the Foundation Chain
- Start with a slip knot on your hook.
- Chain any even number + 1 (example: 25 + 1 = 26 chains).
- The +1 is your turning chain.
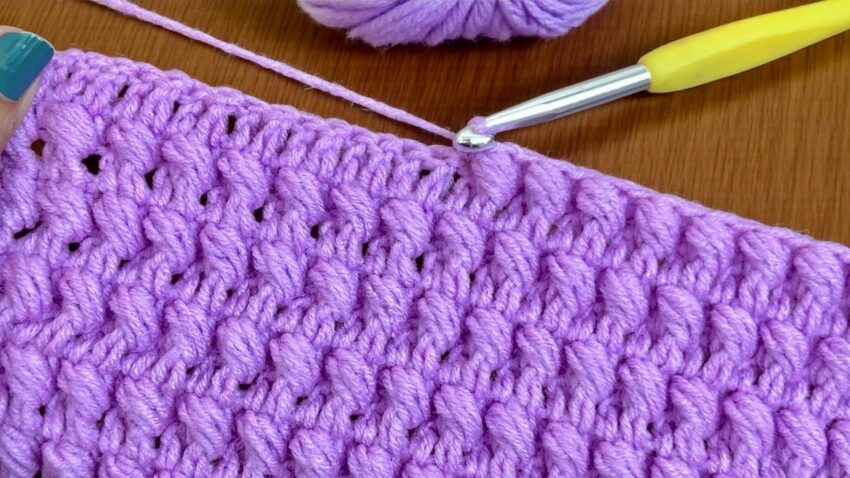
🌷 Step 2: First Row (Bean Stitch Row)
- Insert hook into the 2nd chain from the hook.
- Start your bean stitch:
- (1) Yarn over and insert hook into the stitch → pull up a loop (2 loops on hook).
- (2) Yarn over again and insert hook into the same stitch → pull up another loop (4 loops).
- (3) Yarn over once more, insert hook into the same stitch → pull up one more loop (6 loops).
- (4) Yarn over and pull through all 6 loops on the hook.
- (5) Chain 1 to close the bean.
- Skip the next chain, then repeat your bean stitch in the following chain.
- Continue across the row:
(Bean stitch, skip 1 chain, bean stitch…) - When you reach the end, turn your work.
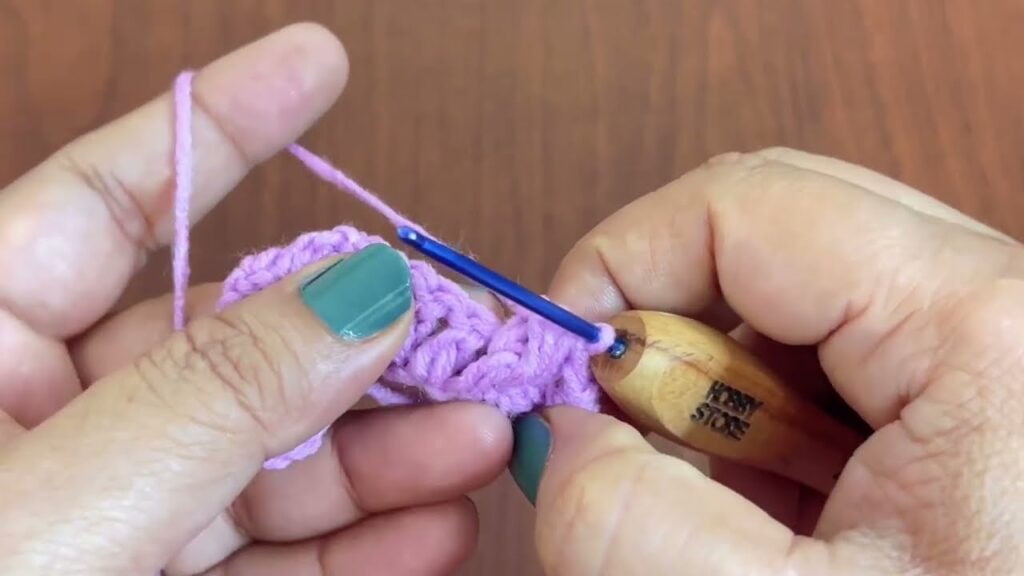
🌸 Step 3: Second Row
- Chain 1 (turning chain).
- Bean stitch into each ch-1 space (the small gap on top of each bean from the previous row).
- You’ll insert your hook into that space, not the top loops.
- Continue working bean stitches across the row.
- Turn at the end.
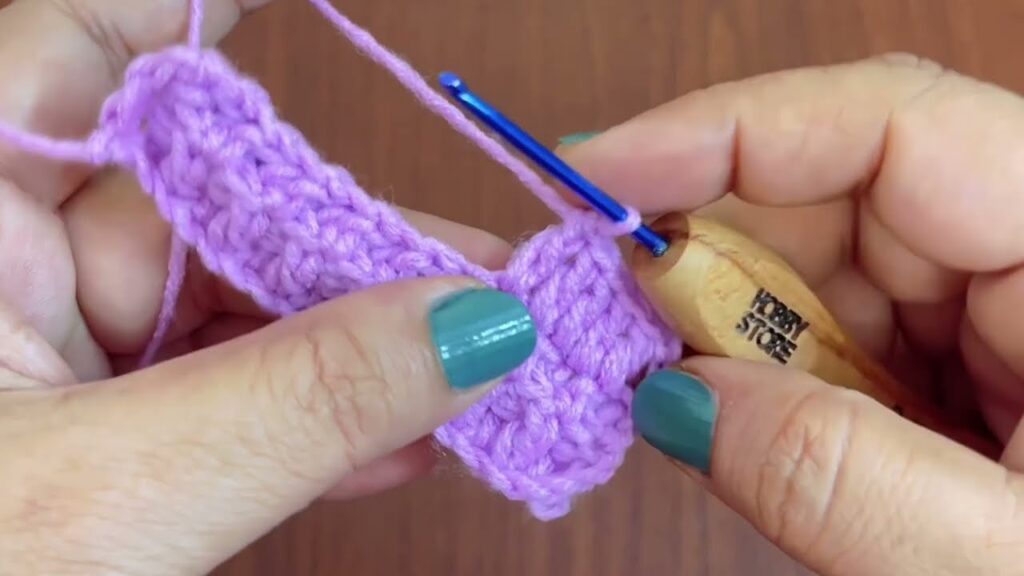
🌼 Step 4: Repeat the Rows
Repeat Row 2 for as many rows as you want — until your project reaches the desired size.
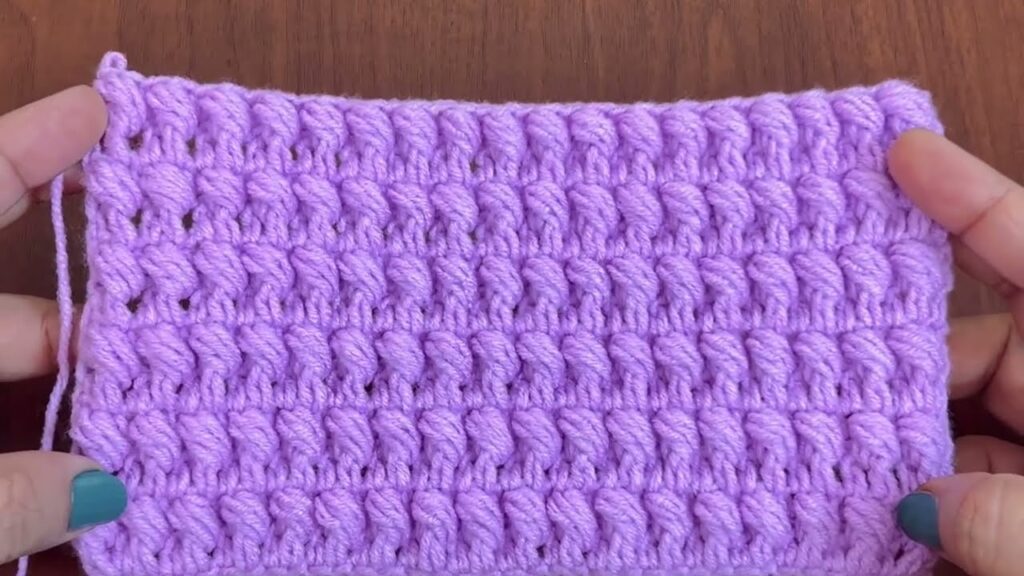
🌈 Step 5: Finish
- At the end of the final row, chain 1 and cut your yarn.
- Pull the yarn tail through the last loop to fasten off.
- Weave in your yarn ends neatly with a tapestry needle.
💡 Helpful Tips
- Tension: Keep your loops loose so pulling through 6 loops is smooth.
- Texture: The “bean” bumps should all lean slightly in one direction; that’s normal.
- Edges: If you want straighter edges, work 1 sc at the beginning and end of each row.
- Variation: Try alternating bean rows with single crochet rows for a flatter texture.
🧩 Pattern Summary
Foundation: ch even number + 1
Row 1: Bean st in 2nd ch from hook, *skip 1 ch, bean st in next ch* repeat across, turn.
Row 2: ch 1, bean st in each ch-1 space across, turn.
Repeat Row 2 for desired length.