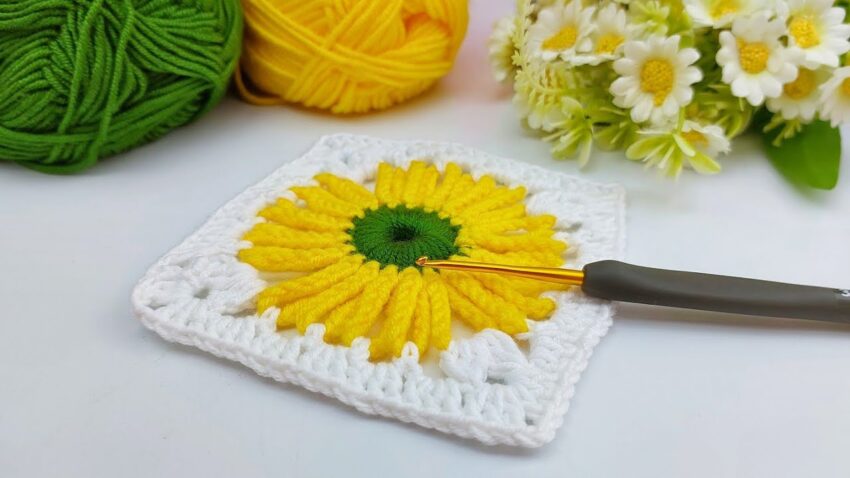
easy-to-follow pattern for the sunflower shown in the image. I will break it into smaller steps so you can follow without getting confused 🌻💛
🌻 DETAILED CROCHET SUNFLOWER TUTORIAL
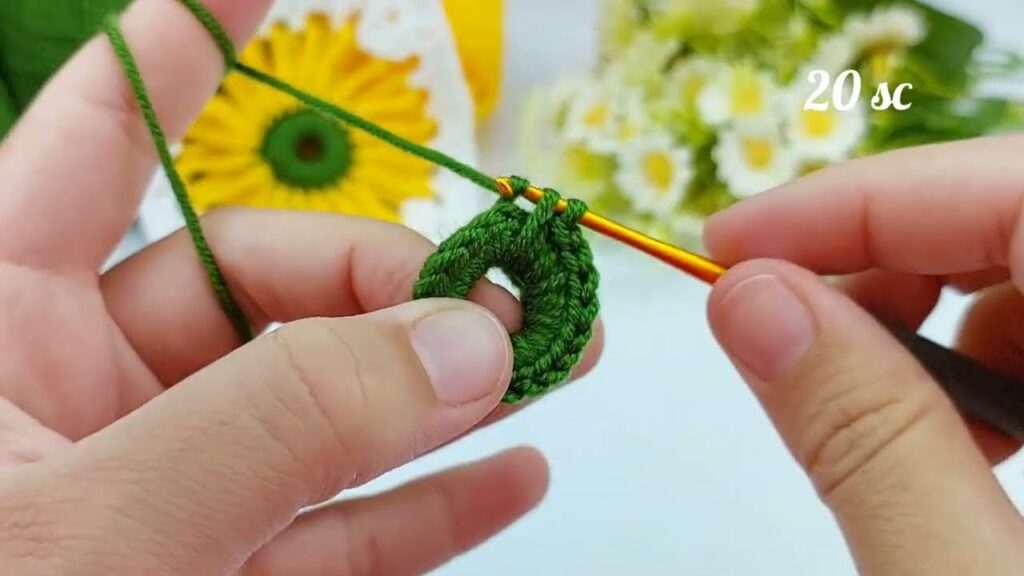
✅ Part 1: Make the Center (Green Round)
Step 1 — Magic Ring
- Wrap yarn around your fingers to form a loop.
- Insert hook, pull up a loop, and chain 2 (this counts as the start of your round).
Step 2 — Round 1
- Make 12 double crochets (DC) into the ring.
- Pull the tail to close the center hole.
- Slip stitch into the first DC to join.
Step 3 — Round 2
- Chain 2.
- Make 2 DC in each stitch around the circle (increase all the way).
- You will now have 24 DC.
- Slip stitch to join and fasten off (cut yarn).
✨ Tip
Keep the circle flat. If it curls, loosen your tension. If it ruffles, tighten tension.

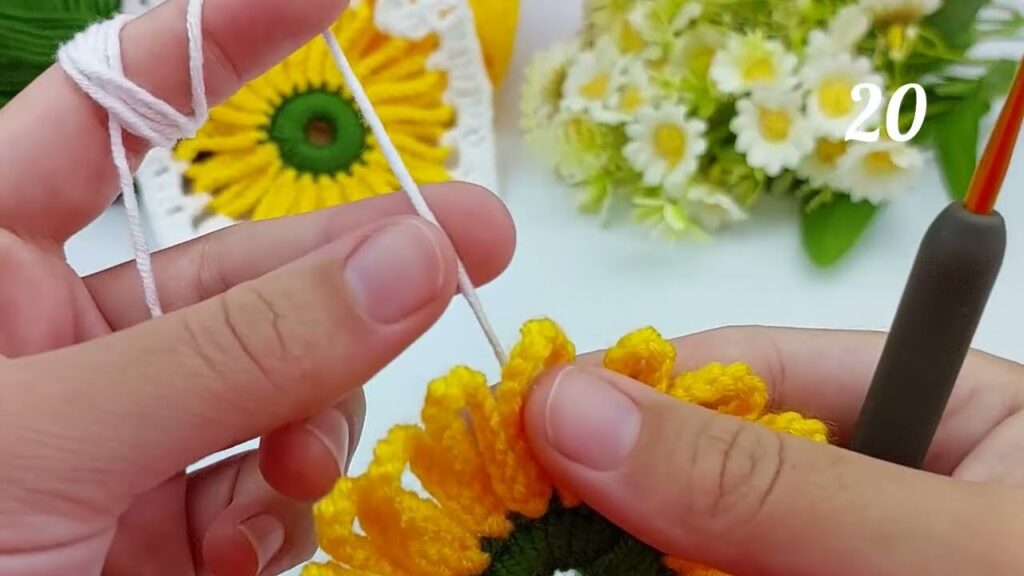
✅ Part 2: Add Petals (Yellow)
We will create one petal per stitch, so around 12–14 petals depending on your first round.
Step 1 — Attach Yellow Yarn
- Insert hook into any stitch of the green center.
- Pull yellow yarn through and chain 1 to secure.
✅ Step 2 — Start Petal
Each petal uses this sequence:
Chain 10
(You can chain 8 for shorter petals or 12 for longer ones)
Now work down one side of the chain:
- SC in 2nd chain from hook
- SC in next stitch
- HDC
- HDC
- DC
- DC
- TR (treble stitch at the top)
➡️ This makes the petal point long and curved like the picture.
✅ Step 3 — Work Back Down the Other Side
Turn the work slightly and crochet on the OTHER side of the same chain:
- DC
- DC
- HDC
- HDC
- SC
- SC
This creates a symmetrical leaf-shaped petal.
✅ Step 4 — Anchor the Petal
- Slip stitch into the next stitch on the green circle.
- This secures the petal so it stays flat and evenly spaced.
✅ Step 5 — Repeat Around
Repeat these steps in every stitch until you have made a full round of petals.
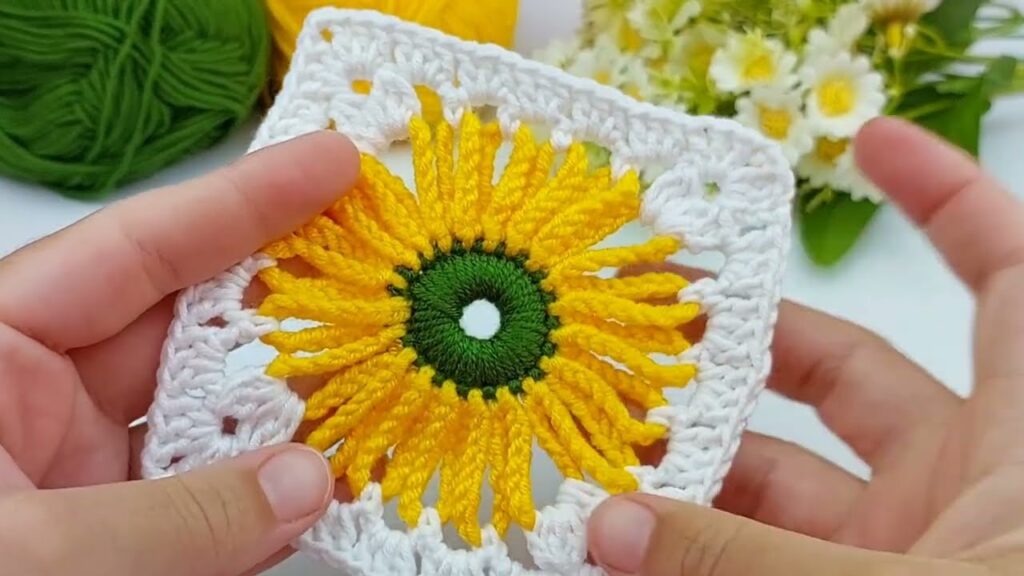
✅ You should get 12–14 petals
✅ All petals curve slightly
✅ Looks full and fluffy, like the image
✅ Part 3: Finishing
- Cut yarn, leaving a tail.
- Use yarn needle to hide ends behind petals.
- Shape petals with your fingers to smooth them.
- Optional: lightly steam block (do NOT press hard).
✅ Extra Tips
⭐ Make petals fuller
Use slightly thicker yarn or add one more row on top of the petal shape.
⭐ Want 3D petals?
Make two layers:
- First row petals shorter
- Second row petals longer
Place second layer behind first.
⭐ Add a white dot
Use a small amount of white yarn.
Sew 3–4 little stitches in the center for cute detail.