
Perfect 🌸 step-by-step guide so you can recreate exactly what’s in the photo.
This crochet project makes a colorful decorative sleeve around a cardboard tube (can be used as a pencil holder or small vase cover).
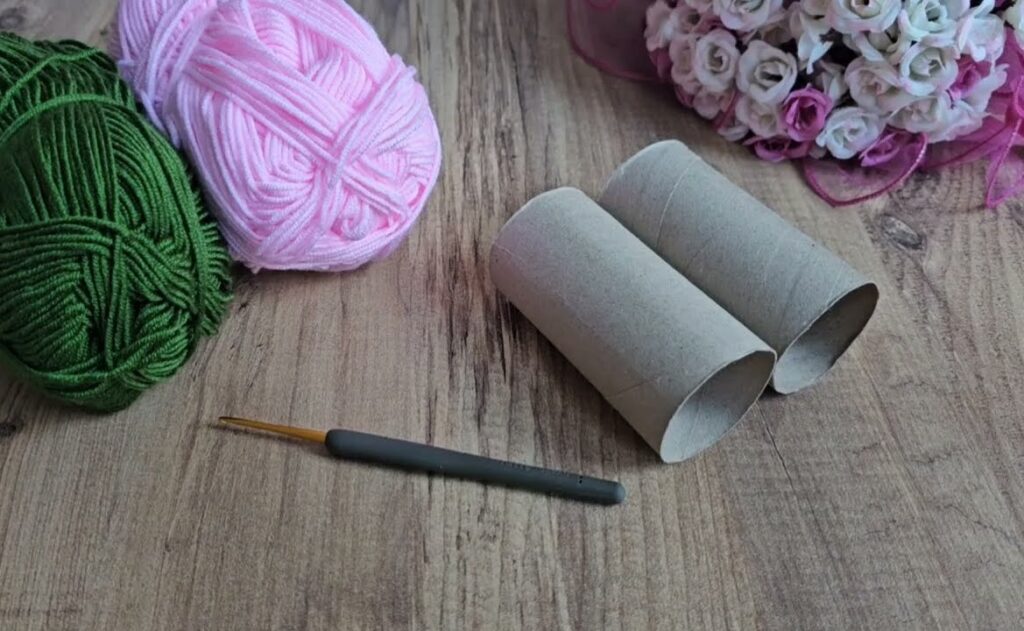
🧶 Materials Needed:
- Yarn: 2 colors (green + pink as in photo) – medium weight (No. 3 or No. 4)
- Hook: 3.0 mm – 4.0 mm crochet hook
- Cardboard tube: from tissue roll or similar
- Scissors
- Yarn needle for finishing ends
🪡 Crochet Steps in Full Detail
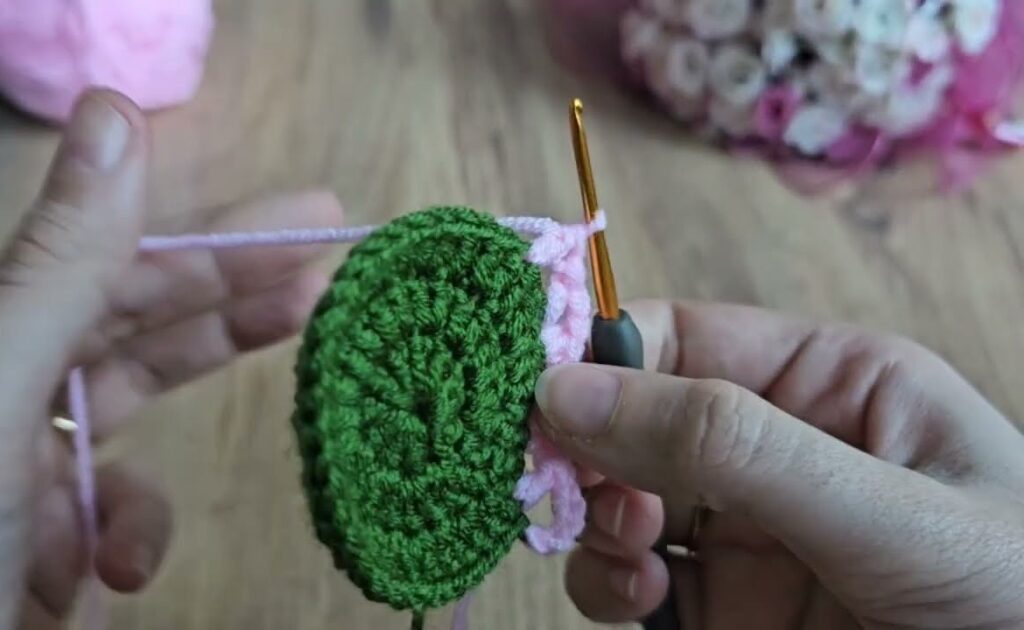
1️⃣ Base Round (Green)
This forms the bottom edge of your tube cover.
- Make a slip knot, then chain (ch) 36–40 depending on your tube’s size.
👉 Test the chain around your tube — it should fit snugly but not tight. - Join the ends with a slip stitch (sl st) to form a ring. Be careful not to twist it.
- Round 1:
- Chain 2 (counts as first half double crochet – hdc).
- Make 1 hdc in each chain around the ring.
- Join to the top of the starting chain-2 with a slip stitch.
✅ This creates the solid green base row (as seen at the bottom of the photo).
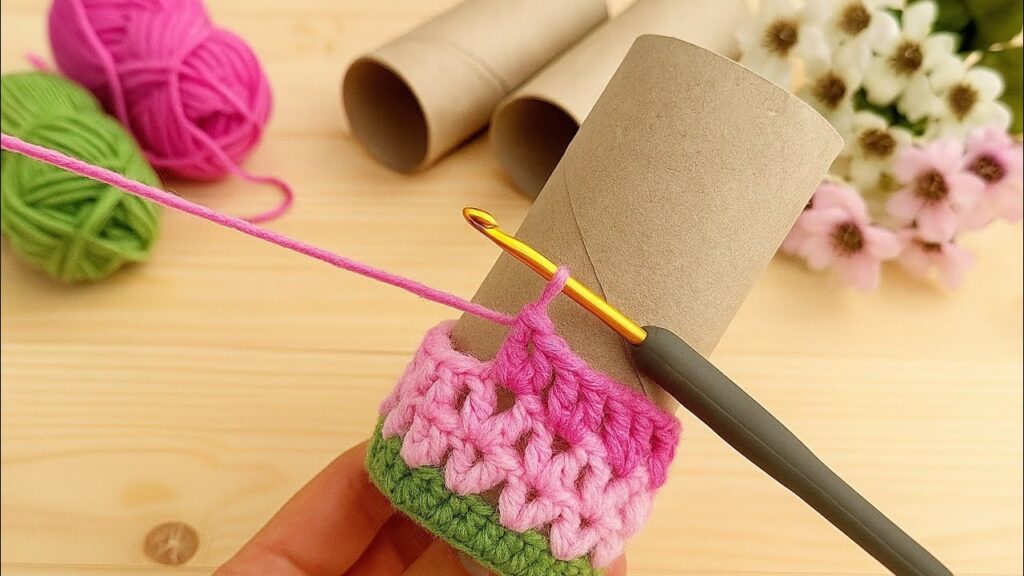
2️⃣ Second Round (Start the Pink Pattern Section)
Now we switch to pink yarn for the lacy pattern.
- Attach pink yarn in any stitch with a slip knot.
- Chain 3 (counts as 1 double crochet – dc).
- Skip 1 stitch, then make 2 dc in the next stitch.
- Repeat this pattern all around:
➤ Skip 1 stitch, 2 dc in next stitch - Join with a slip stitch to the top of the starting chain-3.
✅ This creates the first open pink row with small gaps between clusters.
3️⃣ Third Round (Pink continues)
You will now build the next layer into the spaces between the clusters.
- Chain 3 (counts as dc).
- In the next space between 2-dc clusters, make 2 dc.
- Continue around the ring: make 2 dc in each space (between clusters).
- Join with a slip stitch.
✅ This gives a nice “brick pattern” effect (dc clusters stacked between each other).
4️⃣ Fourth Round (Optional – More Height)
Repeat the same pattern for one or two more pink rounds to make the tube cover taller:
- Chain 3
- 2 dc between clusters
- Join with slip stitch at end
5️⃣ Finishing the Top Edge
- Once your cover is tall enough, you can:
- Either finish cleanly by cutting yarn and weaving in ends, or
- Add a decorative edge:
- Example: Single crochet in each stitch around
- Or picot edge: (1 sc, chain 3, 1 sc in same stitch, skip next stitch, repeat)
- Weave in all loose yarn ends with the yarn needle.
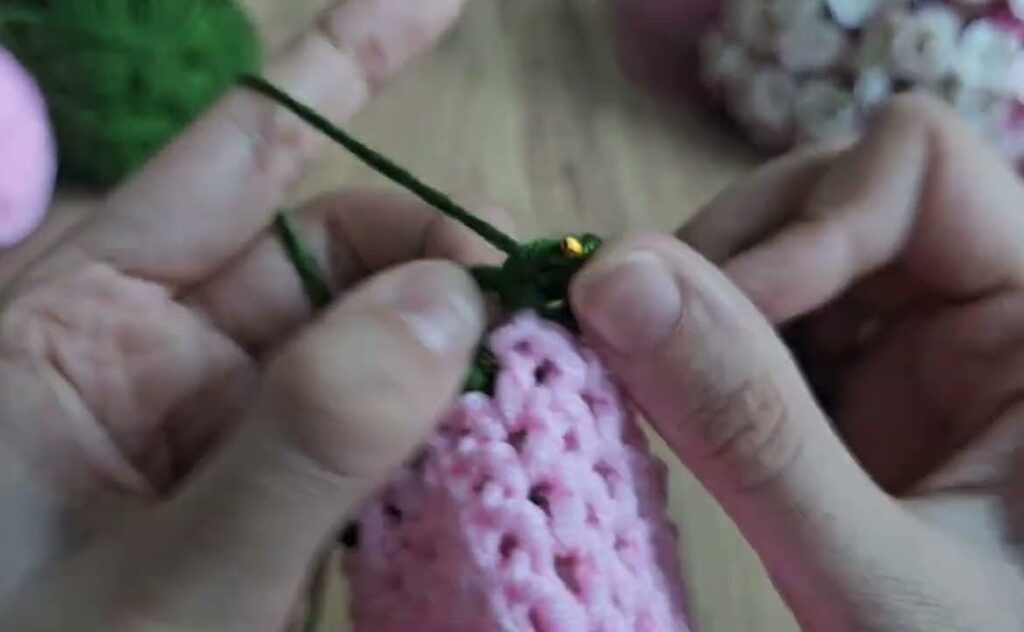
6️⃣ Assembly
- Slide the crochet sleeve over the cardboard tube.
- Adjust so it sits evenly at the bottom.
- Optional: glue or tape the bottom edge inside to hold it in place.
- Decorate with flowers, ribbons, or buttons if desired 🌼
💡 Tips
- If your tube is narrower or wider, adjust the starting chain length.
- For a thicker texture, use double crochet (dc) for the base row instead of hdc.
- Try color combinations like cream + blue, yellow + white, or red + gray for different looks.