
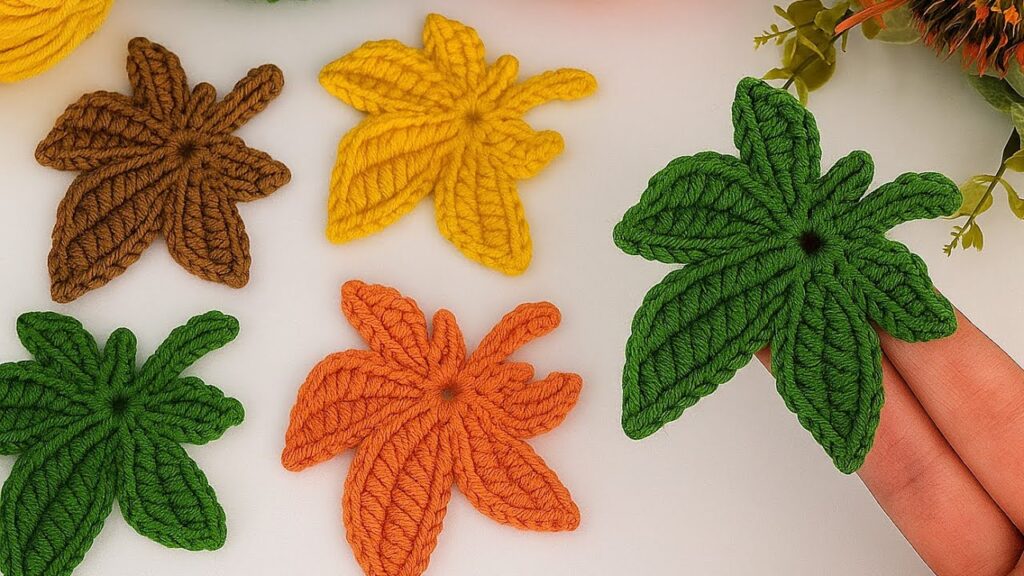
These crochet leaves are beautiful and shaped like maple leaves — perfect for autumn or nature-themed projects 🍁
Here’s a step-by-step tutorial to make them:
🍁 Crochet Maple Leaf Tutorial (Detailed)
🧶 Materials
- Yarn: Medium (worsted) weight, any color (green, orange, yellow, brown, etc.)
- Crochet hook: 3.0–3.5 mm
- Scissors
- Yarn needle
🧩 Abbreviations (US Terms)
| Abbrev | Meaning |
|---|---|
| ch | chain |
| sl st | slip stitch |
| sc | single crochet |
| hdc | half double crochet |
| dc | double crochet |
| tr | treble crochet |
| dtr | double treble crochet |
| st(s) | stitch(es) |
🌿 Step 1: Make the Center Ring
- Make a magic ring.
(Alternatively, ch 5 and join with sl st to form a ring.) - Ch 1 (does not count as a stitch).

🌿 Step 2: Create Base Circle
You’ll build a small circle to attach the lobes to.
- Inside the ring, work 10 sc.
- Join with a sl st to the first sc.
- Tighten the ring.
(You’ll have a neat round center.)
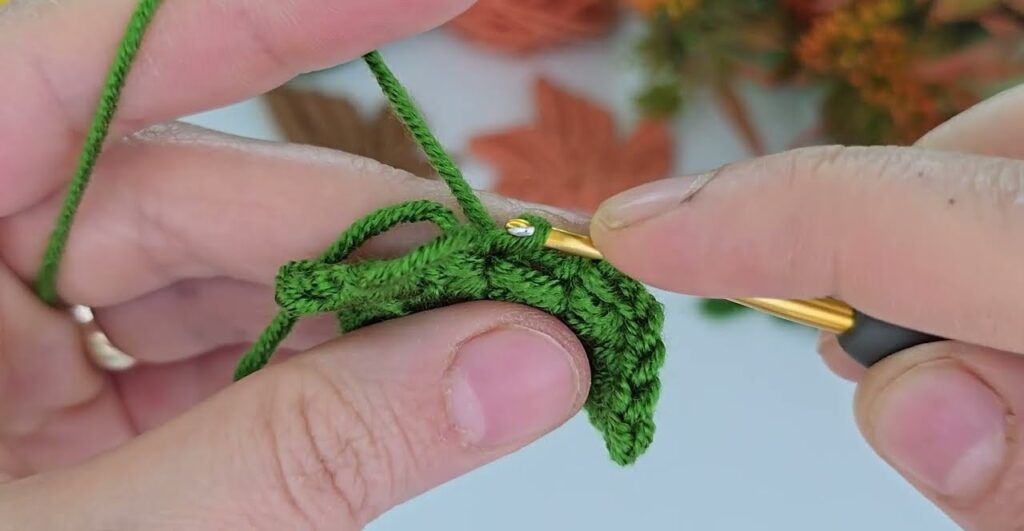
🌿 Step 3: Form the First Leaf Lobe
Each lobe is crocheted separately around the center.
- Ch 10.
- Work back down the chain as follows:
- 1 sl st in 2nd ch from hook
- 1 sc in next ch
- 1 hdc in next ch
- 1 dc in next 2 ch
- 1 tr in next 3 ch
- 1 dtr (double treble) in last ch
- Now sl st into the next sc on the ring to anchor it.
→ You have your first leaf point.
🌿 Step 4: Make the Second Lobe
Repeat the same process 4 more times:
For each of the next 4 lobes:
- Ch 10
- Go back down the chain the same way:
- 1 sl st in 2nd ch from hook
- 1 sc
- 1 hdc
- 1 dc in next 2 ch
- 1 tr in next 3 ch
- 1 dtr in last ch
- Sl st into next sc of the ring to secure.
→ After 5 lobes, join with sl st into the first st.
🌿 Step 5: Add Edge Definition
Now you’ll outline around the leaf for a smoother, fuller edge.
- Ch 1, then sc evenly all around each lobe’s edge.
(Add 2 sc at each leaf tip to make it pointy.) - Continue sc all around the leaf shape.
- Sl st into beginning sc to join.
- Fasten off and weave in ends.
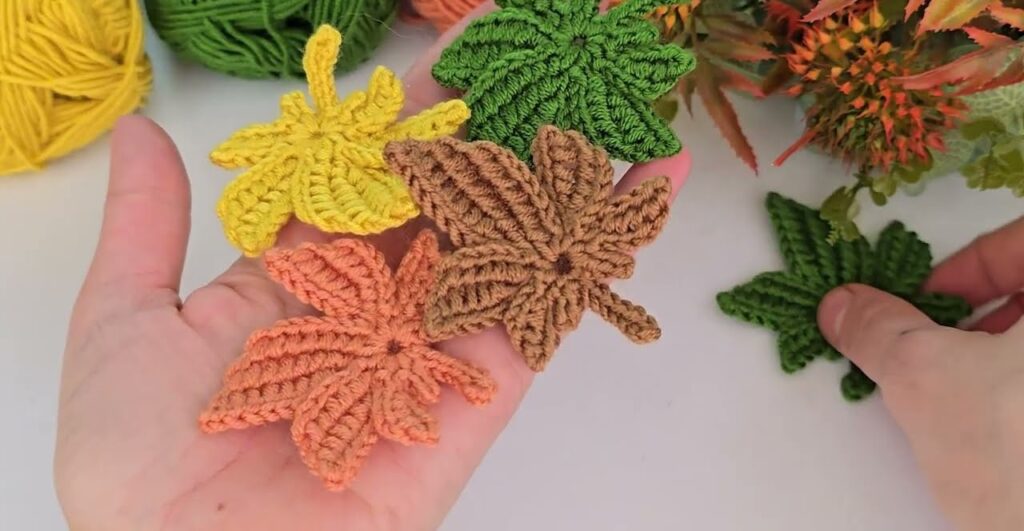
🌿 Step 6: Add Veins (Optional but Recommended)
To give it a 3D texture like in your image:
- Thread your yarn needle with matching yarn.
- From the center, stitch small straight lines outward along each lobe.
- Use backstitch or surface slip stitch if you want a raised vein line.
- Do the main central vein first, then side veins.
🌿 Step 7: Block (Optional)
- Slightly dampen the leaf and pin it flat to dry.
- This helps the lobes stay crisp and open.
✅ Tips
- For thinner leaves, use cotton yarn and a smaller hook.
- Mix fall colors for decoration (orange, brown, yellow, red).
- You can attach them to hats, scarves, bags, or garlands!