
Perfect 🌸 — let’s go step-by-step so you can easily follow along, even if you’re a beginner.
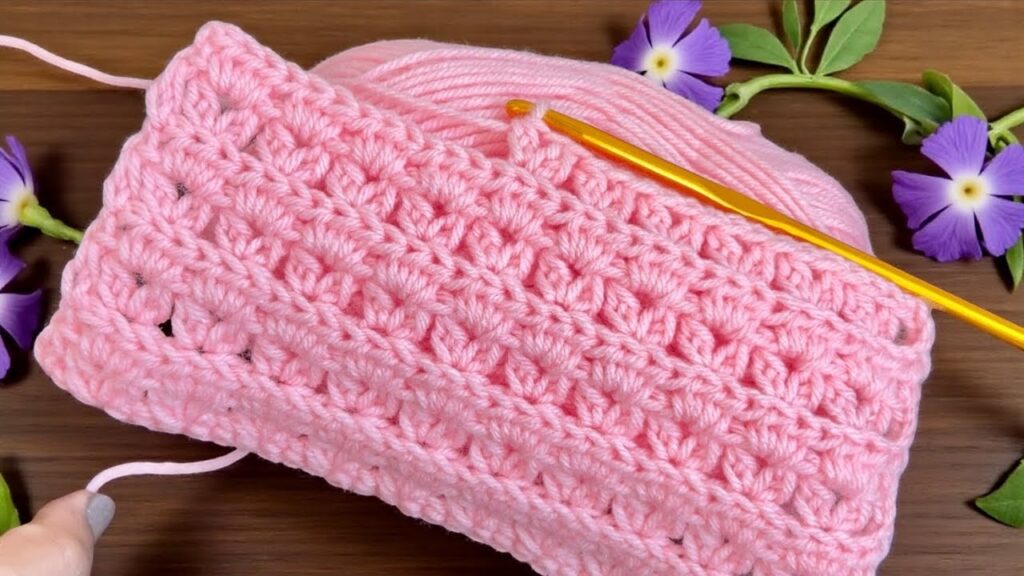
The crochet in your picture uses the Double Crochet V-Stitch pattern, which creates a soft, open texture.
🧶 What You’ll Need
- Yarn: Medium-weight (like acrylic or cotton) — the one in the photo looks like 4-ply acrylic yarn.
- Hook: 4.0 mm – 5.0 mm (depending on yarn thickness).
- Scissors & Tapestry needle for finishing.
🔰 Crochet Abbreviations (US terms)
| Abbreviation | Meaning |
|---|---|
| ch | chain |
| dc | double crochet |
| sk | skip |
| st | stitch |
| sp | space |
| rep | repeat |
🪄 Pattern Steps
Step 1: Foundation Chain
- Start with a multiple of 3 + 2 chains.
- Example: for a sample, ch 32 + 2 = 34.
- The +2 gives you the turning chain.
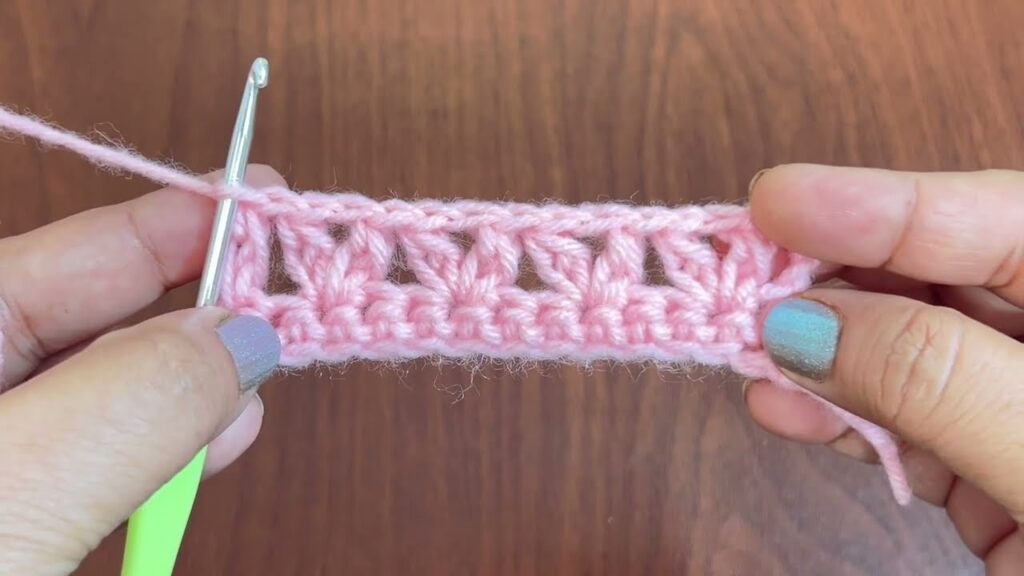
Step 2: Row 1 – Base Row
- Yarn over (YO), and make 1 dc in the 4th chain from the hook (the 3 skipped chains count as your first dc).
- Skip 1 chain, then make 2 dc in the next chain (same stitch) — this creates a little “V”.
- Repeat this pattern:
→ sk 1 ch, 2 dc in next ch across the row. - When you reach the end, dc in the last chain.
- Ch 3 and turn your work.
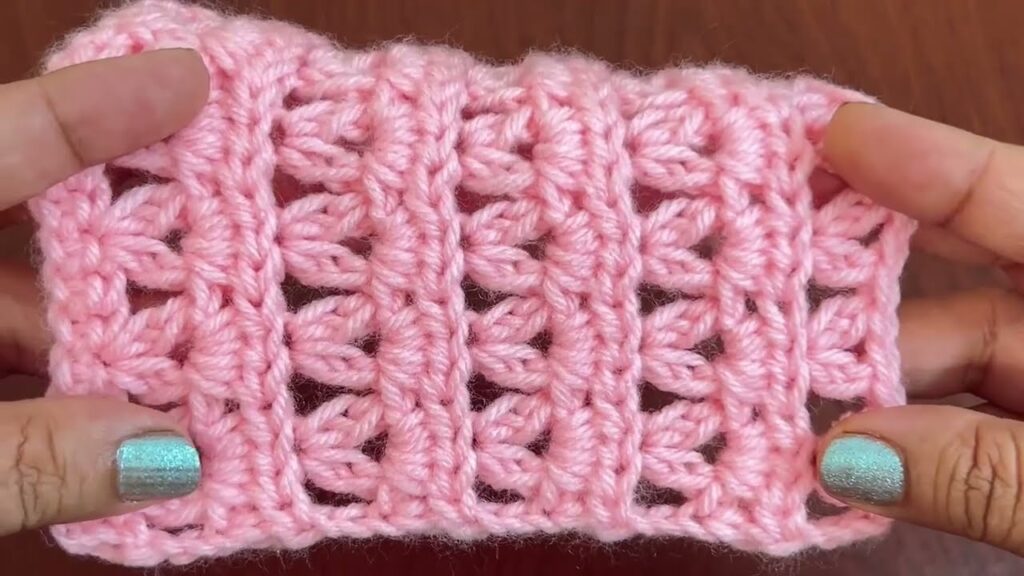
Step 3: Row 2 – Forming the V-Stitches
- Skip the first dc.
- In the space between each 2-dc pair from the previous row, make 2 dc.
- You are not going into stitches, but into the space between those “V” pairs.
- Continue: 2 dc in each space between pairs until the end.
- End with 1 dc in the top of the turning chain (this keeps the edge straight).
- Ch 3 and turn.
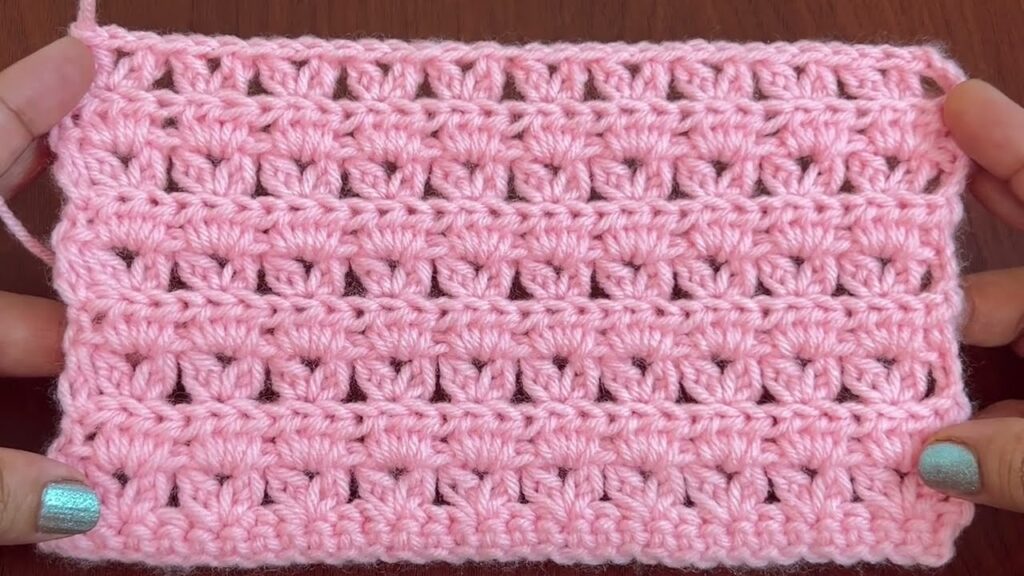
Step 4: Repeat
Repeat Row 2 for the rest of your project.
Each new row is worked into the spaces between pairs of dc from the previous row.
Step 5: Finishing
- Once your piece is as long as you like, cut the yarn and pull through the last loop to secure.
- Weave in yarn tails using a tapestry needle.
💡 Tips for Best Results
- Keep a loose tension; tight stitches will make the pattern stiff.
- For a neater edge, always check you’ve done the final dc in the top of the turning chain.
- You can change colors every few rows for stripes.
- To make a border, work single crochet (sc) evenly around your piece when done.
🧤 Optional Edge Example
If you want a decorative edge:
- After finishing your last row, sc evenly around all sides.
- On corners, work 3 sc in one stitch to keep them flat.
📏 Sample Size
| Project | Recommended Width | Chain Count Example |
|---|---|---|
| Scarf | 6–8 inches | 33–38 chains |
| Baby blanket | 30–36 inches | 98–110 chains |
| Throw blanket | 45–50 inches | 146–158 chains |