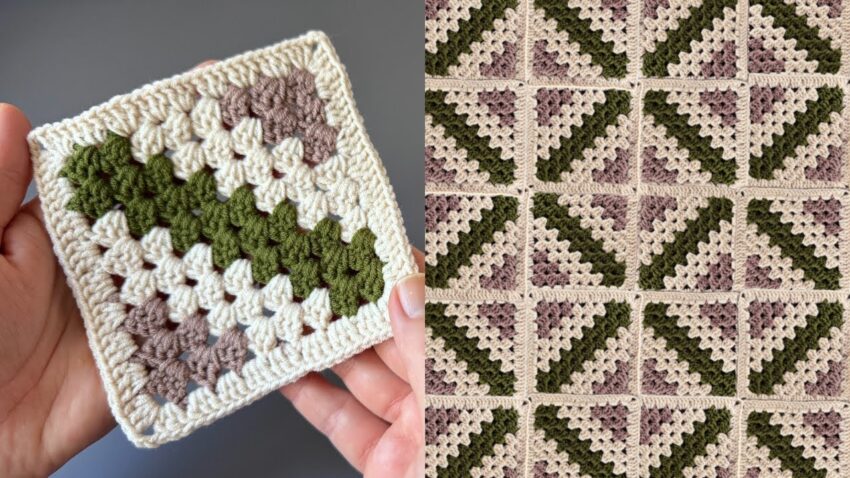
This crochet design is called the Granny Stripe Square (also known as the Diagonal Granny Square). It combines the traditional granny stitch with diagonal color changes, and when joined together, it forms a striking geometric pattern (as shown on the right side of your image).
Here’s a step-by-step guide to make it:
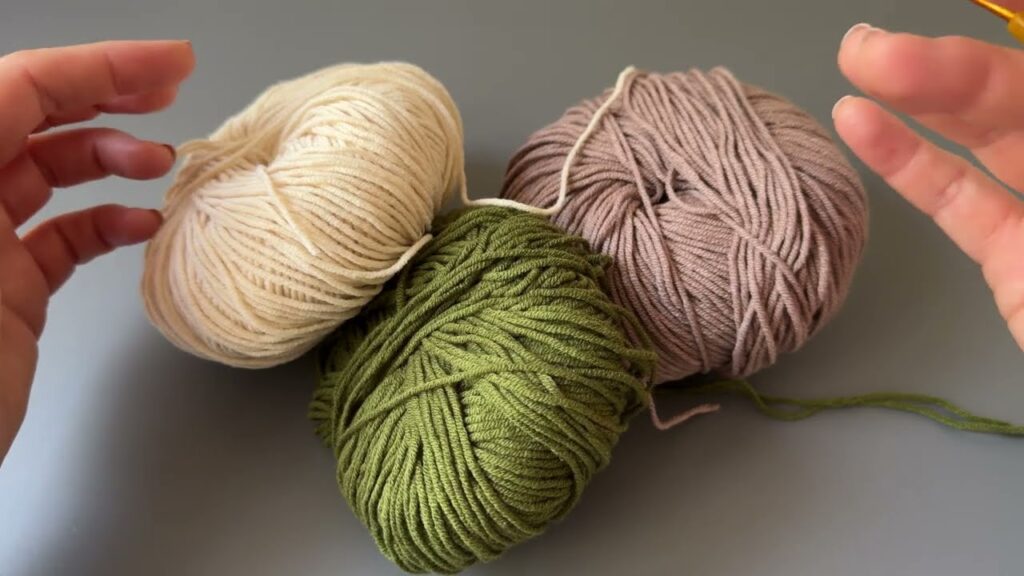
🧶 MATERIALS
- Yarn: 3 colors (example:
- A: Cream (background)
- B: Olive green (middle stripe)
- C: Mauve (corner color))
- Hook: 4.0mm or 4.5mm
- Tapestry needle for weaving ends
- Scissors

🪡 STITCH GUIDE (US terms)
| Abbreviation | Stitch Name | Explanation |
|---|---|---|
| ch | Chain | Yarn over, pull through loop |
| dc | Double crochet | Yarn over, insert hook, yarn over, pull through, yarn over, pull through 2, yarn over, pull through last 2 |
| sl st | Slip stitch | Insert hook, yarn over, pull through all loops |
| sp | Space | The gap between clusters |
| cluster | 3 dc stitches worked in the same space |
🧩 HOW TO CROCHET ONE SQUARE
🔹 Round 1: Center (Color A – Cream)
- Ch 4, sl st to form a ring.
- Ch 3 (counts as dc), work 2 dc into the ring, ch 2, 3 dc — repeat * 3 more times*.
- Join with sl st to top of ch-3.
➡ You now have 4 corners with ch-2 spaces.
You should see a small square made of four “3-dc clusters.”
🔹 Round 2: Begin Diagonal Design
Change to Color B (Olive Green).
- Sl st into the next ch-2 corner space.
- Ch 3 (counts as dc), 2 dc, ch 2, 3 dc in same space (corner made).
- Ch 1, 3 dc in next ch-1 space, ch 1, (3 dc, ch 2, 3 dc) in corner space repeat around.
- Join with sl st to top of ch-3.
You have the start of your diagonal stripe.
🔹 Round 3: Add Color C (Mauve)
Now we add another color on one side of the square.
- Attach Color C in the next corner after your green stripe.
- Ch 3, 2 dc, ch 2, 3 dc (corner), ch 1, 3 dc in next space repeat until you reach where you want to switch back to Color A (cream).
- Attach Cream, continue granny stitch around until the round is complete.
- Join with sl st to the top of the starting chain.
Now you have one side green, one side mauve, and the rest cream — forming the start of the diagonal stripe pattern.

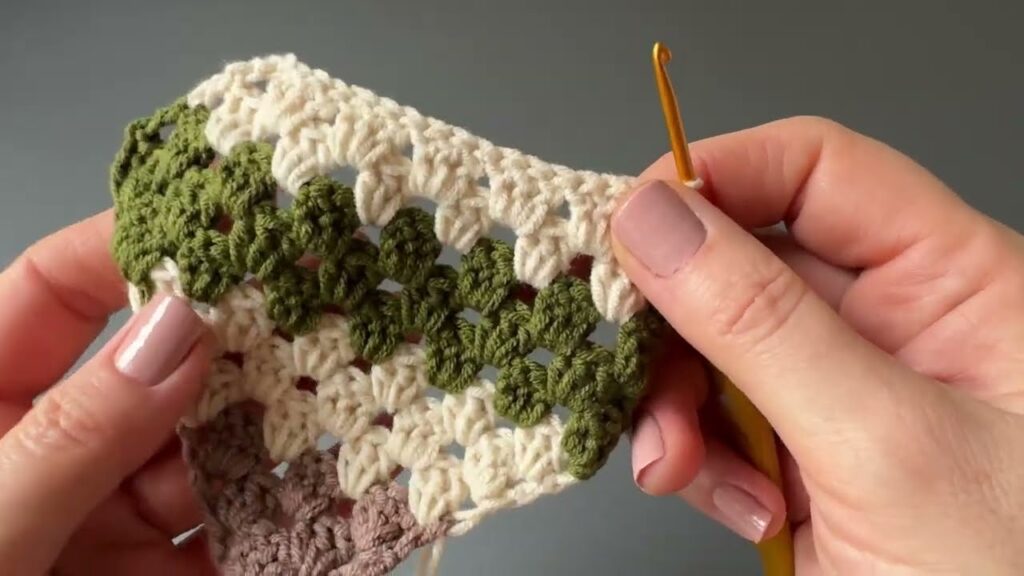
🔹 Round 4 and Beyond: Continue the Diagonal Stripe
You’ll build out the square, keeping the color diagonal consistent:
- Continue each new round with 3 clusters of green in a diagonal line.
- Next to the green, place mauve clusters (on one side of the diagonal).
- Fill all remaining spaces with cream.
- Always work (3 dc, ch 2, 3 dc) in each corner space.
- Add ch 1 between all side clusters.
Each new round grows the diagonal band wider and longer, like stairs across the square.
🔹 Final Border Round (Cream)
- Work one round all in cream to frame the square.
- In corners: (3 dc, ch 2, 3 dc)
- In sides: 3 dc in each ch-1 space, ch 1 between clusters.
- Finish with a round of single crochet for neatness (optional).
- Fasten off and weave ends.
🧵 JOINING THE SQUARES
To form the pattern like the right image:
- Arrange each square so the diagonal stripe direction alternates (↘️ and ↙️).
- Join using:
- Slip stitch join: Place squares right sides together and sl st through both loops.
- or Flat join: Join with single crochet or whip stitch for a raised ridge.
- After joining, add a border around the whole blanket in cream.
🌸 COLOR ARRANGEMENT IDEA
- Row 1: Place all squares with stripes going down-right (↘️).
- Row 2: Rotate every other square 90° so the stripe goes up-right (↗️).
This creates the woven diamond effect you see in the right photo.