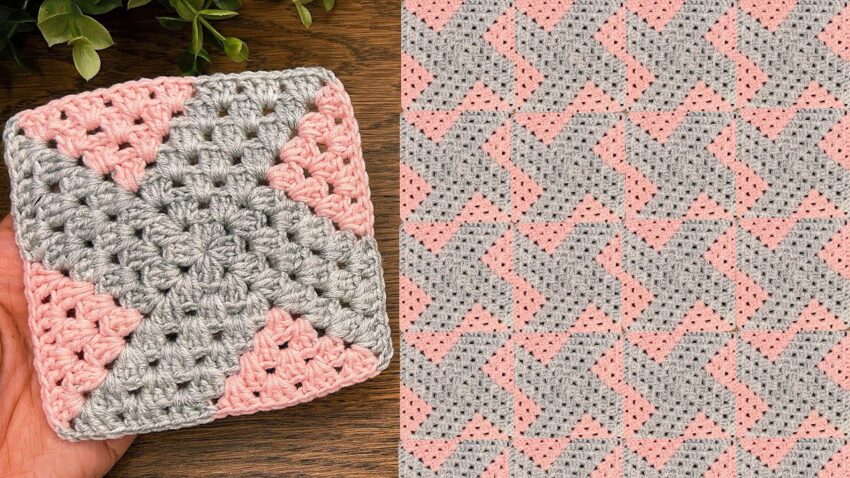
This pattern is a crochet granny square design with an “X” or “arrow” look, made from two colors of yarn (gray and pink). When joined together, these squares create a continuous geometric pattern.
Here’s how you can make it:
🧶 What You’ll Need
Yarn: 2 colors —
- Color A: Gray
- Color B: Pink
Hook size: 4 mm (G/6) or 4.5 mm (use the size recommended for your yarn)
Other: Scissors, yarn needle, stitch markers (optional)

🪡 Basic Stitches Used
- ch = chain
- sl st = slip stitch
- dc = double crochet (US term)
- sp = space
- st = stitch
🧩 PATTERN FOR ONE SQUARE
🔹 Round 1 (Color A – Gray)
- Start with a magic ring (or chain 4, join to form a ring).
- Chain 3 (counts as 1st dc).
- Into the ring, work:
- 2 dc, ch 2,
- (3 dc, ch 2) × 3 more times.
You’ll have 4 groups of 3 dc with 4 ch-2 corners.
- Join with sl st to top of ch-3.
- Fasten off.
(This is your basic granny square center.)
🔹 Round 2 (Still Gray)
- Attach gray yarn in any corner ch-2 sp.
- Ch 3 (counts as dc), 2 dc in same sp, ch 1.
- In next corner sp: 3 dc, ch 2, 3 dc, ch 1.
- Repeat around.
- Join with sl st to top of ch-3.
- Do not fasten off yet.
At this point, you’ll have a normal granny square shape.
🔹 Round 3 (Begin the “X” Shape)
Now you’ll start color blocking — half gray, half pink.
- With gray still attached, continue working across two adjacent sides of the square:
- In next ch-1 sp: 3 dc, ch 1.
- In corner sp: 3 dc, ch 2, 3 dc, ch 1.
- In next side sp: 3 dc, ch 1.
- Stop after completing 2 sides (so gray covers one triangle half of the square).
- Fasten off gray.
🔹 Round 3 (Continue with Color B – Pink)
- Join pink in the next corner (the one adjacent to gray).
- Ch 3, 2 dc, ch 1.
- Work 3 dc, ch 2, 3 dc in corner sp, ch 1, 3 dc in next side sp, etc.
- Continue until you’ve filled the remaining 2 sides with pink.
- Join with sl st to the top of ch-3.
- Fasten off.
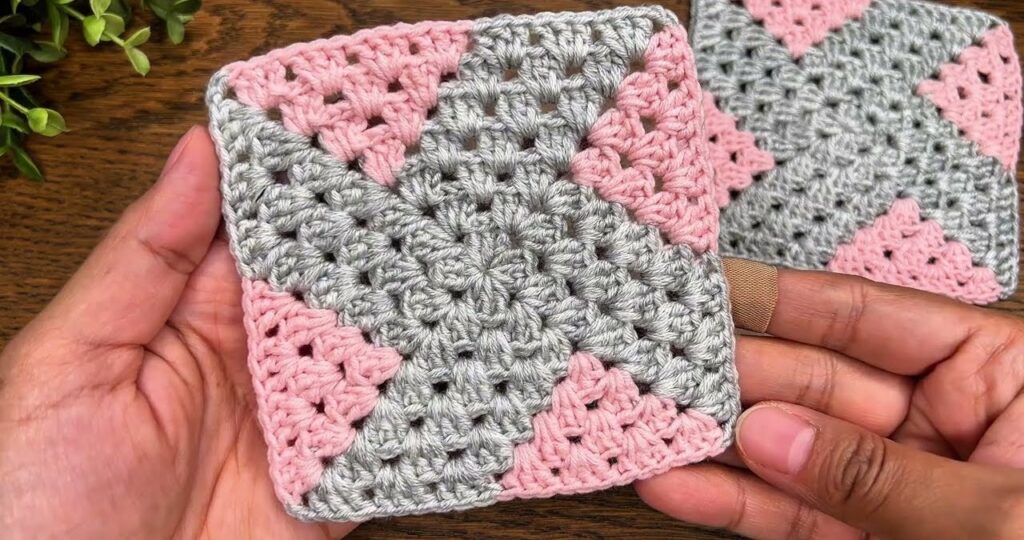
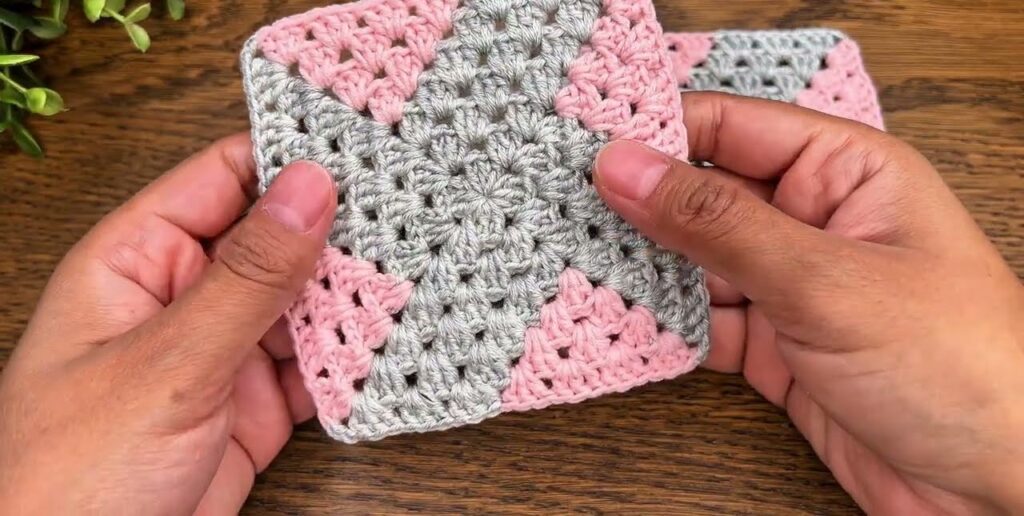
Now you have a square with two gray triangles and two pink triangles, forming an “X” or “bowtie” shape diagonally.
🔹 Round 4 (Optional – Border)
To make it neater:
- Attach gray in any corner.
- Ch 3 (counts as dc), 2 dc, ch 2, 3 dc.
- (Ch 1, 3 dc in next ch-1 sp) repeat around.
- Join with sl st, fasten off, and weave in all ends.
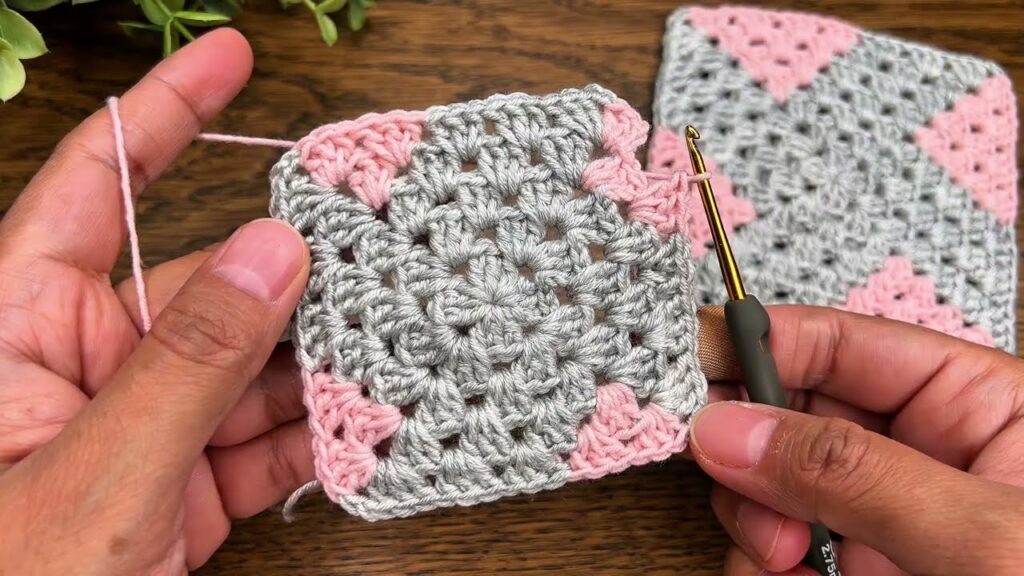
🔹 How to Join the Squares
- Make multiple squares with the same color pattern.
- Turn each square 90° alternately when laying them out — this gives the continuous woven “X” pattern like in your photo.
- Join squares with your preferred method:
- Slip stitch join: Insert hook through both back loops of adjoining squares, sl st across.
- Whip stitch join: Sew squares together with yarn needle.
- Join-as-you-go: Work final round of each square while attaching to the previous ones.
🌸 Tips
- Always end rounds with sl st into top of ch-3 and ch 1 before starting next round.
- Keep your tension even so all squares are the same size.
- Block your squares (steam or wet) for a flat, professional finish.