
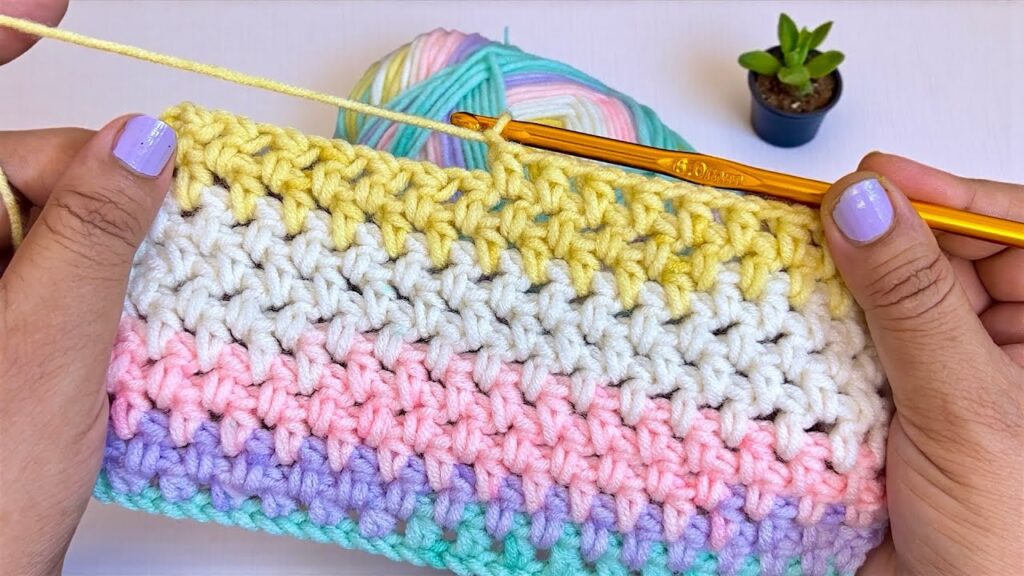
This crochet pattern in your image is a Half Double Crochet (HDC) stitch worked in rows with a self-striping yarn (that changes colors automatically). It gives that beautiful, soft rainbow gradient effect. 🌈
Here’s how you can make it:
🧶 What You’ll Need
- Yarn: Medium weight (Category 4) yarn — use self-striping yarn like in your photo so the colors change automatically (yellow, cream, pink, purple, mint, etc.)
- Hook: 5.0 mm crochet hook (shown in the image)
- Scissors
- Tapestry needle (for weaving ends)
✋ Step-by-Step Instructions
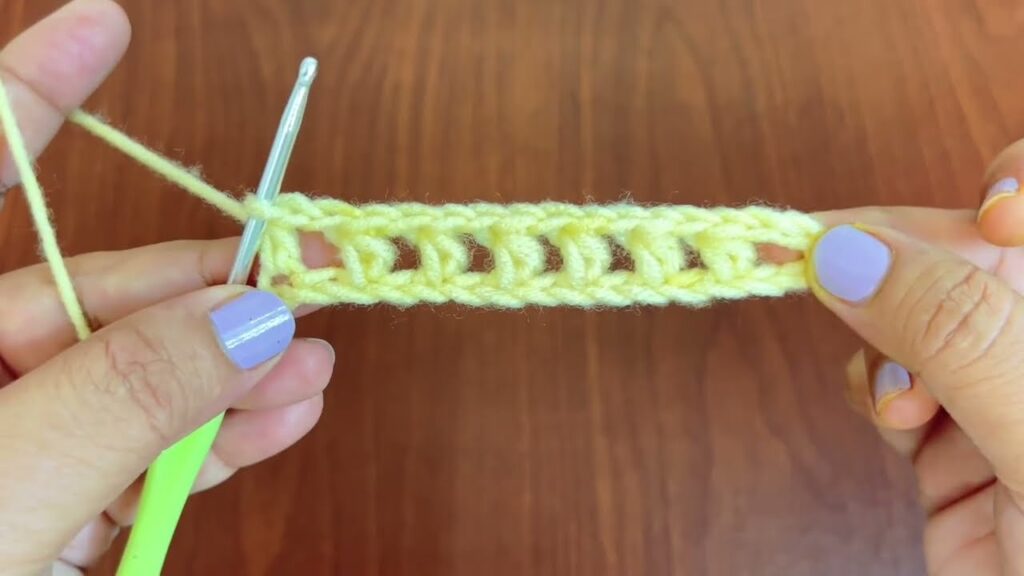
🔹 Step 1: Make a Slip Knot and Foundation Chain
- Make a slip knot and place it on your hook.
- Chain (ch) any number of stitches you want for the width of your project.
- Example: ch 32 for a sample swatch.
- Add 2 more chains (this counts as the first HDC turning chain).
- So you’ll have 34 chains in total.
🔹 Step 2: Row 1 – Half Double Crochet (HDC)
- Yarn over (wrap yarn around hook once).
- Insert hook into the 3rd chain from hook.
- Yarn over again and pull up a loop — you now have 3 loops on your hook.
- Yarn over once more and pull through all 3 loops at once.
→ This completes 1 Half Double Crochet (HDC) stitch. - Continue making 1 HDC in each chain across the row.
- When you reach the end of the row:
- Chain 2 (ch 2)
- Turn your work.
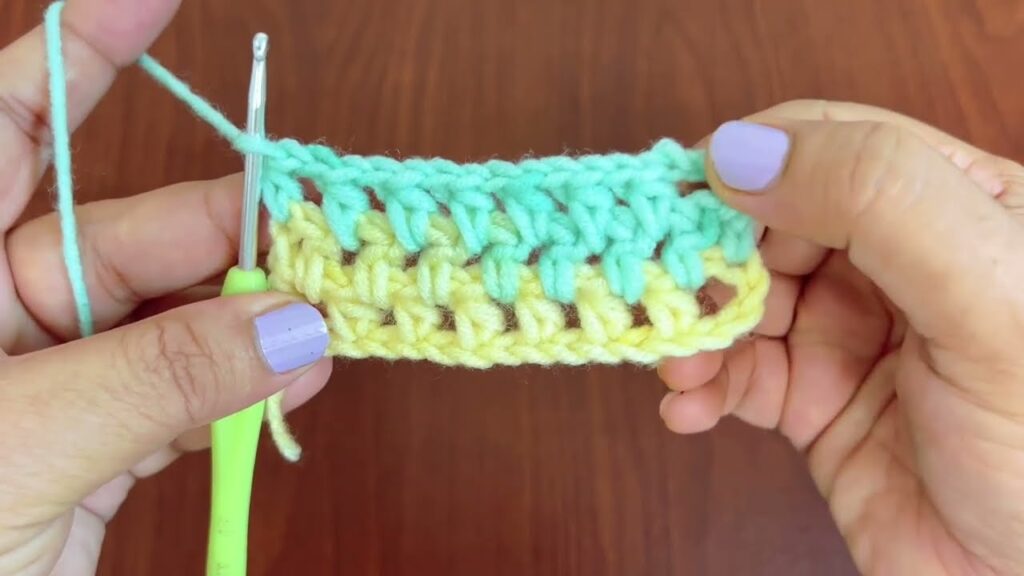
🔹 Step 3: Row 2 – Continue the Pattern
- Yarn over.
- Insert your hook into the top of the first stitch (not the chain 2).
- Yarn over and pull up a loop (3 loops on hook).
- Yarn over and pull through all 3 loops.
- Continue making HDC in every stitch across.
- At the end of each row, chain 2 and turn.
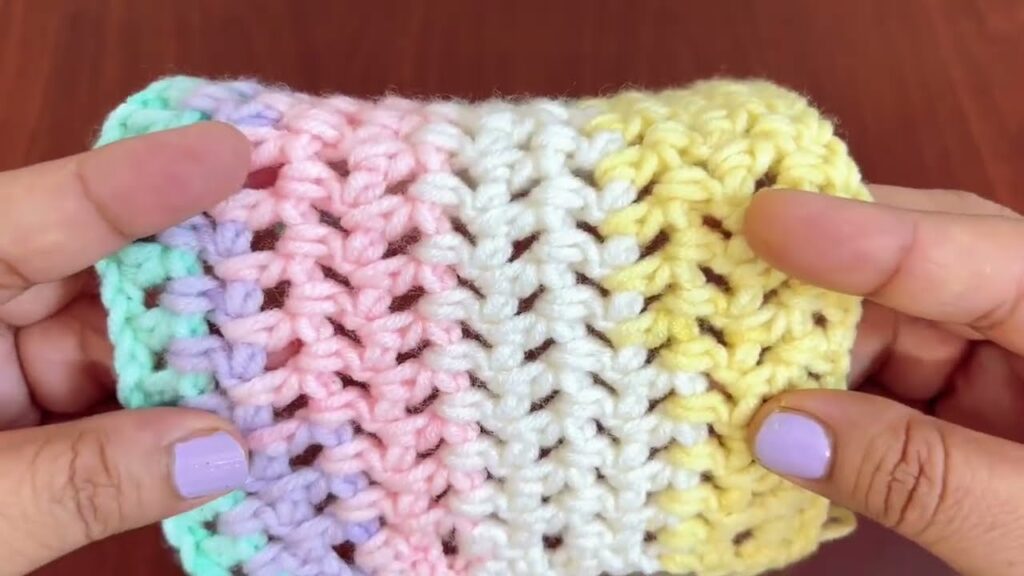
🔹 Step 4: Continue Repeating Rows
Keep repeating Row 2 for the entire project.
As you crochet more rows, the yarn will automatically change colors, creating those pastel rainbow stripes. 🌈
✨ Optional Variation: HDC in Back Loops Only
If you want more texture (ridges):
- Instead of inserting your hook under both loops of the stitch, insert it only in the back loop of each stitch.
This gives a soft, ribbed pattern — also very pretty for blankets or scarves.
🔹 Step 5: Finishing
- When your piece reaches the desired length, cut the yarn leaving about 6 inches of tail.
- Pull the yarn through the last loop and tighten gently.
- Use your tapestry needle to weave in the yarn ends along the back of your work.
✅ Example Project Ideas
- Baby blanket
- Scarf or shawl
- Cushion cover
- Sweater panel