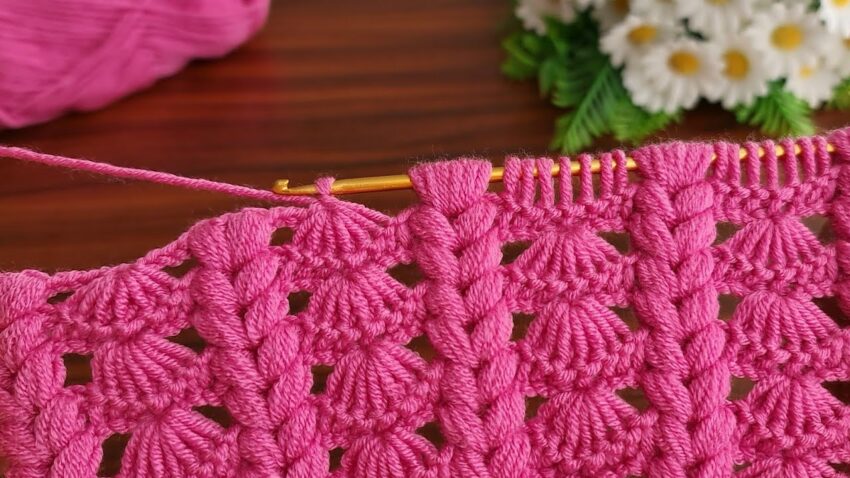
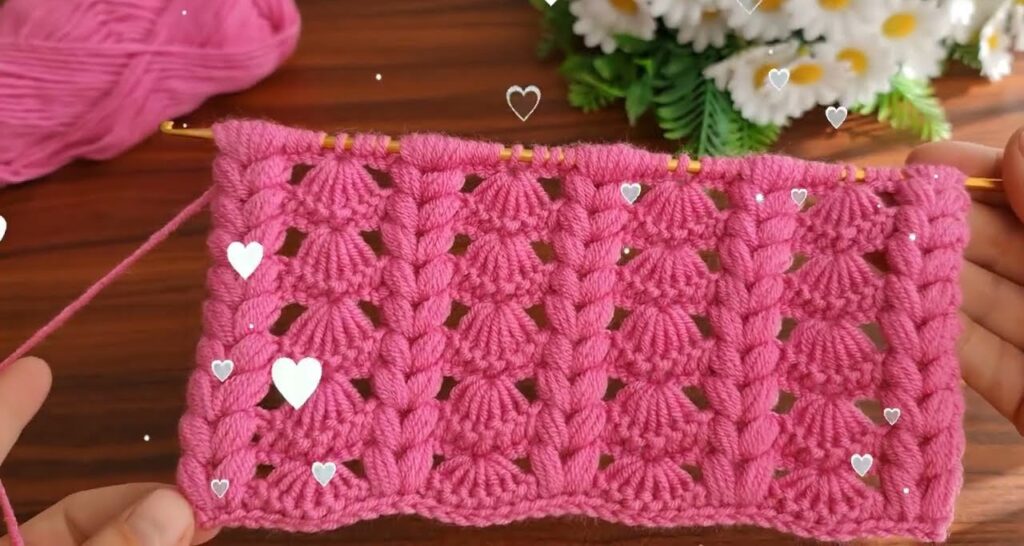
This crochet pattern in the image is a Tunisian Puff Stitch pattern, often used for making textured blankets, scarves, or cushions.
Here’s a step-by-step tutorial to make it 👇
🧶 What You’ll Need
- Yarn: Medium or worsted weight (#4) acrylic or cotton yarn
- Hook: Tunisian crochet hook (one size larger than you’d normally use — helps keep the fabric loose)
- Extras: Scissors, yarn needle
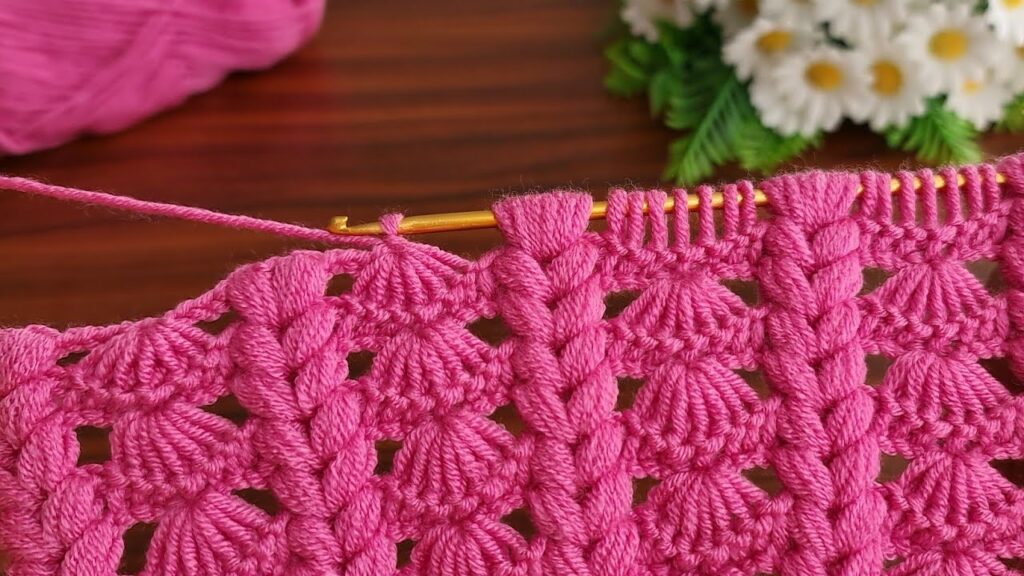
🧩 Understanding the Stitch
This design is made using a mix of:
- Tunisian Simple Stitch (TSS) → creates the “flat bars”
- Tunisian Puff Stitch → creates the raised puffed columns
Each puff cluster is worked by pulling up multiple long loops into one vertical stitch space before closing them together.
🪡 Step-by-Step Instructions
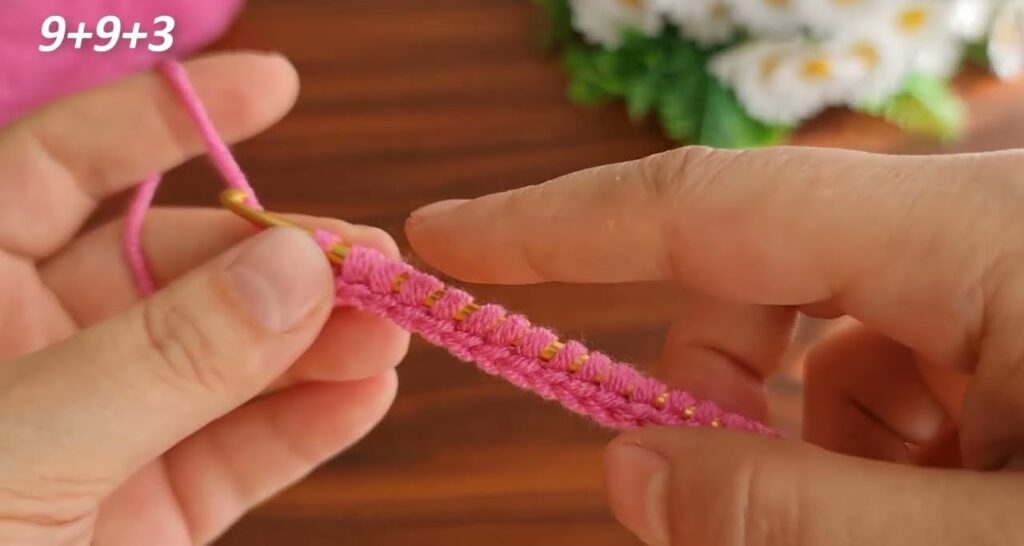
1️⃣ Foundation Chain
- Chain a multiple of 4 + 2 (for example, 26 chains).
The “+2” is for the edge stitches. - Insert your hook into the 2nd chain from the hook, yarn over (yo), pull up a loop.
- Keep doing this across the whole chain.
→ You’ll have one loop for every chain.
Return Pass (for all rows)
- Yo, pull through 1 loop (edge stitch).
- Then yo, pull through 2 loops at a time until one loop remains on the hook.
This is your standard return pass in Tunisian crochet. You’ll do this after every forward row.
2️⃣ Row 1 – Forming the First Puffs
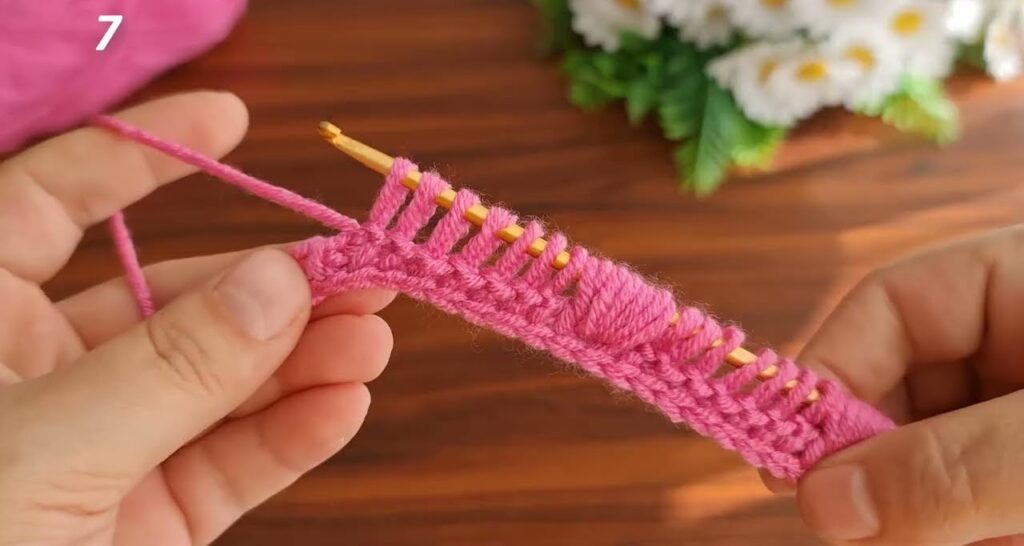
- Insert hook under the 2nd vertical bar from hook (skip the first one — that’s your edge).
Yo, pull up a loop (this is one TSS). - In the next stitch, make your Tunisian puff stitch:
- Insert hook under the next vertical bar, yo, pull up a long loop (about ¾ inch).
- Repeat that 4 times in the same space (so you have 5 loops from that spot).
- Yo, pull through all 5 loops at once — that’s your puff.
- Chain 1 to secure the puff (this helps separate it).
- Skip 2 vertical bars, then make 1 TSS in the next.
- Repeat across:
(1 puff stitch, skip 2, 1 TSS)
until the end of the row. - Return pass as usual.
3️⃣ Row 2 – Offset the Puffs
- Start with 1 TSS.
- Make your puff in the space between two puffs below, not directly on top of one.
(Insert hook between clusters — into that “V gap”).- Pull up 4–5 loops long, yo, pull through all, ch 1.
- Make 1 TSS in the next stitch.
- Repeat across: (1 puff, 1 TSS), ending with a simple stitch at the end.
- Return pass.
4️⃣ Row 3 and On
Keep alternating puff stitches and simple stitches, always placing puffs in the gaps between puffs below.
This creates the interlocking braided puff texture like in your photo.
5️⃣ Finishing Edge
When you reach your desired length:
- Work one full row of Tunisian Simple Stitch across.
- Bind off: insert hook into next vertical bar, yo, pull through both loops (like slip stitch).
- Cut yarn and weave in ends.
🪷 Optional Edging (for blankets or pillows)
You can add a single crochet border all around for a neat finish:
- Attach yarn to a corner.
- Work 1 single crochet in each stitch across top and bottom, and 2 single crochets per row on the sides.
- Add corners by working 3 single crochets in the same stitch.
💡 Pro Tips
- Keep loops on the hook even in size — that’s what makes the puffs look even.
- Always pull loops tall enough so the fabric doesn’t curl.
- Use a light steam block to flatten when done.
